
Compare outdoor kitchen cabinet materials by specifying the cabinet body and fronts, the finish on each exposed part, and the worktop above them. A galvanized-steel cabinet may sit beneath a 304 stainless-steel top, and the thickness of a composite panel includes its outer layers and core. Ask the supplier to identify each part on the same layout drawing your purchasing and installation teams will use.
Read the Cabinet Specification by Component
Identify the cabinet body, front and worktop
A useful specification lets the reader point to a part on the drawing and find its material in the schedule. Start with the cabinet body, which encloses storage or supports the worktop or an equipment position. List any door, drawer front or fixed front panel that the customer sees separately. Then identify the worktop above it. On a cabinet with an open side or back, mark the finished faces on the plan so they appear on the quote and sample request.
Specify what each stated thickness measures. Steel or aluminum can be described by sheet thickness. A composite panel has an overall thickness made up of several layers, which may be listed separately when the project needs those details. The thickness of a sintered-stone worktop belongs to the worktop line. Ask for the measurement basis next to any number you plan to compare across quotations.
Agree how the supplier will identify a part that spans two modules. A worktop piece can extend across adjoining cabinets, whereas separate end panels may finish each cabinet run. Use the layout drawing to number those pieces and cross-reference them to the schedule. A buyer can then review the visible materials in the drawing without losing the detail needed to quote or replace an individual piece.
- Worktop. Record this surface and its thickness separately.
- Cabinet body. Identify the specification for the shell and structural parts.
- Door or drawer front. Record its material and finish.
- Outer skin. Specify the first facing material.
- Core. Record the material and construction between faces.
- Opposite skin. Specify the second facing material.
- Panel thickness. Measure across the two external faces.
Separate modules, hardware and equipment
Use the module code for the complete unit. A storage cabinet and a sink cabinet may share a finish while having different fronts, internal fittings and service requirements. Enter a handle, hinge or drawer runner under hardware. Record the appliance position and the corresponding equipment under separate fields. This gives the buyer a place to specify who supplies the faucet, grill or refrigerator shown in a configuration image.
If the project includes a later phase, add the approved drawing revision and finish sample code to the parts list before ordering the first run. A photograph can help the service team locate a pull or front panel. The module identifier and finish reference let that team request the appropriate part when a distributor orders replacements or additional cabinets.
Evaluate Galvanized-Steel Cabinets Where the Sheet Is Formed
Ask when the zinc coating is applied
The zinc coating on galvanized steel forms a barrier and can protect small areas of exposed steel through sacrificial action. Continuous galvanizing coats sheet before fabrication. Batch hot-dip galvanizing is applied to fabricated steel articles. Those are different manufacturing sequences. The American Galvanizers Association comparison of batch and continuous galvanizing explains the distinction and how it affects coating coverage. Ask the manufacturer which process and coating designation apply to the cabinet being quoted.
For metal outdoor kitchen cabinets, record the nominal sheet thickness, the zinc coating specification and any additional finish in separate fields. A color name tells you how the surface should look. The coating schedule identifies the treatments applied to the material. Request both if the same cabinet front has to match an end panel or if several kitchens will be ordered over the course of a project.
Ask the supplier to state the unit and basis for its coating designation. If two quotations use different designations, request the relevant product specification and a written explanation of how each value is reported. The procurement team can then compare the actual offered coating information without trying to infer it from the cabinet gauge or color.
Inspect the edges that the finished sample exposes
Open the door and look at the lower fold, fastener holes, the underside of the worktop and any edge visible beside a neighboring module. Ask how the manufacturer treats cut and formed areas and how the approved sample represents those details. The GalvInfo technical note on corrosion at galvanized sheet edges explains why an exposed edge and the adjoining zinc coating need to be considered together.
Then describe where the installation will sit. A cabinet under a covered terrace may see different wetting and cleaning than a cabinet on an exposed deck. A site near saltwater also gives the buyer a reason to ask about the proposed finish and care routine. Pass those installation conditions to the supplier when requesting a material schedule, and compare responses against the same proposed use.
Review Aluminum Cabinet Material and Finish Together
Match the material designation to the individual part
For aluminum outdoor kitchen cabinets, ask which parts use aluminum and what material designation applies to each. A cabinet body, door, trim and profile may appear in the same color while requiring separate material or finish entries. A quote for an assembled kitchen should identify the proposed finish where two visible parts meet, especially on an exposed end cabinet or beside a worktop opening.
When an anodized finish is specified, agree the alloy, preparation, appearance and intended exposure. The Aluminum Anodizers Council guide to specifying anodized finishes sets out the factors that influence the result. For a painted or powder-coated item, ask for the applicable finish system, material beneath it and approved sample code. In both cases, match the request to the part the supplier will produce.
Use an assembled sample to approve the appearance
Ask to see a door and adjoining side panel in the same view. Look at both from the front and at an angle under daylight and the intended site lighting. The finish can read differently where an edge folds back or where a handle meets a textured face. Agree the sample reference and a range the buyer can accept across visible parts. Record those choices before approving a production release or placing a repeat order.
Make the care instructions part of that review. A counter edge beside the sink is cleaned differently from panels inside a sheltered storage cabinet. Ask which cleaning guidance applies to the surfaces identified on the schedule. Give the installer or retail team the approved finish and care information together so the same details can be passed to the eventual kitchen user.
When approving a later addition, put the replacement or extension sample beside the original finish sample. Compare the faces that will touch in the finished kitchen and record the lot or revision that the supplier can identify. This gives the buyer a practical way to address a visible difference before the additional modules reach the site.
METRO Pairs a Stainless-Steel Worktop with Galvanized Cabinets
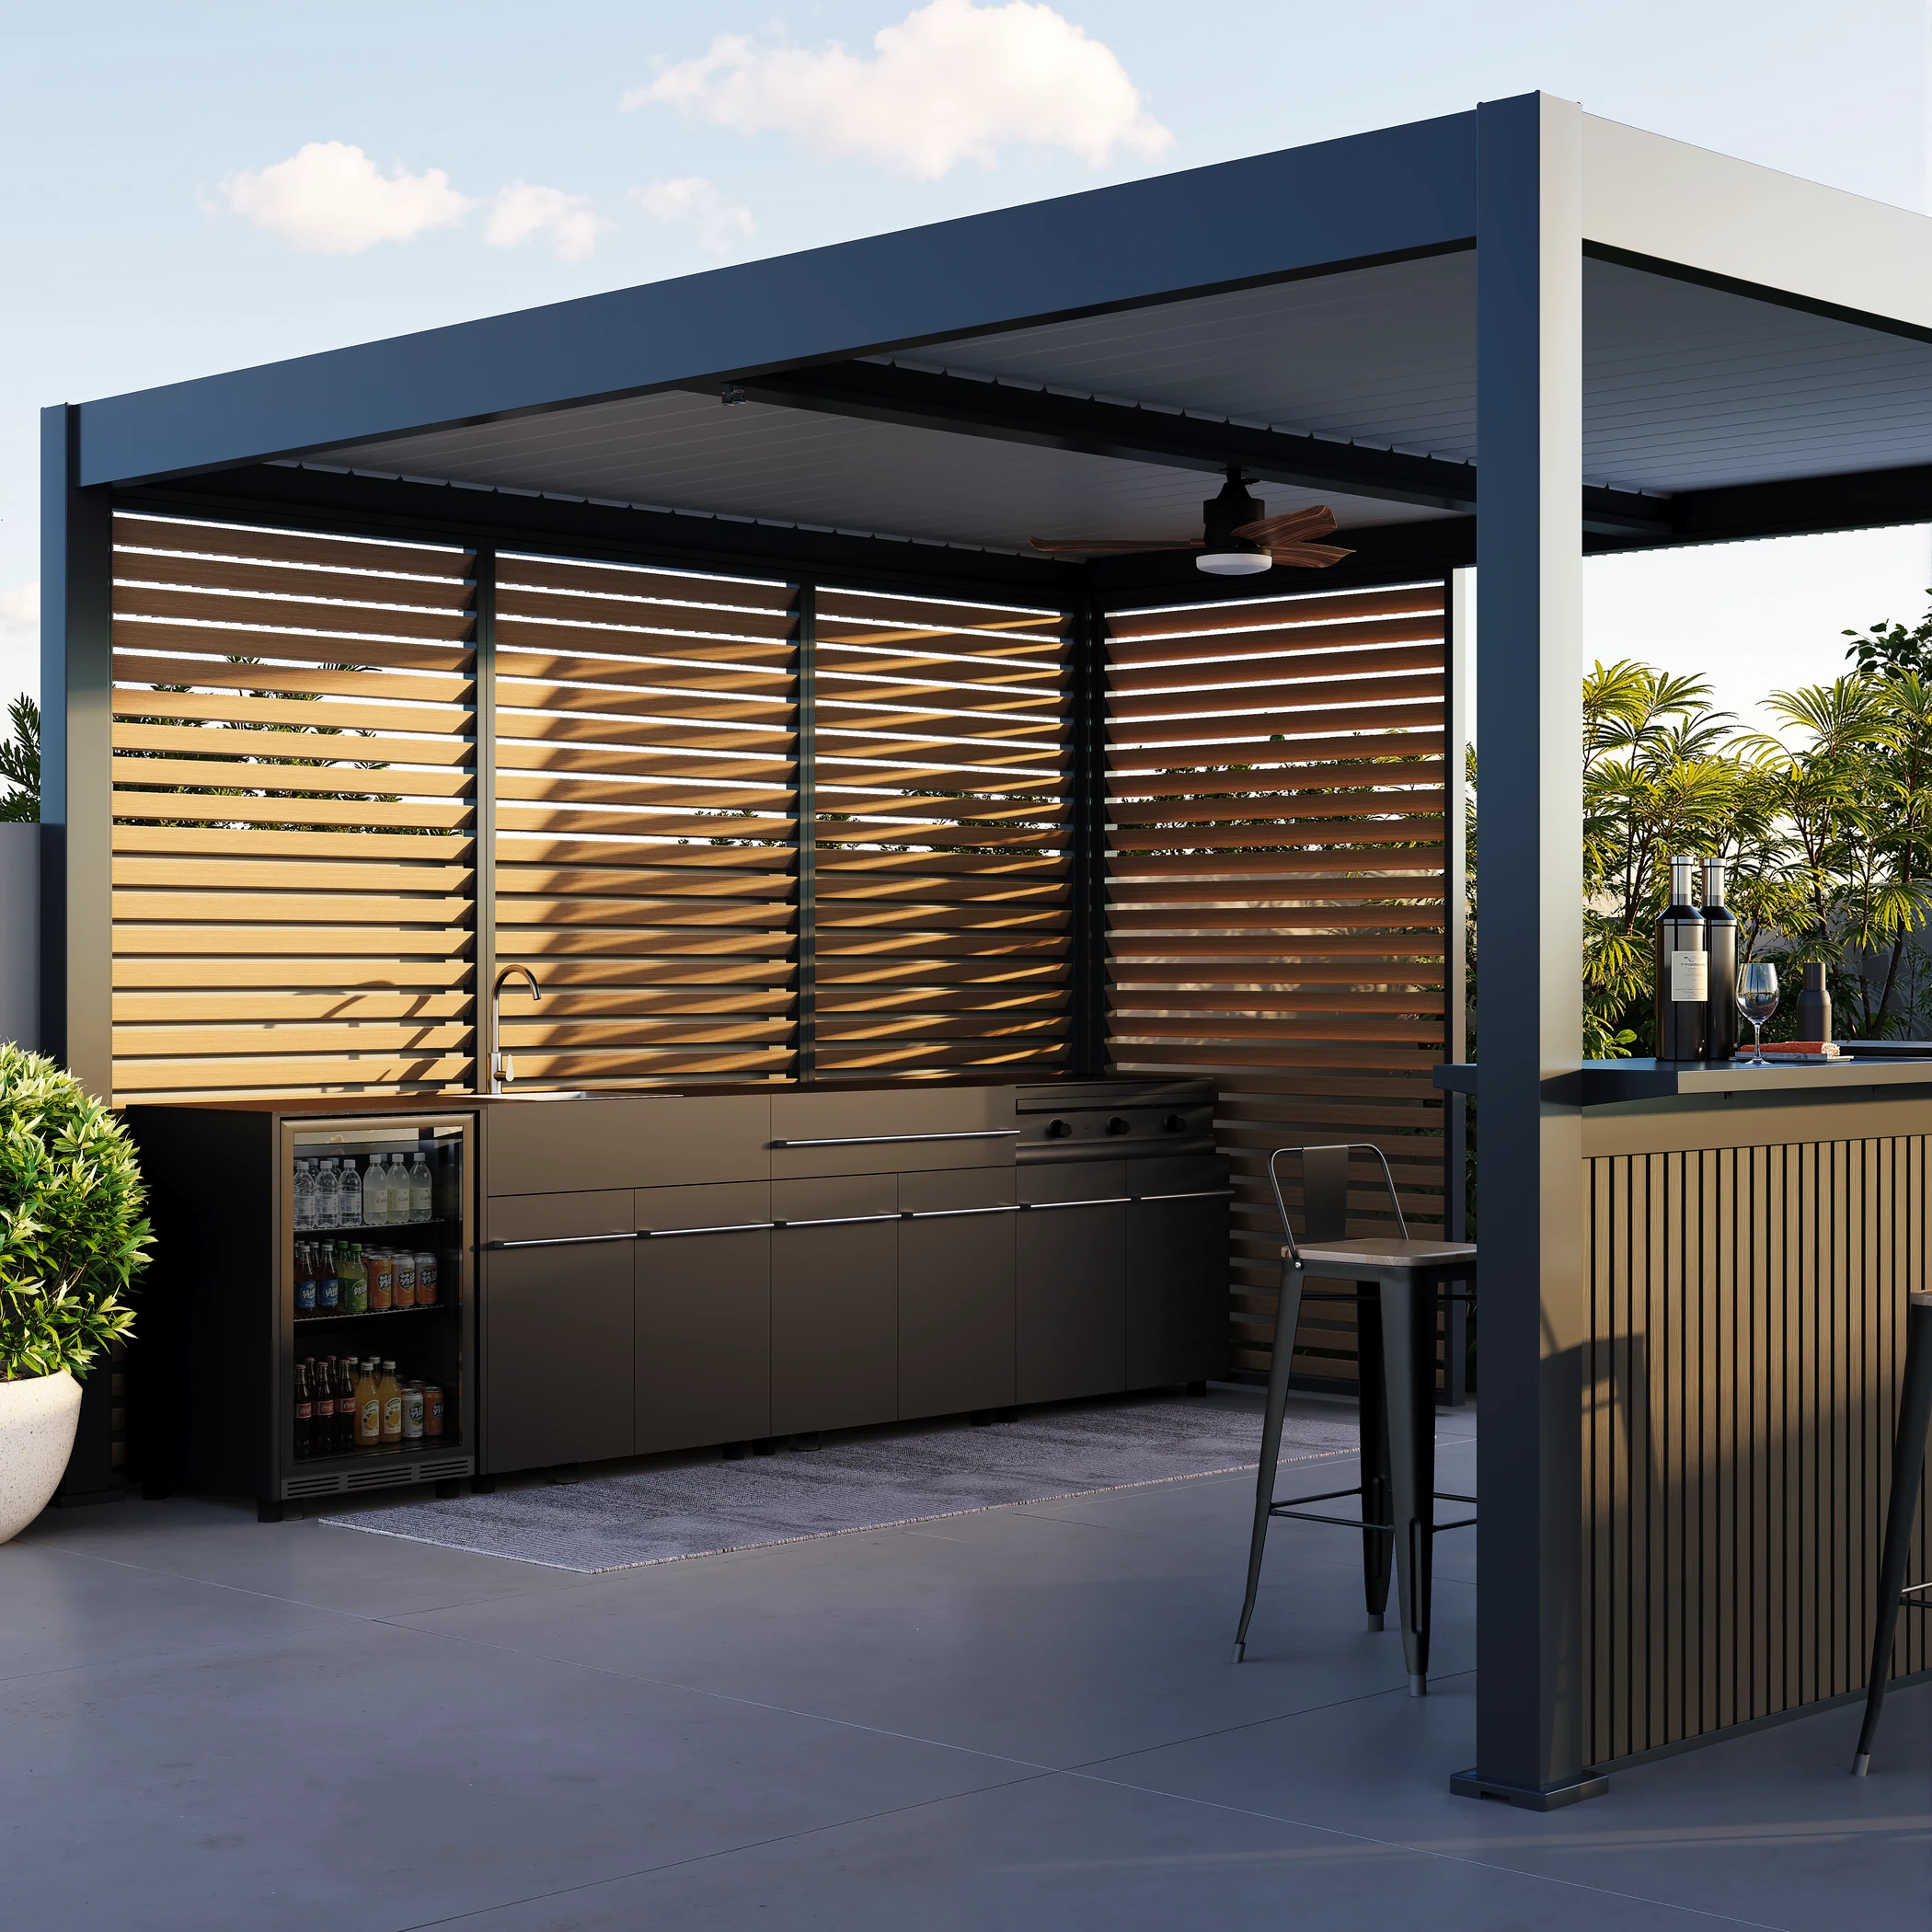 METRO outdoor kitchen with a stainless-steel worktop and metal cabinets
Record what the 304 grade applies to
METRO lists a nominal 0.8 mm 304 stainless-steel worktop and nominal 0.7 mm galvanized-steel cabinet material. On METRO-D, the top covers a drawer and enclosed storage. The worktop grade belongs beside the worktop on the schedule. If a brief asks for stainless steel outdoor kitchen cabinets, identify the surfaces and parts the customer expects to be stainless steel, then compare that requirement with the cabinet and worktop fields for the series.
Stainless steel develops a chromium-rich passive film. Service conditions and the state of the surface matter to its performance, as outlined in the worldstainless guidance on corrosion properties. At the sample review, point out the recessed lid pull or worktop edge and ask for the care procedure applicable to that part. The METRO pull and ELITE sintered-stone detail below illustrate two surfaces that should carry separate worktop entries on a buyer’s schedule.
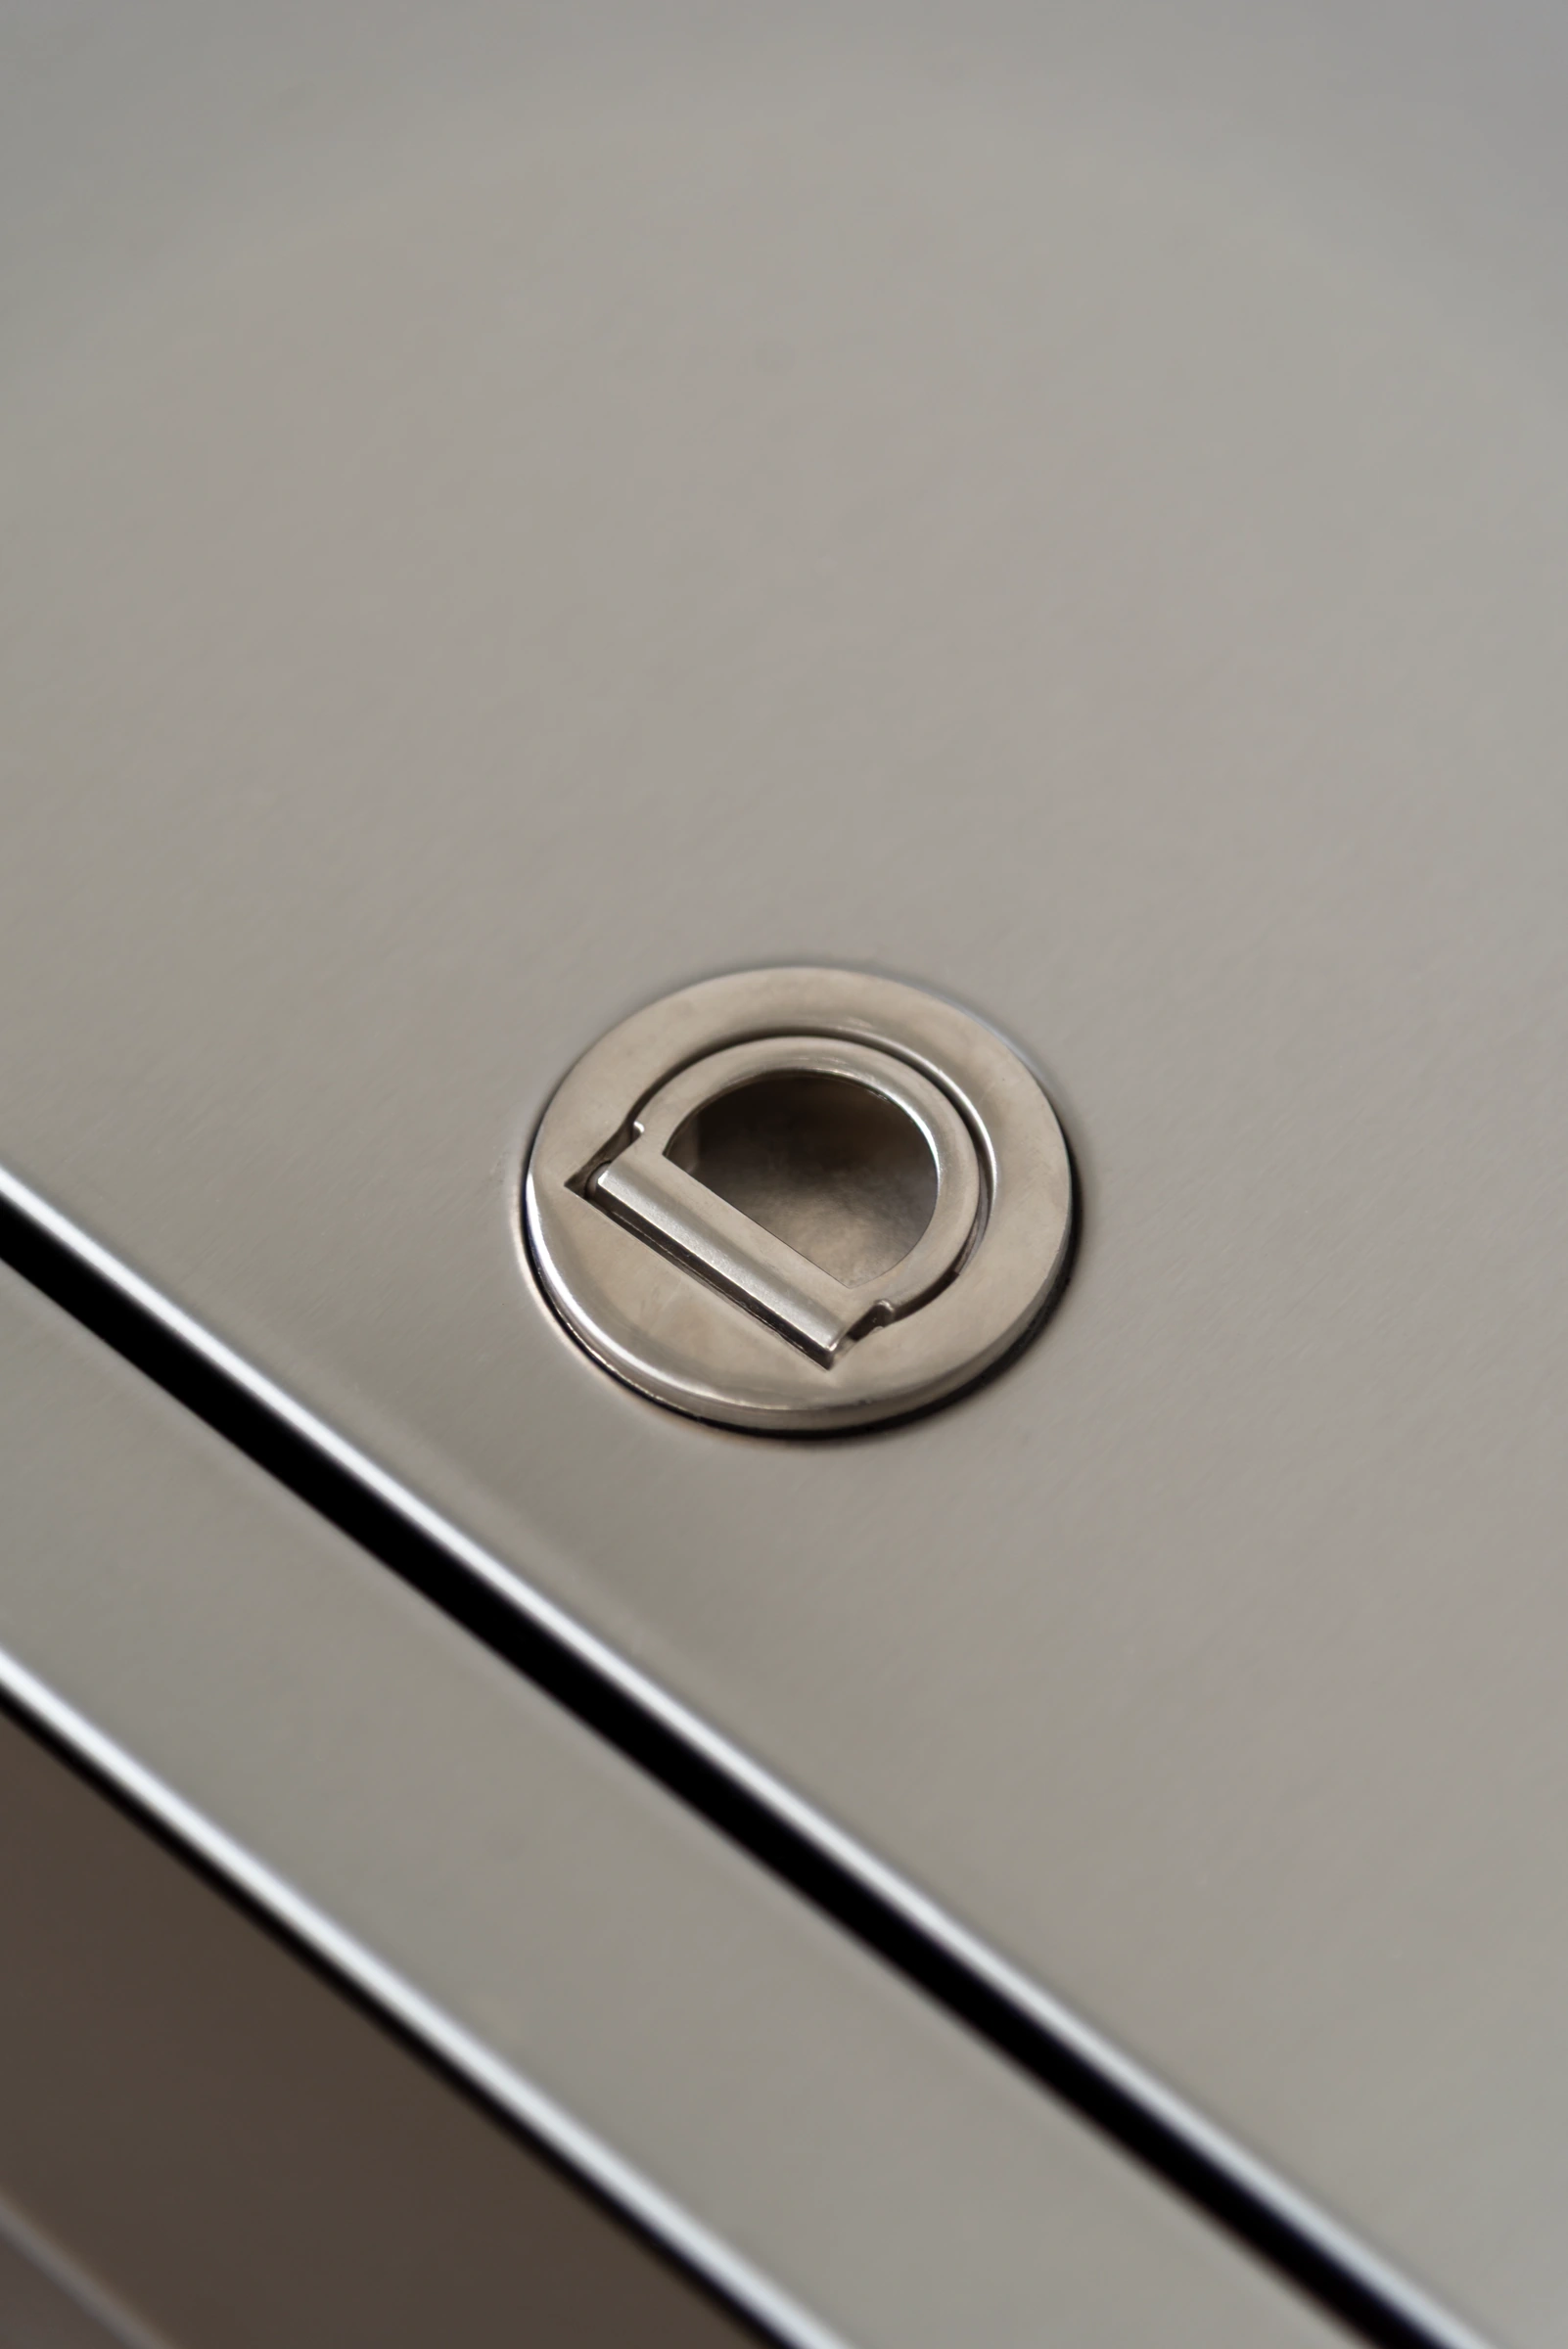 METRO recessed pull in the stainless-steel worktop lid
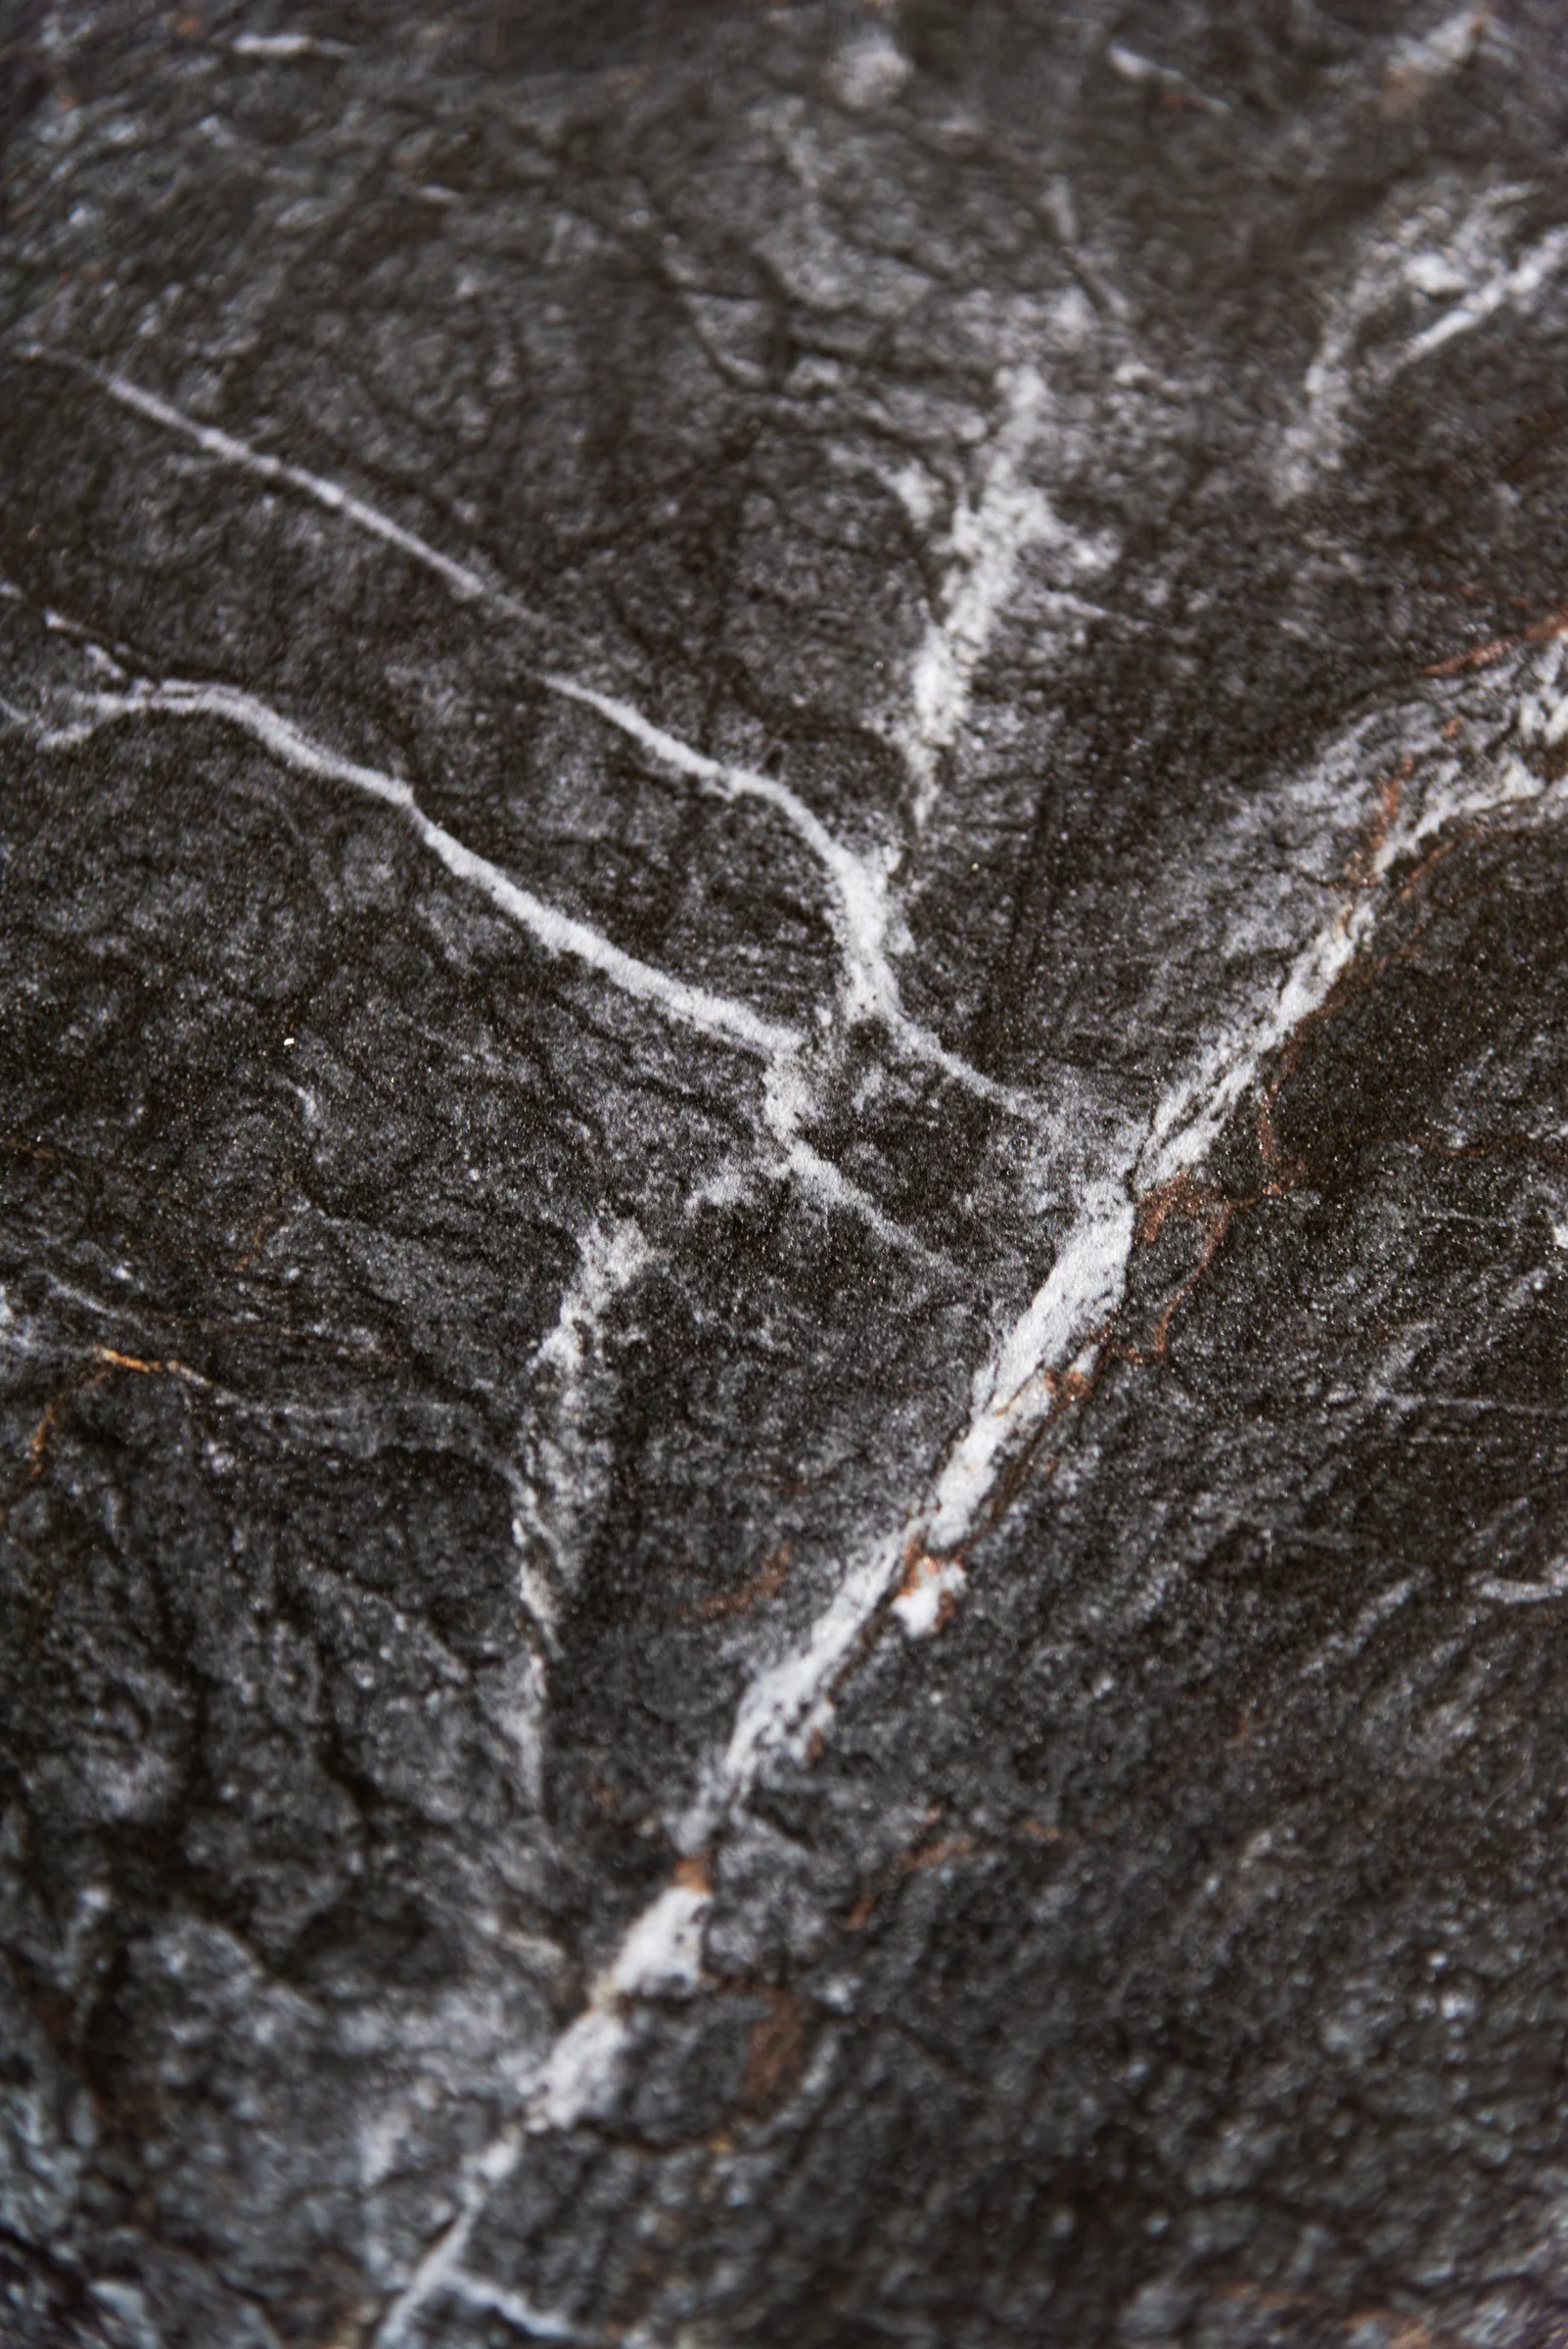 ELITE white veining in the dark sintered-stone worktop
Follow the sink and drawer modules across the layouts
METRO-A is the sink module. METRO-D provides drawer and cabinet storage. The extended straight arrangement shows two D units, while the compact straight run puts one D beside A. In the L-shaped arrangement with open corner shelving, the sink and drawer modules occupy different legs. A further L-shaped arrangement shows a turn in the worktop and a refrigeration housing at the end of the return.
In the sink area, identify which details belong to the module and which belong to the supply of fittings. A picture of a faucet helps locate the connection and cleaning zone. The RFQ should still describe the required fitting and identify who confirms its installation details for the site.
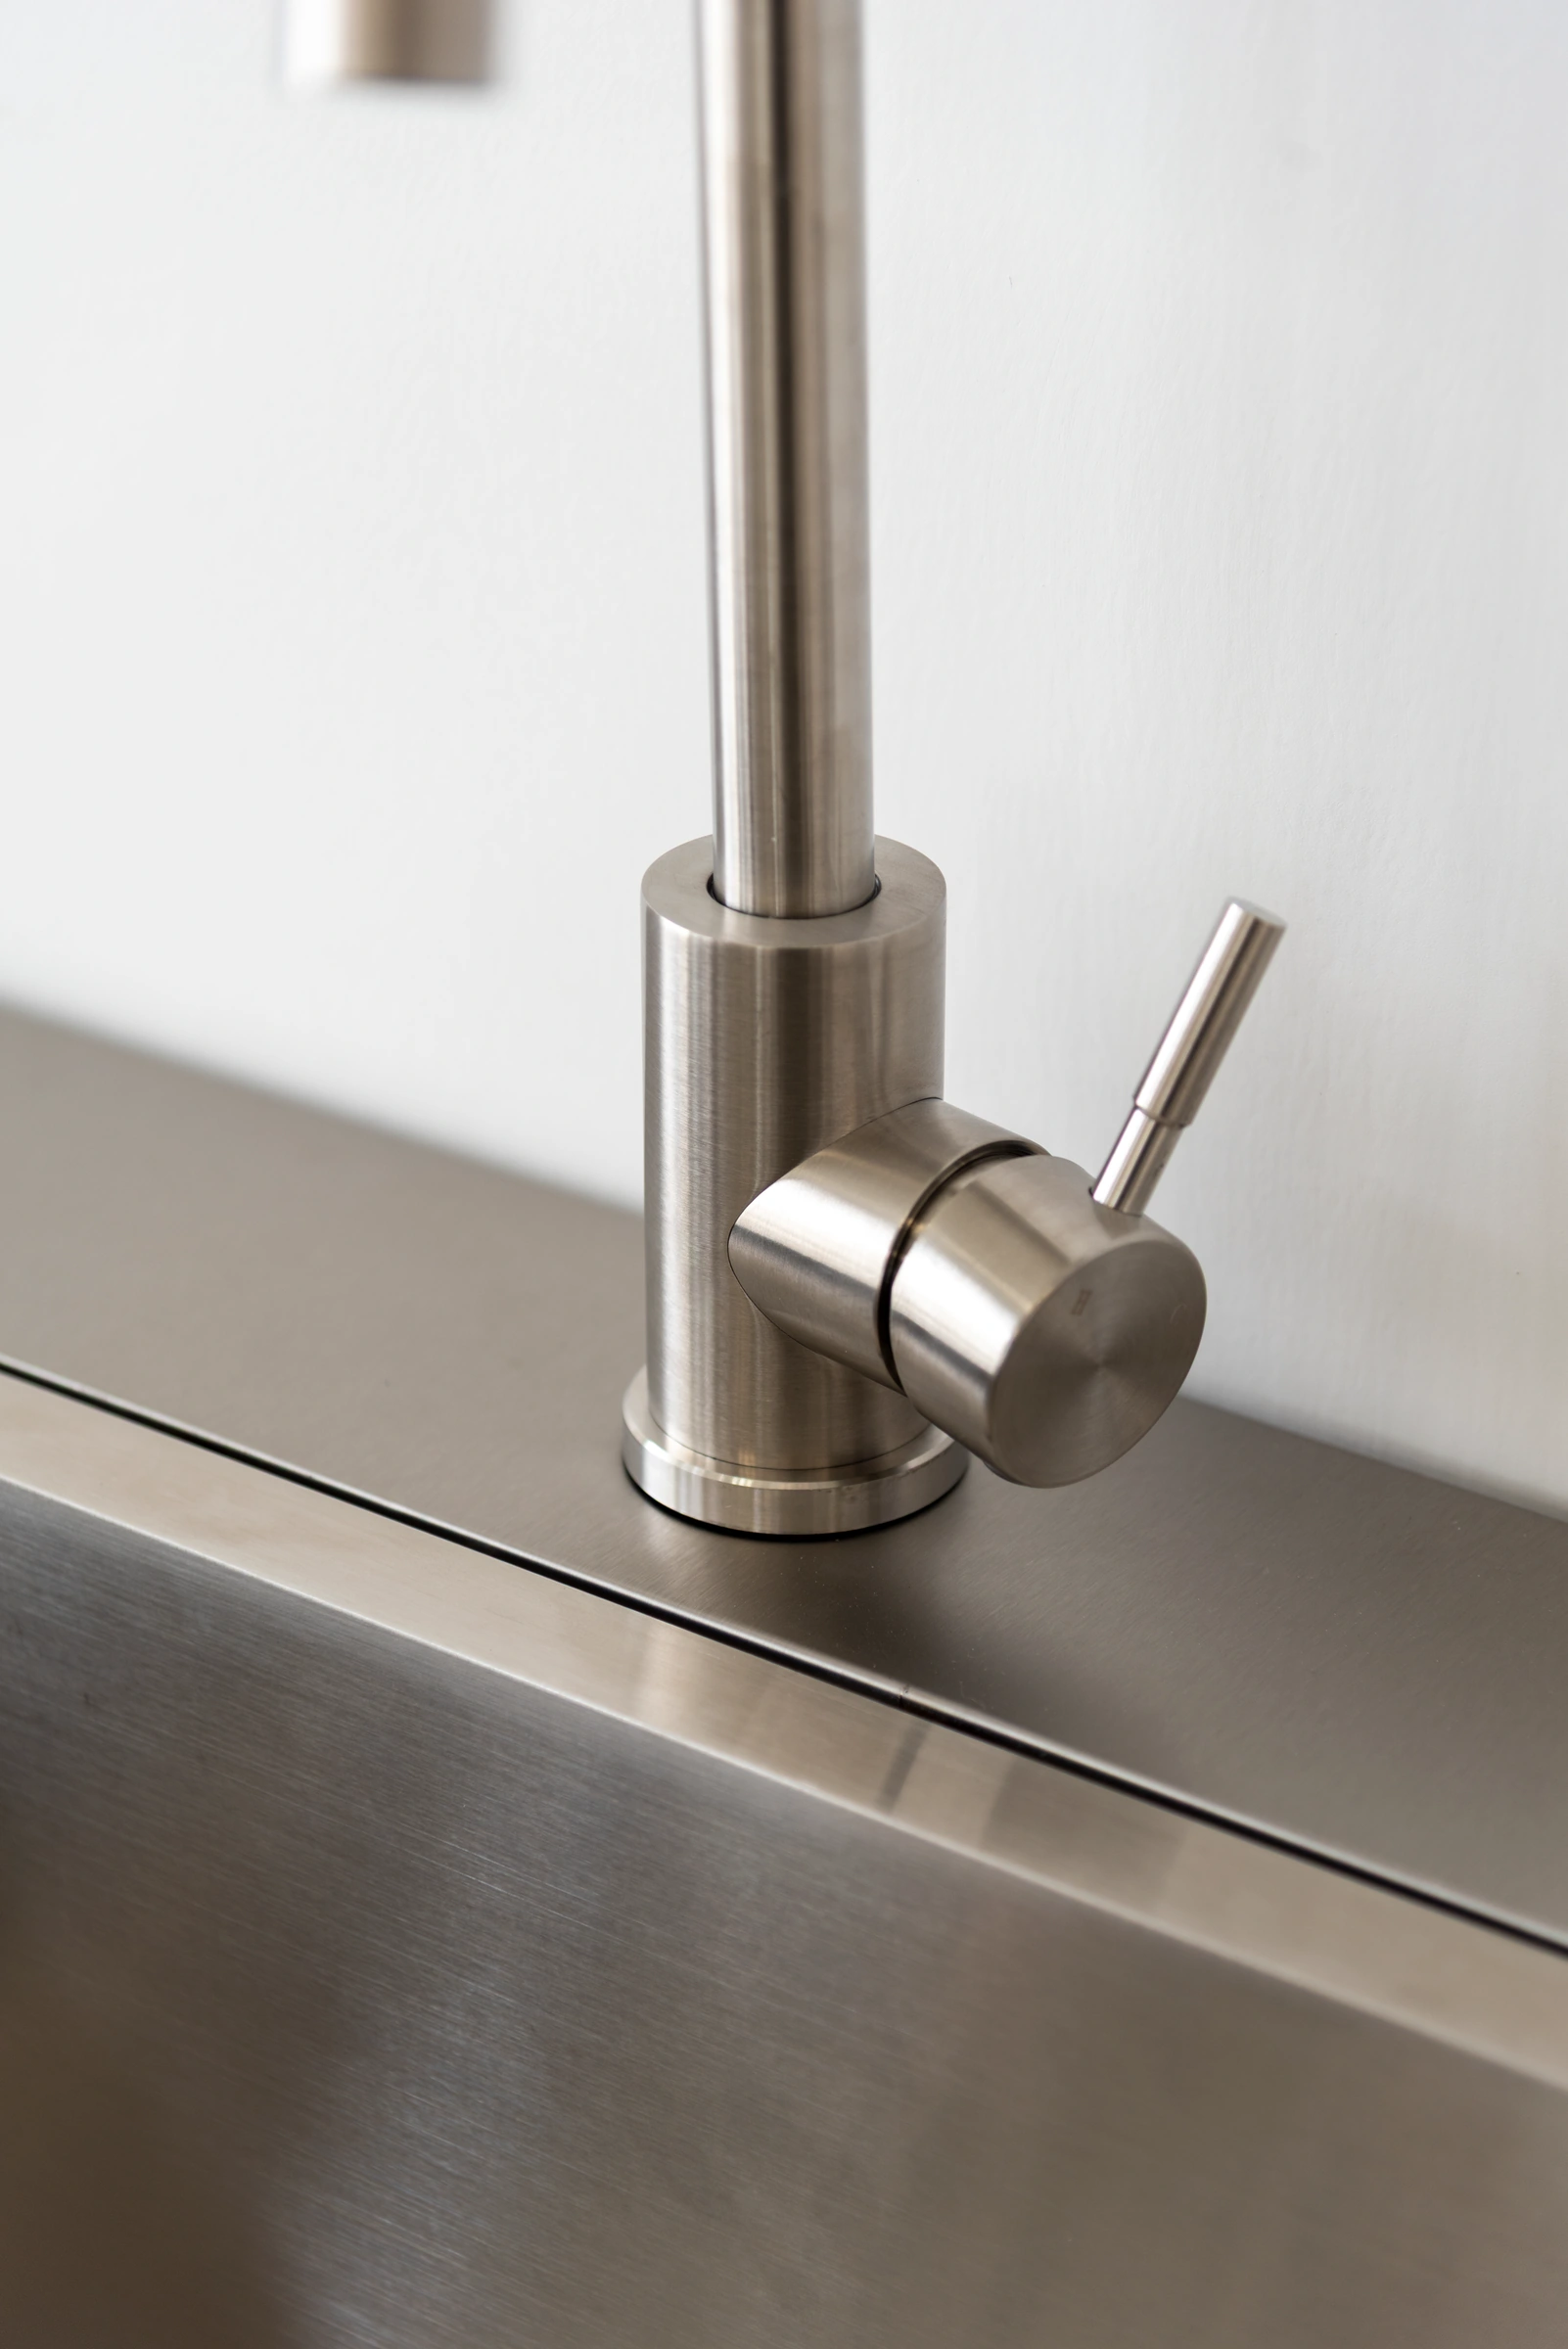 METRO faucet and stainless-steel sink edge
- METRO-D drawer and storage cabinet. A wide drawer sits above two cabinet doors.
- METRO-A sink cabinet. The basin and faucet mark the washing position.
- METRO-D drawer and storage cabinet. A wide drawer sits above two cabinet doors.
- METRO-G lower barbecue base. The lower cabinet supports the raised barbecue pictured.
- METRO-D drawer and storage cabinet. A wide drawer sits above two cabinet doors.
- METRO-A sink cabinet. The basin and faucet mark the washing position.
- METRO-F low kamado platform. The illustrated kamado stands on a lowered support.
- METRO-L refrigeration housing. The catalog shows refrigeration equipment inside the housing.
- METRO-L refrigeration housing. The catalog shows refrigeration equipment inside the housing.
- METRO-A sink cabinet. The basin and faucet mark the washing position.
- METRO-D drawer and storage cabinet. A wide drawer sits above two cabinet doors.
- METRO-F low kamado platform. The illustrated kamado stands on a lowered support.
- METRO-L refrigeration housing. The catalog shows refrigeration equipment inside the housing.
- METRO-C flush barbecue cabinet. The cooking position sits flush with the worktop and has controls on the front.
- METRO-A sink cabinet. The basin and faucet mark the washing position.
- METRO-E open corner shelving. The angled front exposes two shelf levels.
- METRO-F low kamado platform. The illustrated kamado stands on a lowered support.
- METRO-D drawer and storage cabinet. A wide drawer sits above two cabinet doors.
- METRO-G lower barbecue base. The lower cabinet supports the raised barbecue pictured.
- METRO-D drawer and storage cabinet. A wide drawer sits above two cabinet doors.
- METRO-A sink cabinet. The basin and faucet mark the washing position.
- METRO-F low kamado platform. The illustrated kamado stands on a lowered support.
- METRO-L refrigeration housing. The catalog shows refrigeration equipment inside the housing.
Give your outdoor kitchen manufacturing partner for distributors and project buyers the exact layout option and the material schedule together. Mark where the sink and equipment positions sit in relation to the installation site. The drawing can then show the storage faces a customer will reach and the joints or exposed ends the buyer wants to see on the sample.
ELITE Separates the Stone Worktop from the Composite Cabinet
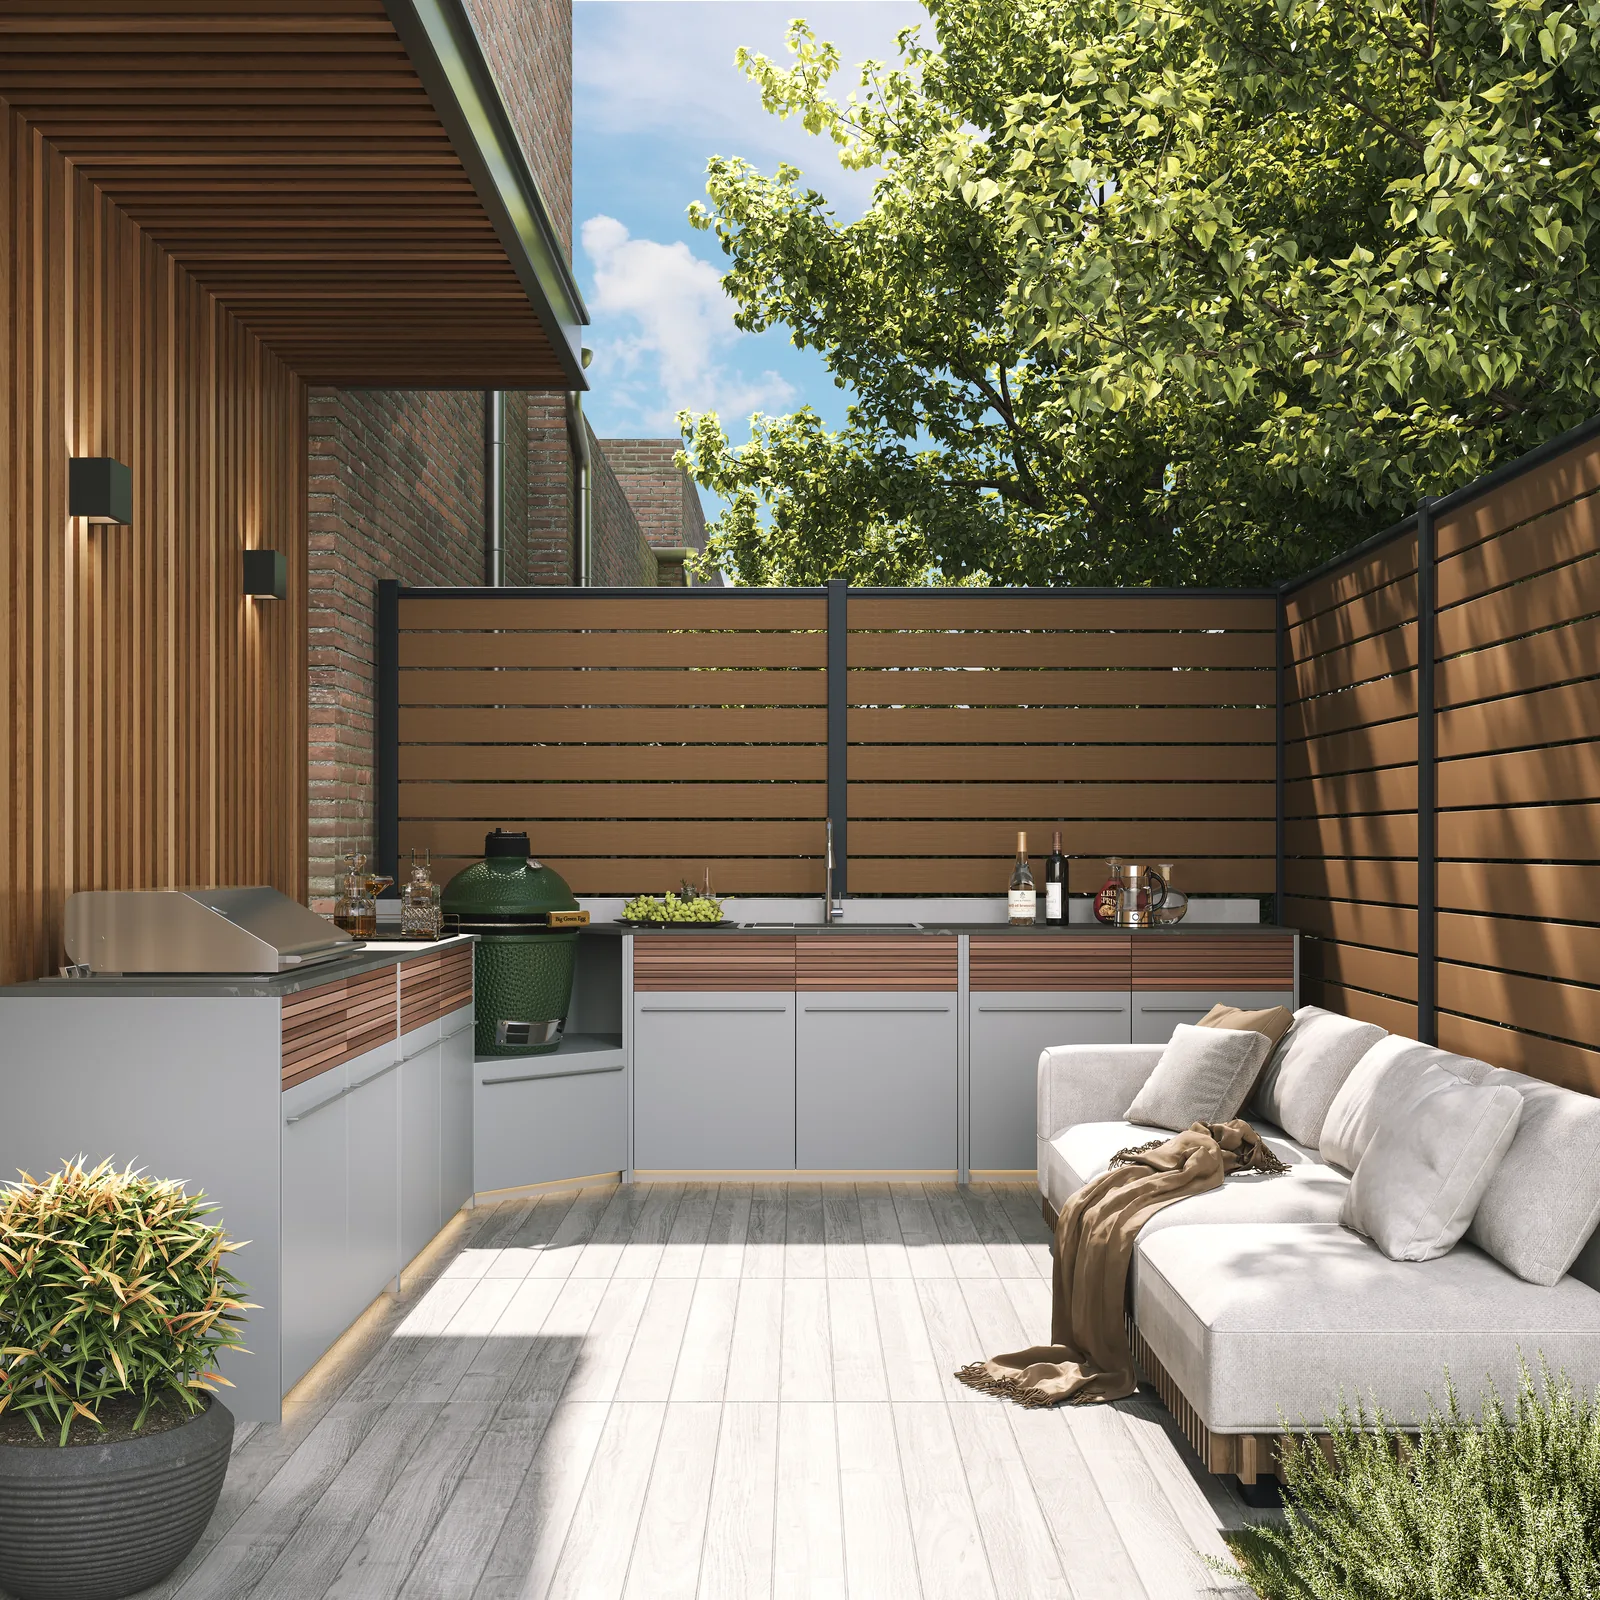 ELITE outdoor kitchen with a sintered-stone worktop and composite cabinets
Read the composite thickness as a panel measurement
ELITE lists a nominal 12 mm sintered-stone worktop and a nominal 18 mm composite cabinet. The cabinet construction uses two stainless-steel layers with an aluminum honeycomb core. The 18 mm measurement covers the composite assembly. If a specification calls for a particular surface layer, edge closure or fixing method, ask the supplier to identify those details on the drawing or on a panel sample. Use the 12 mm value for the worktop entry.
ELITE-A, ELITE-B and ELITE-C use solid teak accents below the worktop. On a finished sample, find the junction between the dark stone and the wood trim, then inspect the front below it. Ask for each part’s finish and care guidance. A display kitchen may put all three parts in the same view, which makes the visible junction a practical reference for sign-off.
Where a panel section is important to approval, ask for a view of the face layers, core and finished edge at the same location. The series-level 18 mm entry establishes the overall specification. The section or sample gives the buyer a way to review the supplied edge and its appearance beside the stone or trim.
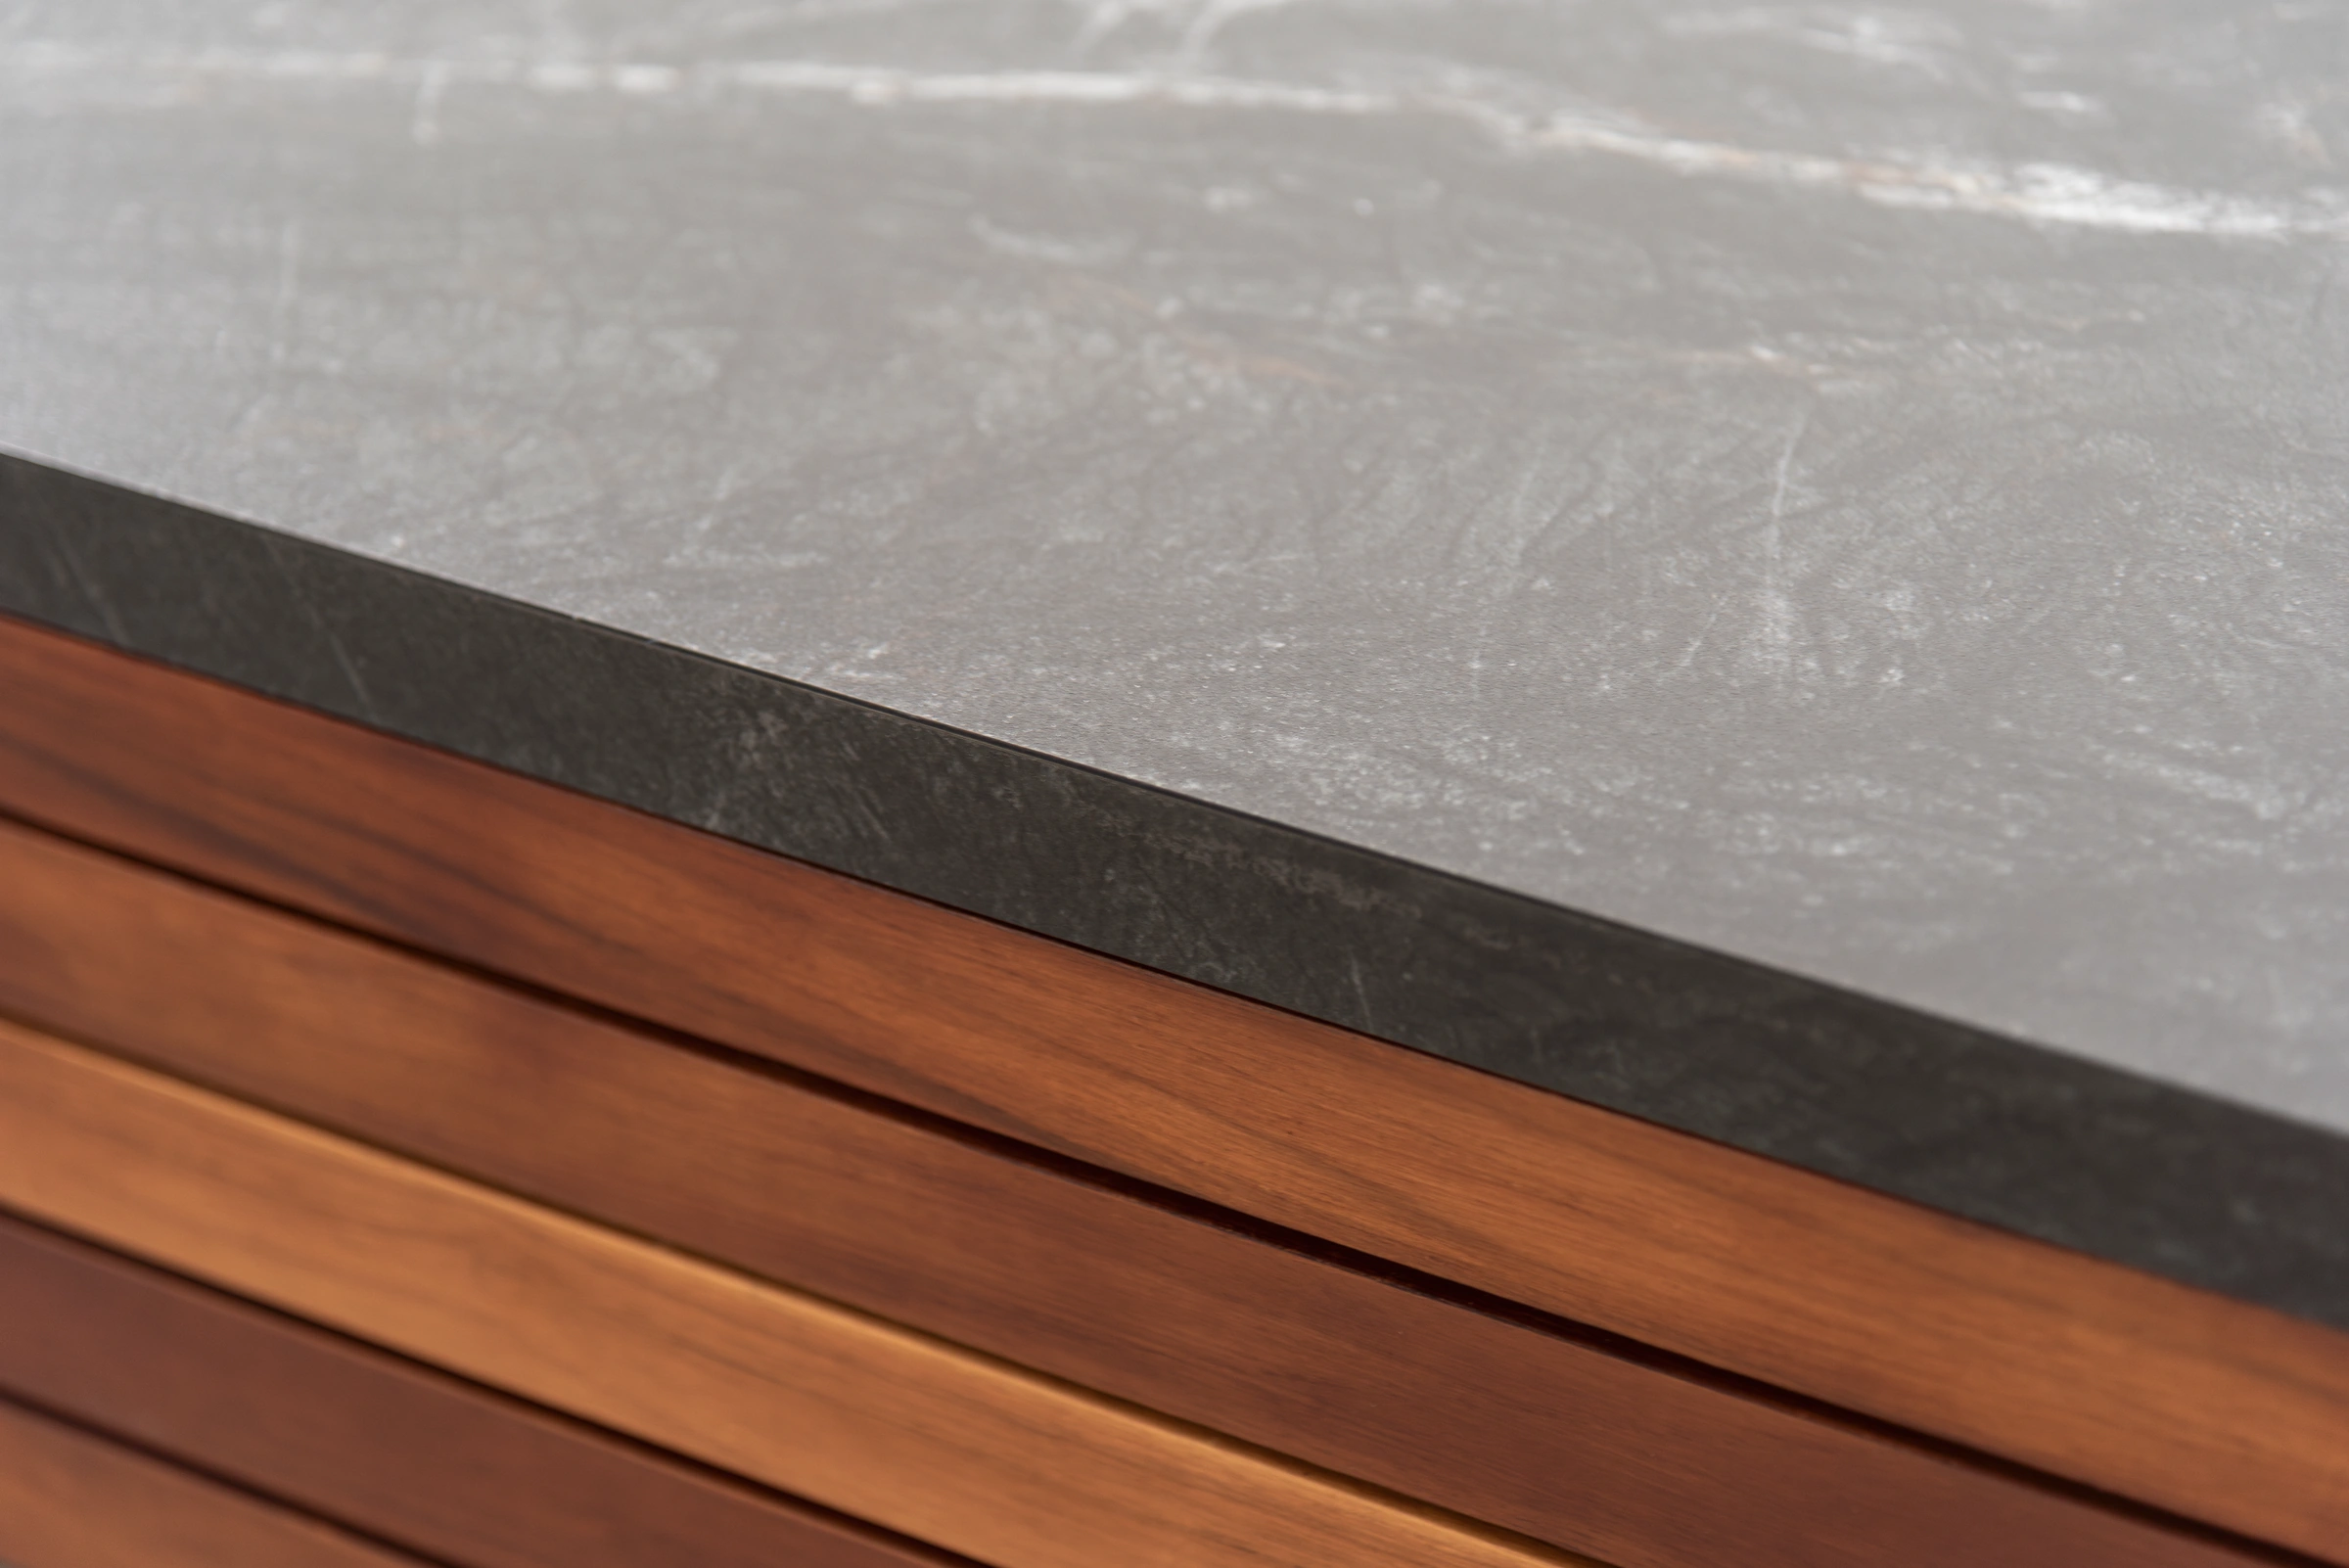 ELITE sintered-stone worktop edge above wood trim
Locate the preparation and sink units by code
ELITE-B provides a preparation surface and storage, and ELITE-C is the sink module. In the first L-shaped arrangement, the cooking and preparation positions lead to the corner kamado position, with washing on the return. The two straight options place the sink in the same run as cooking and preparation. In the extended L option, a further B module sits past the corner. Confirm which B module will serve each preparation area on the project drawing.
- ELITE-B preparation and storage cabinet. The preparation surface sits above two cabinet doors.
- ELITE-C sink cabinet. The inset basin and faucet mark the washing position.
- ELITE-A barbecue cabinet. The illustrated barbecue sits above the two cabinet doors.
- ELITE-B preparation and storage cabinet. The preparation surface sits above two cabinet doors.
- ELITE-D corner kamado cabinet. The chamfered cabinet front sits below the recessed kamado position.
- ELITE-C sink cabinet. The inset basin and faucet mark the washing position.
- ELITE-A barbecue cabinet. The illustrated barbecue sits above the two cabinet doors.
- ELITE-B preparation and storage cabinet. The preparation surface sits above two cabinet doors.
- ELITE-C sink cabinet. The inset basin and faucet mark the washing position.
- ELITE-B preparation and storage cabinet. The preparation surface sits above two cabinet doors.
- ELITE-A barbecue cabinet. The illustrated barbecue sits above the two cabinet doors.
- ELITE-B preparation and storage cabinet. The preparation surface sits above two cabinet doors.
- ELITE-C sink cabinet. The inset basin and faucet mark the washing position.
- ELITE-B preparation and storage cabinet. The preparation surface sits above two cabinet doors.
- ELITE-A barbecue cabinet. The illustrated barbecue sits above the two cabinet doors.
- ELITE-B preparation and storage cabinet. The preparation surface sits above two cabinet doors.
- ELITE-C sink cabinet. The inset basin and faucet mark the washing position.
- ELITE-D corner kamado cabinet. The chamfered cabinet front sits below the recessed kamado position.
- ELITE-B preparation and storage cabinet. The preparation surface sits above two cabinet doors.
The front details below show how the visible pulls and surrounding materials differ between METRO and ELITE. A buyer can use these views to specify which handle and finish samples to request. Check the material immediately above each pull and the way it meets the front panel. Review that junction against the hardware and trim entries in the quote for the selected module.
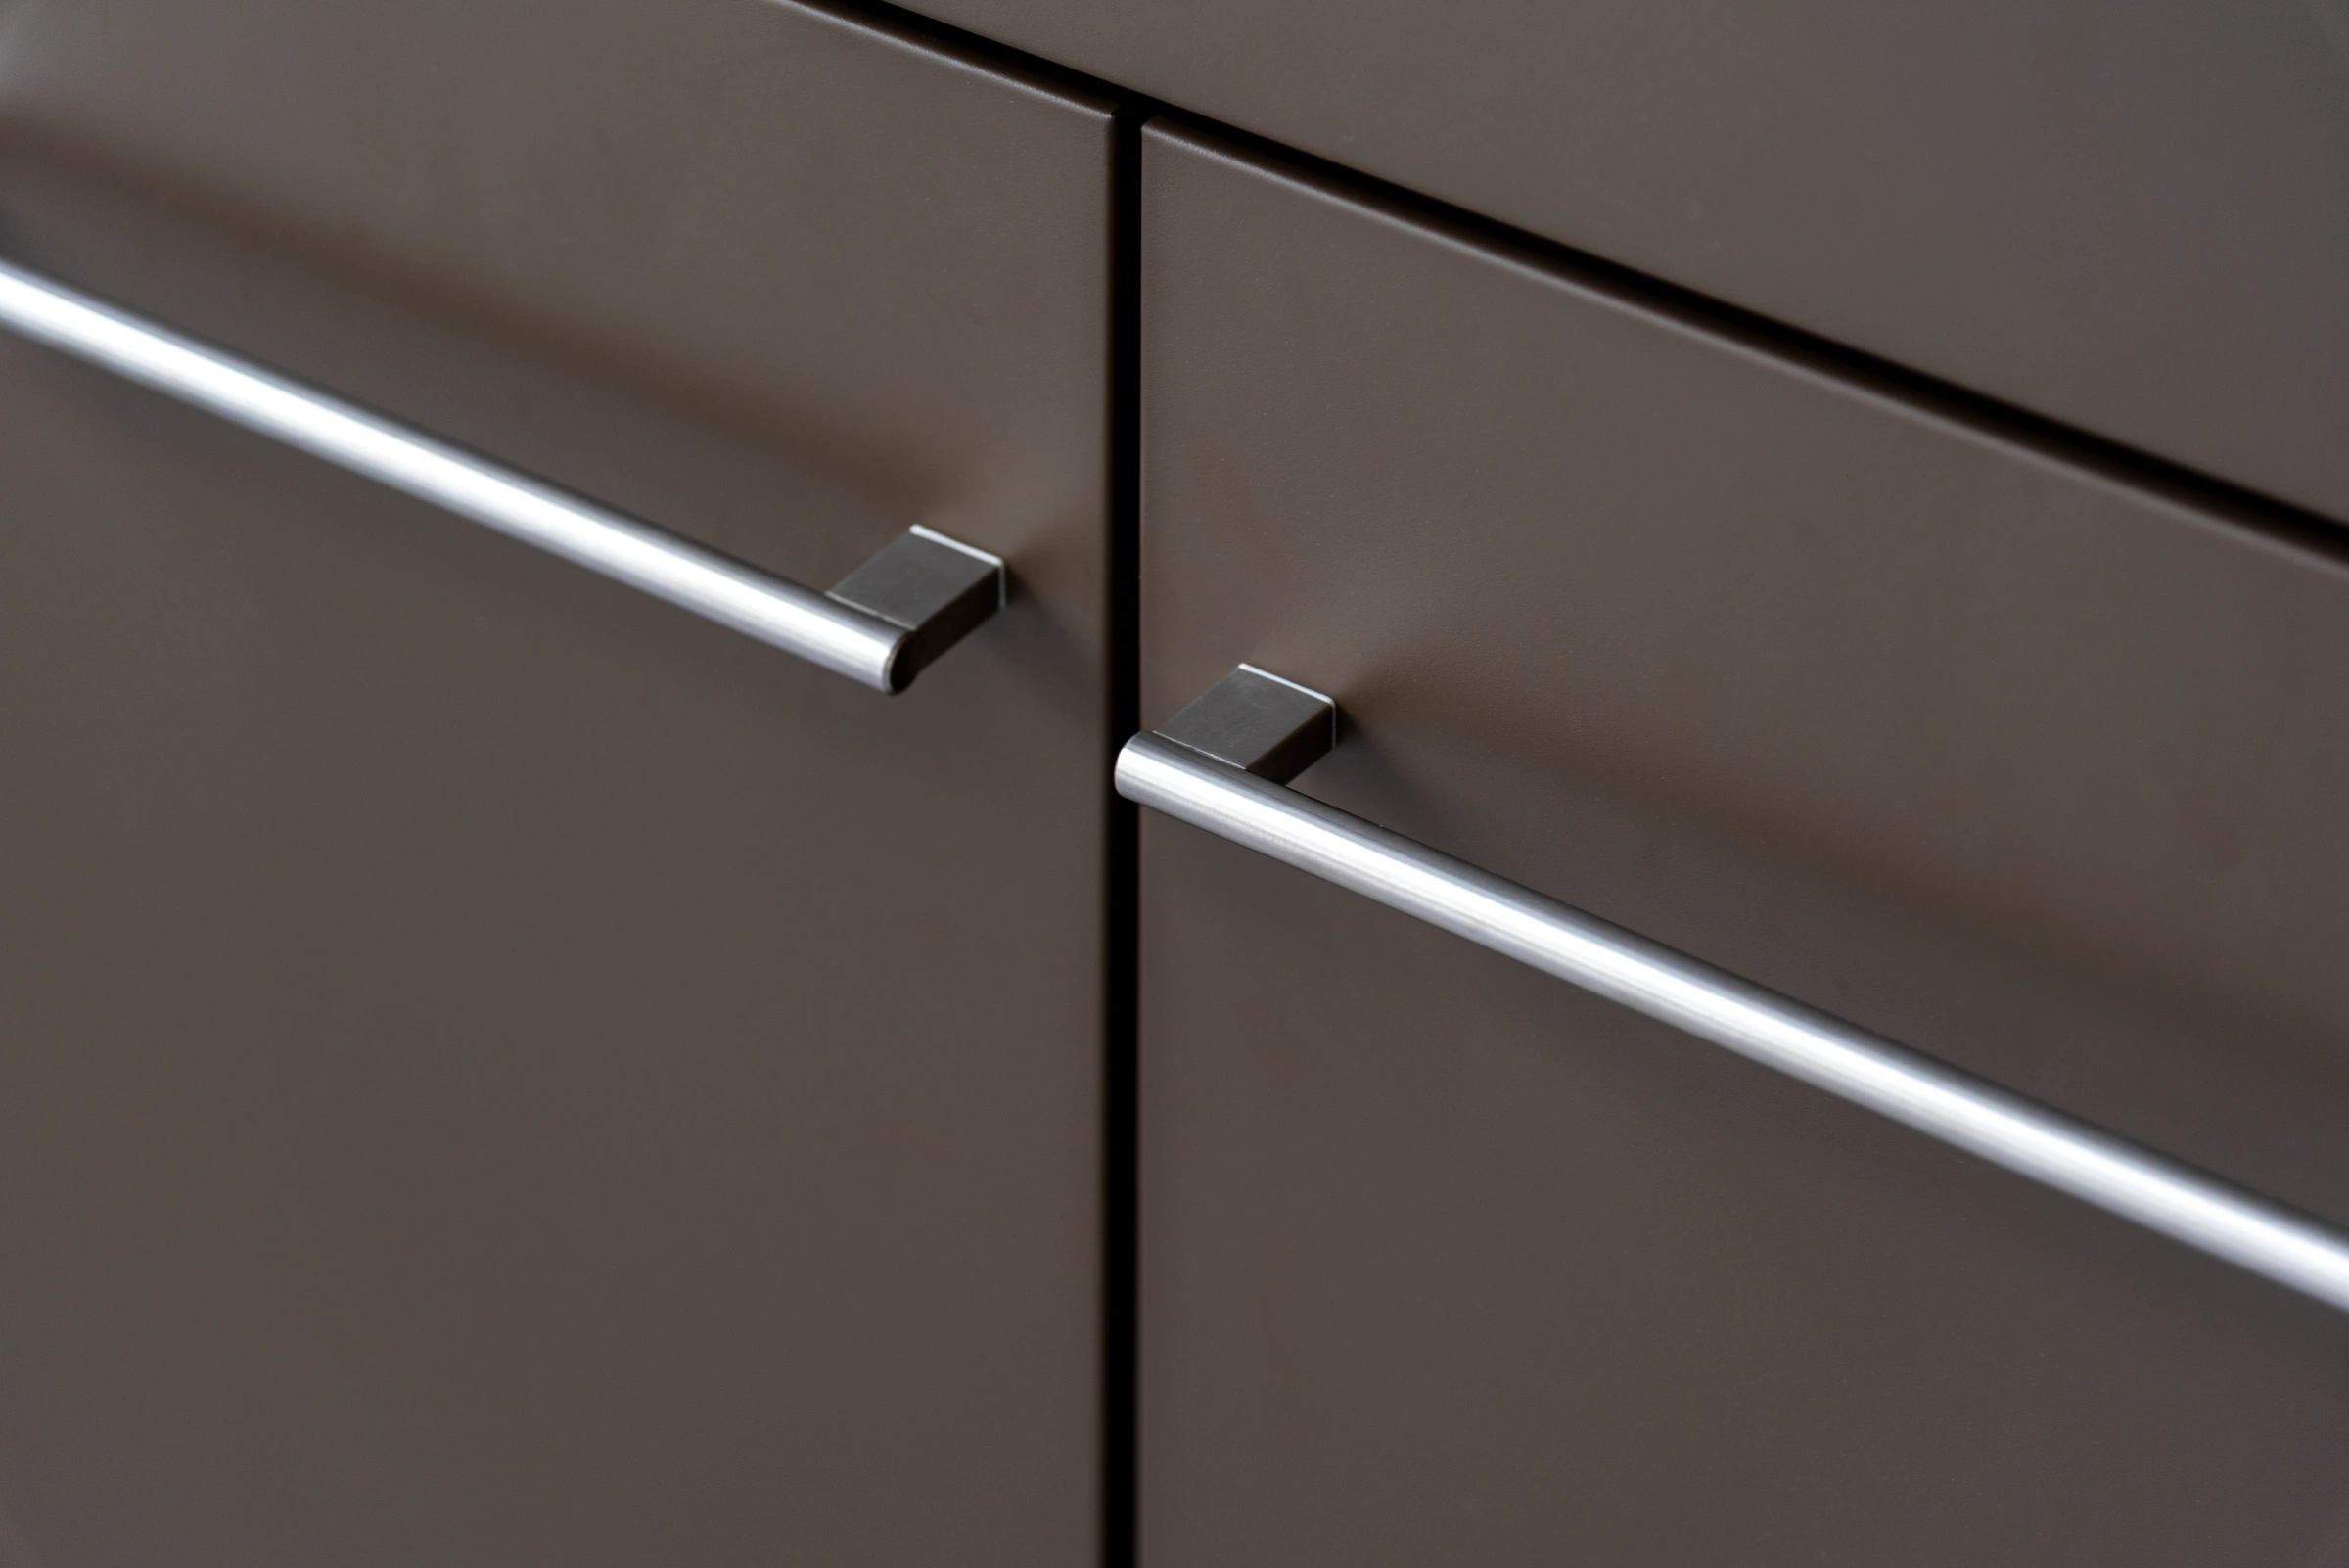 METRO long metal handles across the cabinet fronts
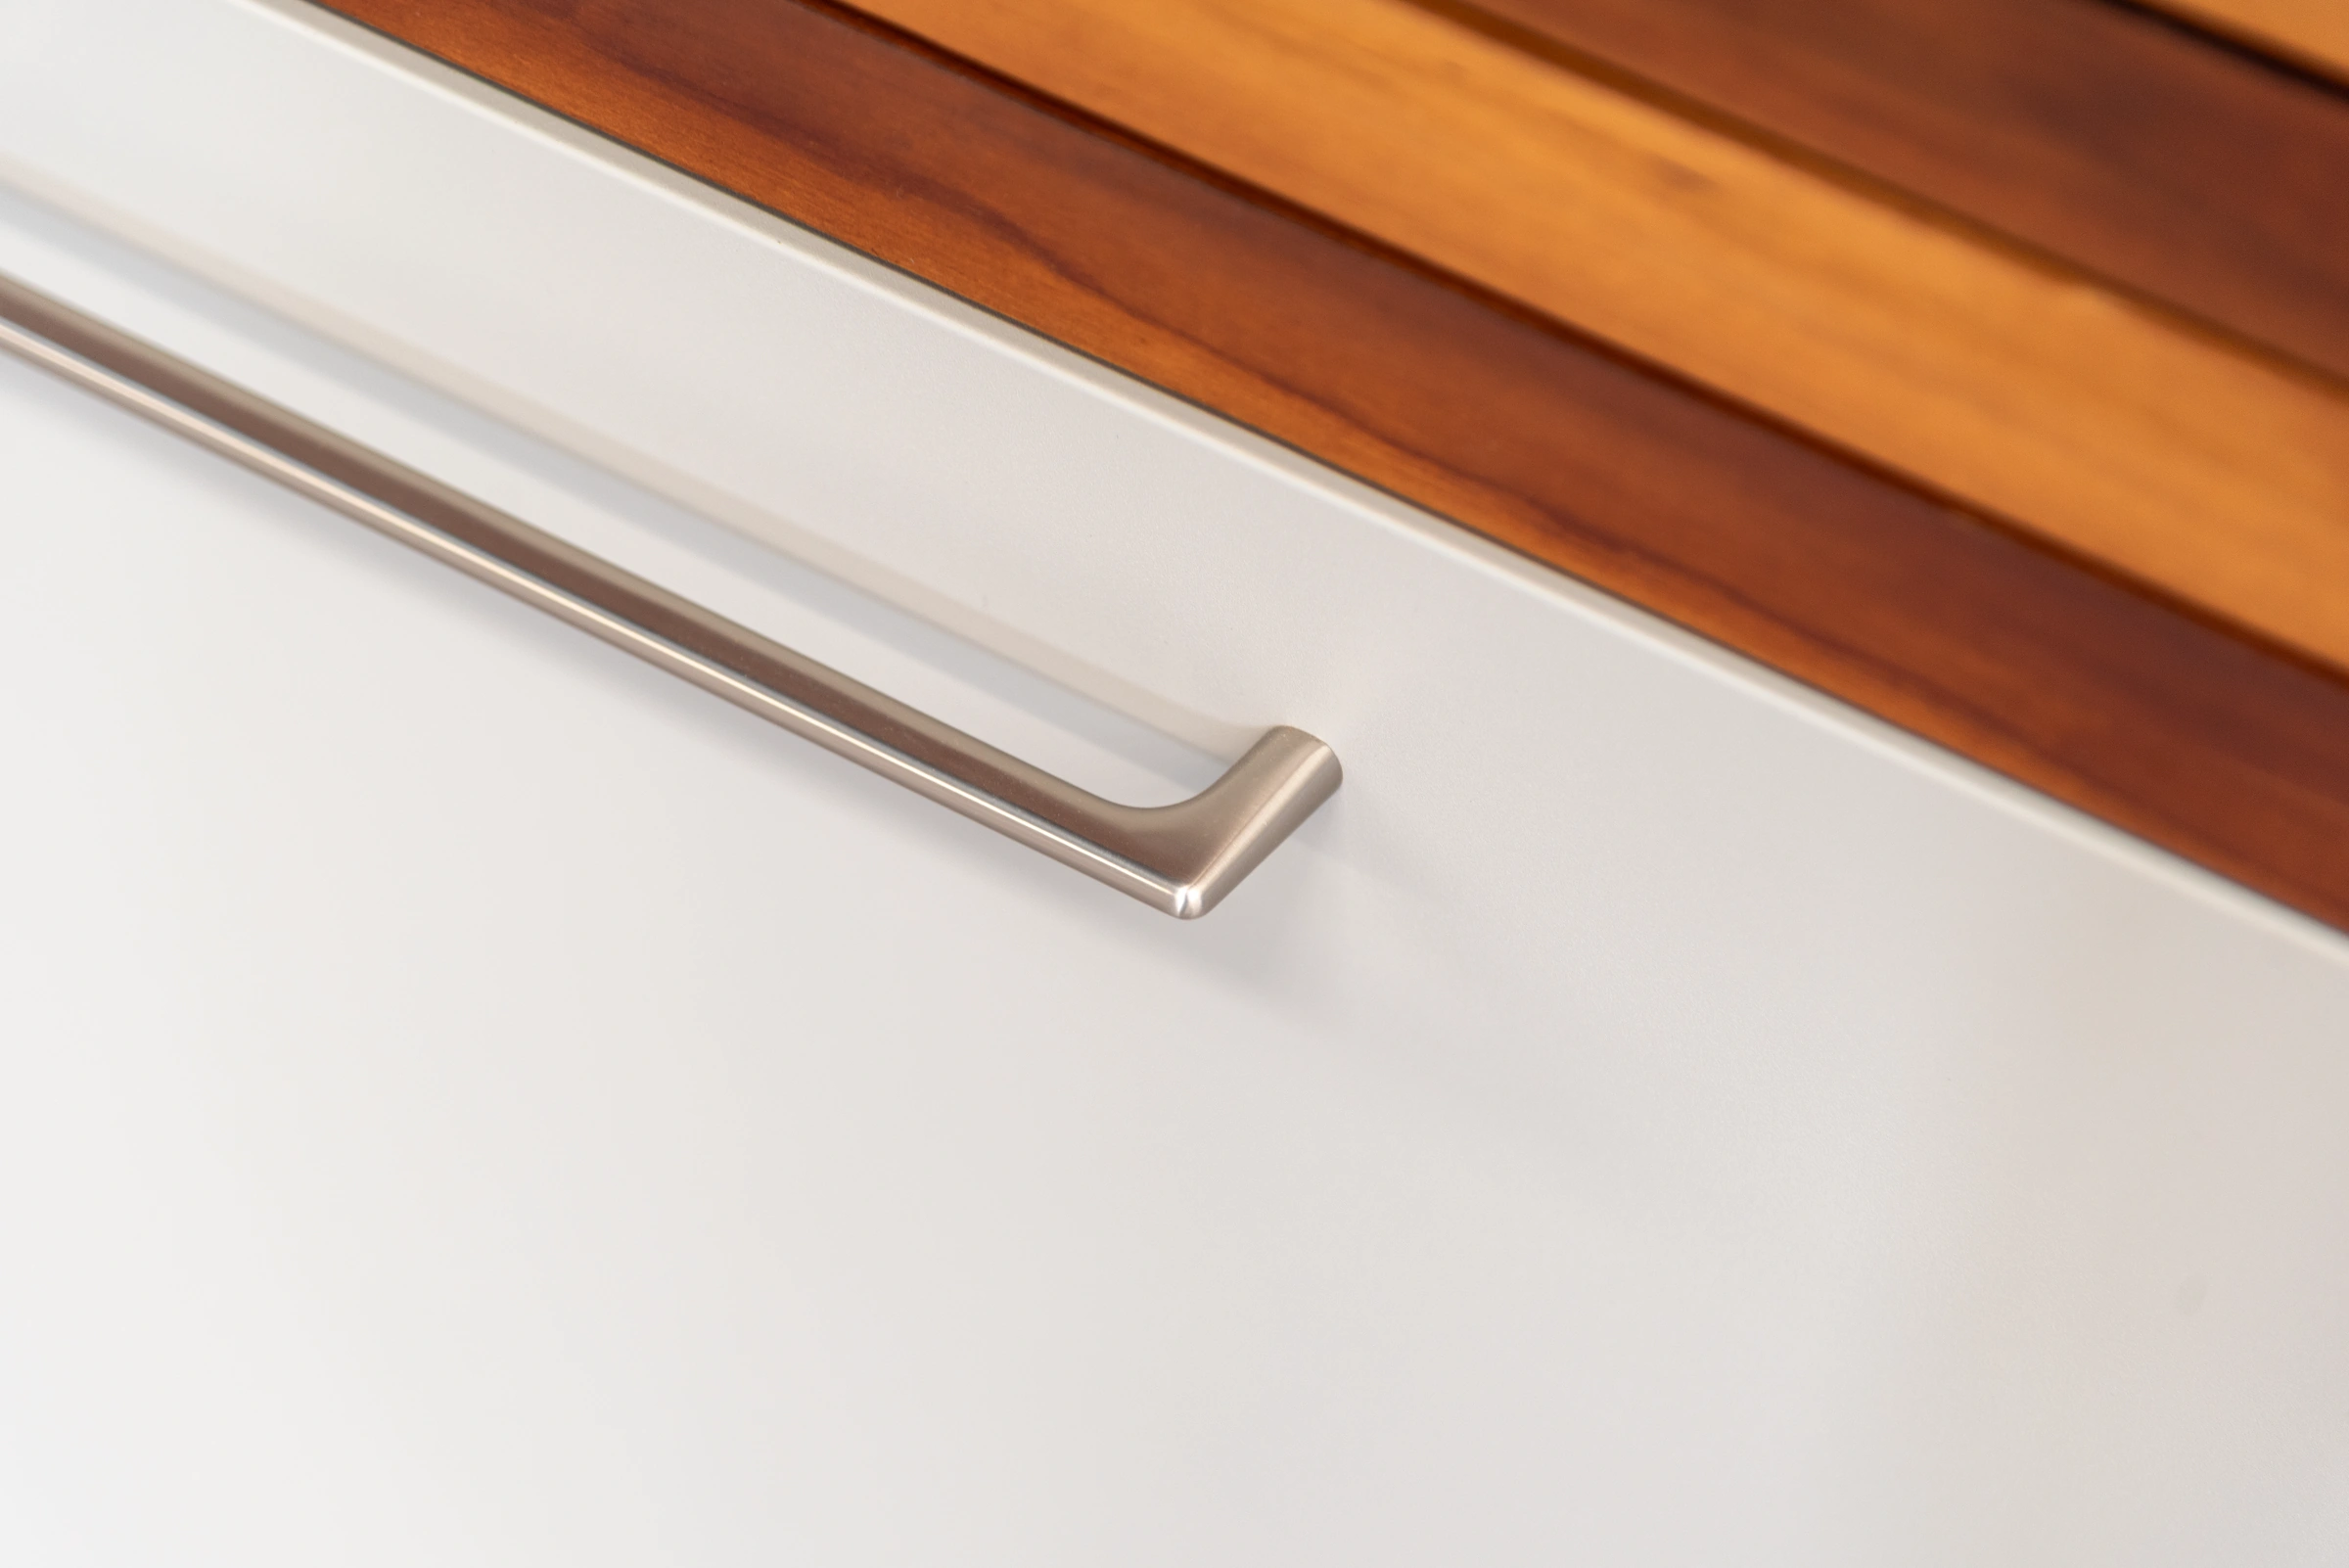 ELITE cabinet-door handle below the wood trim
Compare Outdoor Kitchen Cabinet Materials Across Series
Put the nominal thickness beside the material it describes
Start the comparison with the cabinet and worktop on separate lines. A galvanized-steel figure in the cabinet column refers to the stated sheet material. The ELITE cabinet number describes the composite assembly. If the finish, front or edge needs to be matched across a project, add its own line to the comparison after the sample is specified.
| Series | Worktop material | Cabinet material |
|---|---|---|
| AXIS | 0.6 mm galvanized steel | 0.6 mm galvanized steel |
| NOVA | 0.6 mm galvanized steel | 0.6 mm galvanized steel |
| URBAN | 11 mm sintered stone | 1.2 mm aluminum |
| METRO | 0.8 mm 304 stainless steel | 0.7 mm galvanized steel |
| ELITE | 12 mm sintered stone | 18 mm total composite, two stainless-steel layers and aluminum honeycomb |
Choose a series to review with the intended layout
The AXIS galvanized-steel modular outdoor kitchen cabinet system lists galvanized steel for the worktop and cabinet. The NOVA compact galvanized-steel outdoor kitchen cabinet modules list the same nominal material pair in a different set of modules. Choose a layout before requesting a specimen so the sample represents the front, shelf or corner condition the buyer wants to inspect.
The URBAN aluminum-cabinet outdoor kitchen with a sintered-stone worktop pairs a stone work surface with an aluminum cabinet. If URBAN and ELITE are both on the shortlist, review the cabinet sides and fronts together with the worktop samples. Capture the cabinet construction in the procurement schedule even if the two worktops share a material family.
A showroom and an installed project may need different samples from the same series. A showroom buyer may want a junction that visitors can touch. A project purchaser may need an end cabinet and a countertop edge representative of an exposed position. State which sample you want and link it to the same configuration that appears in the quotation.
Ask a modular outdoor kitchen supplier supporting tailored cabinet specifications to review the chosen configuration, the required visible faces and the proposed place of installation. For multi-site orders, indicate which finishes must match the first delivery and which site-specific changes should appear on a separate drawing revision. That keeps the quote comparable as module quantities or arrangements change.
Build the RFQ and Approve a Representative Sample
Write the procurement record for the exact module
For a METRO-D quotation, start with the published 0.8 mm 304 stainless-steel worktop and 0.7 mm galvanized-steel cabinet material. Then give the front finish, hardware finish and zinc coating specification fields their own entries for the manufacturer to confirm. Identify the position of the module in the chosen run and include adjacent cabinets if their joints, visual alignment or service clearances affect the review.
- Identify the selected series, layout revision, module codes and counts on the quote and drawing.
- List cabinet, front, trim and worktop materials alongside their thickness basis and finish where applicable.
- Describe the expected outdoor exposure, visible faces and approved sample reference.
- Agree who supplies each fitting or appliance and who receives the care instructions.
Compare the production sample with the quoted schedule
Choose an assembled sample that shows a representative cabinet edge, door or drawer joint, handle and worktop transition. Open the cabinet and review the places that are concealed in the closed view. Confirm that the finish sample corresponds to the substrate specified on the sheet. Hold the drawing and sample references together so purchasing, inspection and installation can verify the same construction when a change is proposed.
Use the modular outdoor kitchen systems and cabinet material options to narrow the series under review. Send the chosen module plan and list of open questions to the supplier before approval. After signing off the sample, record the final order scope and the care instructions expected with delivery. A distributor can use that same record to answer questions about the materials, use conditions and replacement parts later.
Frequently Asked Questions
Can cabinets and worktops use different materials?
Yes. A worktop and cabinet serve different functions and can use different materials. In METRO, the worktop is 304 stainless steel and the cabinet is galvanized steel.
What should buyers inspect on galvanized cabinet edges?
Check cutouts, formed edges and fixing holes on the assembled sample. Ask which treatment applies at each exposed edge and confirm that production will follow the same specification.
Are outdoor kitchen cabinets weatherproof?
Outdoor protection depends on the chosen model, finish, installation and exposure. Give customers the applicable installation conditions and care instructions for the exact cabinet they are buying.
What does composite cabinet thickness measure?
It measures the assembled panel. ELITE specifies a nominal 18 mm composite made from two stainless-steel layers and an aluminum honeycomb core.
How should buyers approve aluminum finishes?
Review samples on the specified material and compare adjoining panels under the same light. Record the acceptable color, texture, gloss and sample revision.
What material fields go into an outdoor kitchen RFQ?
State the worktop, cabinet body, front and trim materials. Add the thickness basis, finish, module code and site exposure, plus the required hardware or equipment scope.
Materials, hardware and installation requirements vary with the modules, site and order scope. We offer customization subject to the project, and confirm the available options and final specifications for each order.
