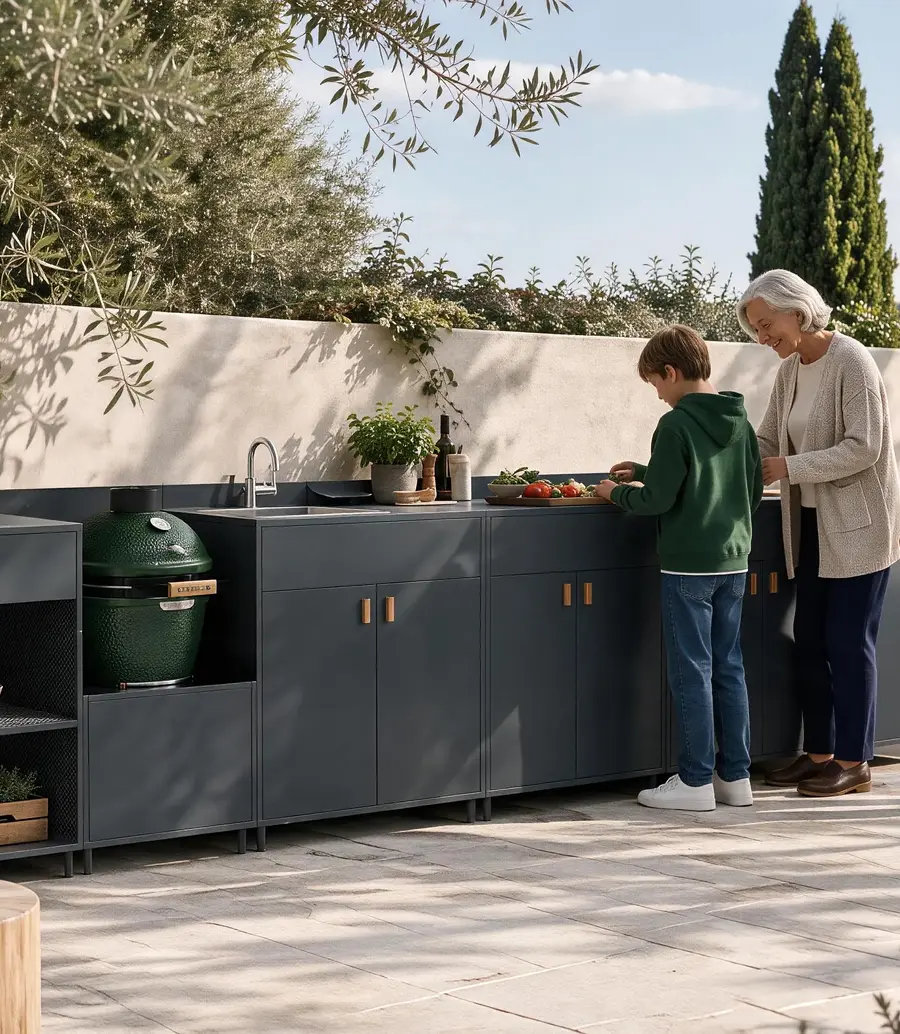
A straight-line outdoor kitchen fits when the main tasks work along one run and the area in front stays usable. An L-shaped outdoor kitchen earns its return when the second leg provides work surface, storage or a serving point the project can use. Compare both plans with the same activities, equipment and site boundaries. Then test the route past each kitchen with cabinet doors, appliance doors and drawers open.
Compare Both Layouts Using the Same Work Sequence
Trace preparation, washing, cooking and serving
Start with the tasks and the people who perform them. Show where ingredients arrive, where someone washes or prepares them, where cooking takes place and where finished dishes are set down. Add a return route for dishes and waste if those tasks happen outdoors. Apply the same list to both configurations. With a common set of tasks, a designer can see which moves change when a station turns onto a second leg.
For an outdoor kitchen layout, count worktop where the user can actually place and move things. A sink interrupts the surface. A cook may need a landing area beside the appliance. A lid, stored equipment or a backsplash can affect how a portion of the surface is used. On the plan, outline the places reserved for preparation and serving instead of relying on total counter length. The two details below show a NOVA preparation surface and a recessed pull in a METRO worktop lid. Check how each feature affects the clear surface needed for the task.
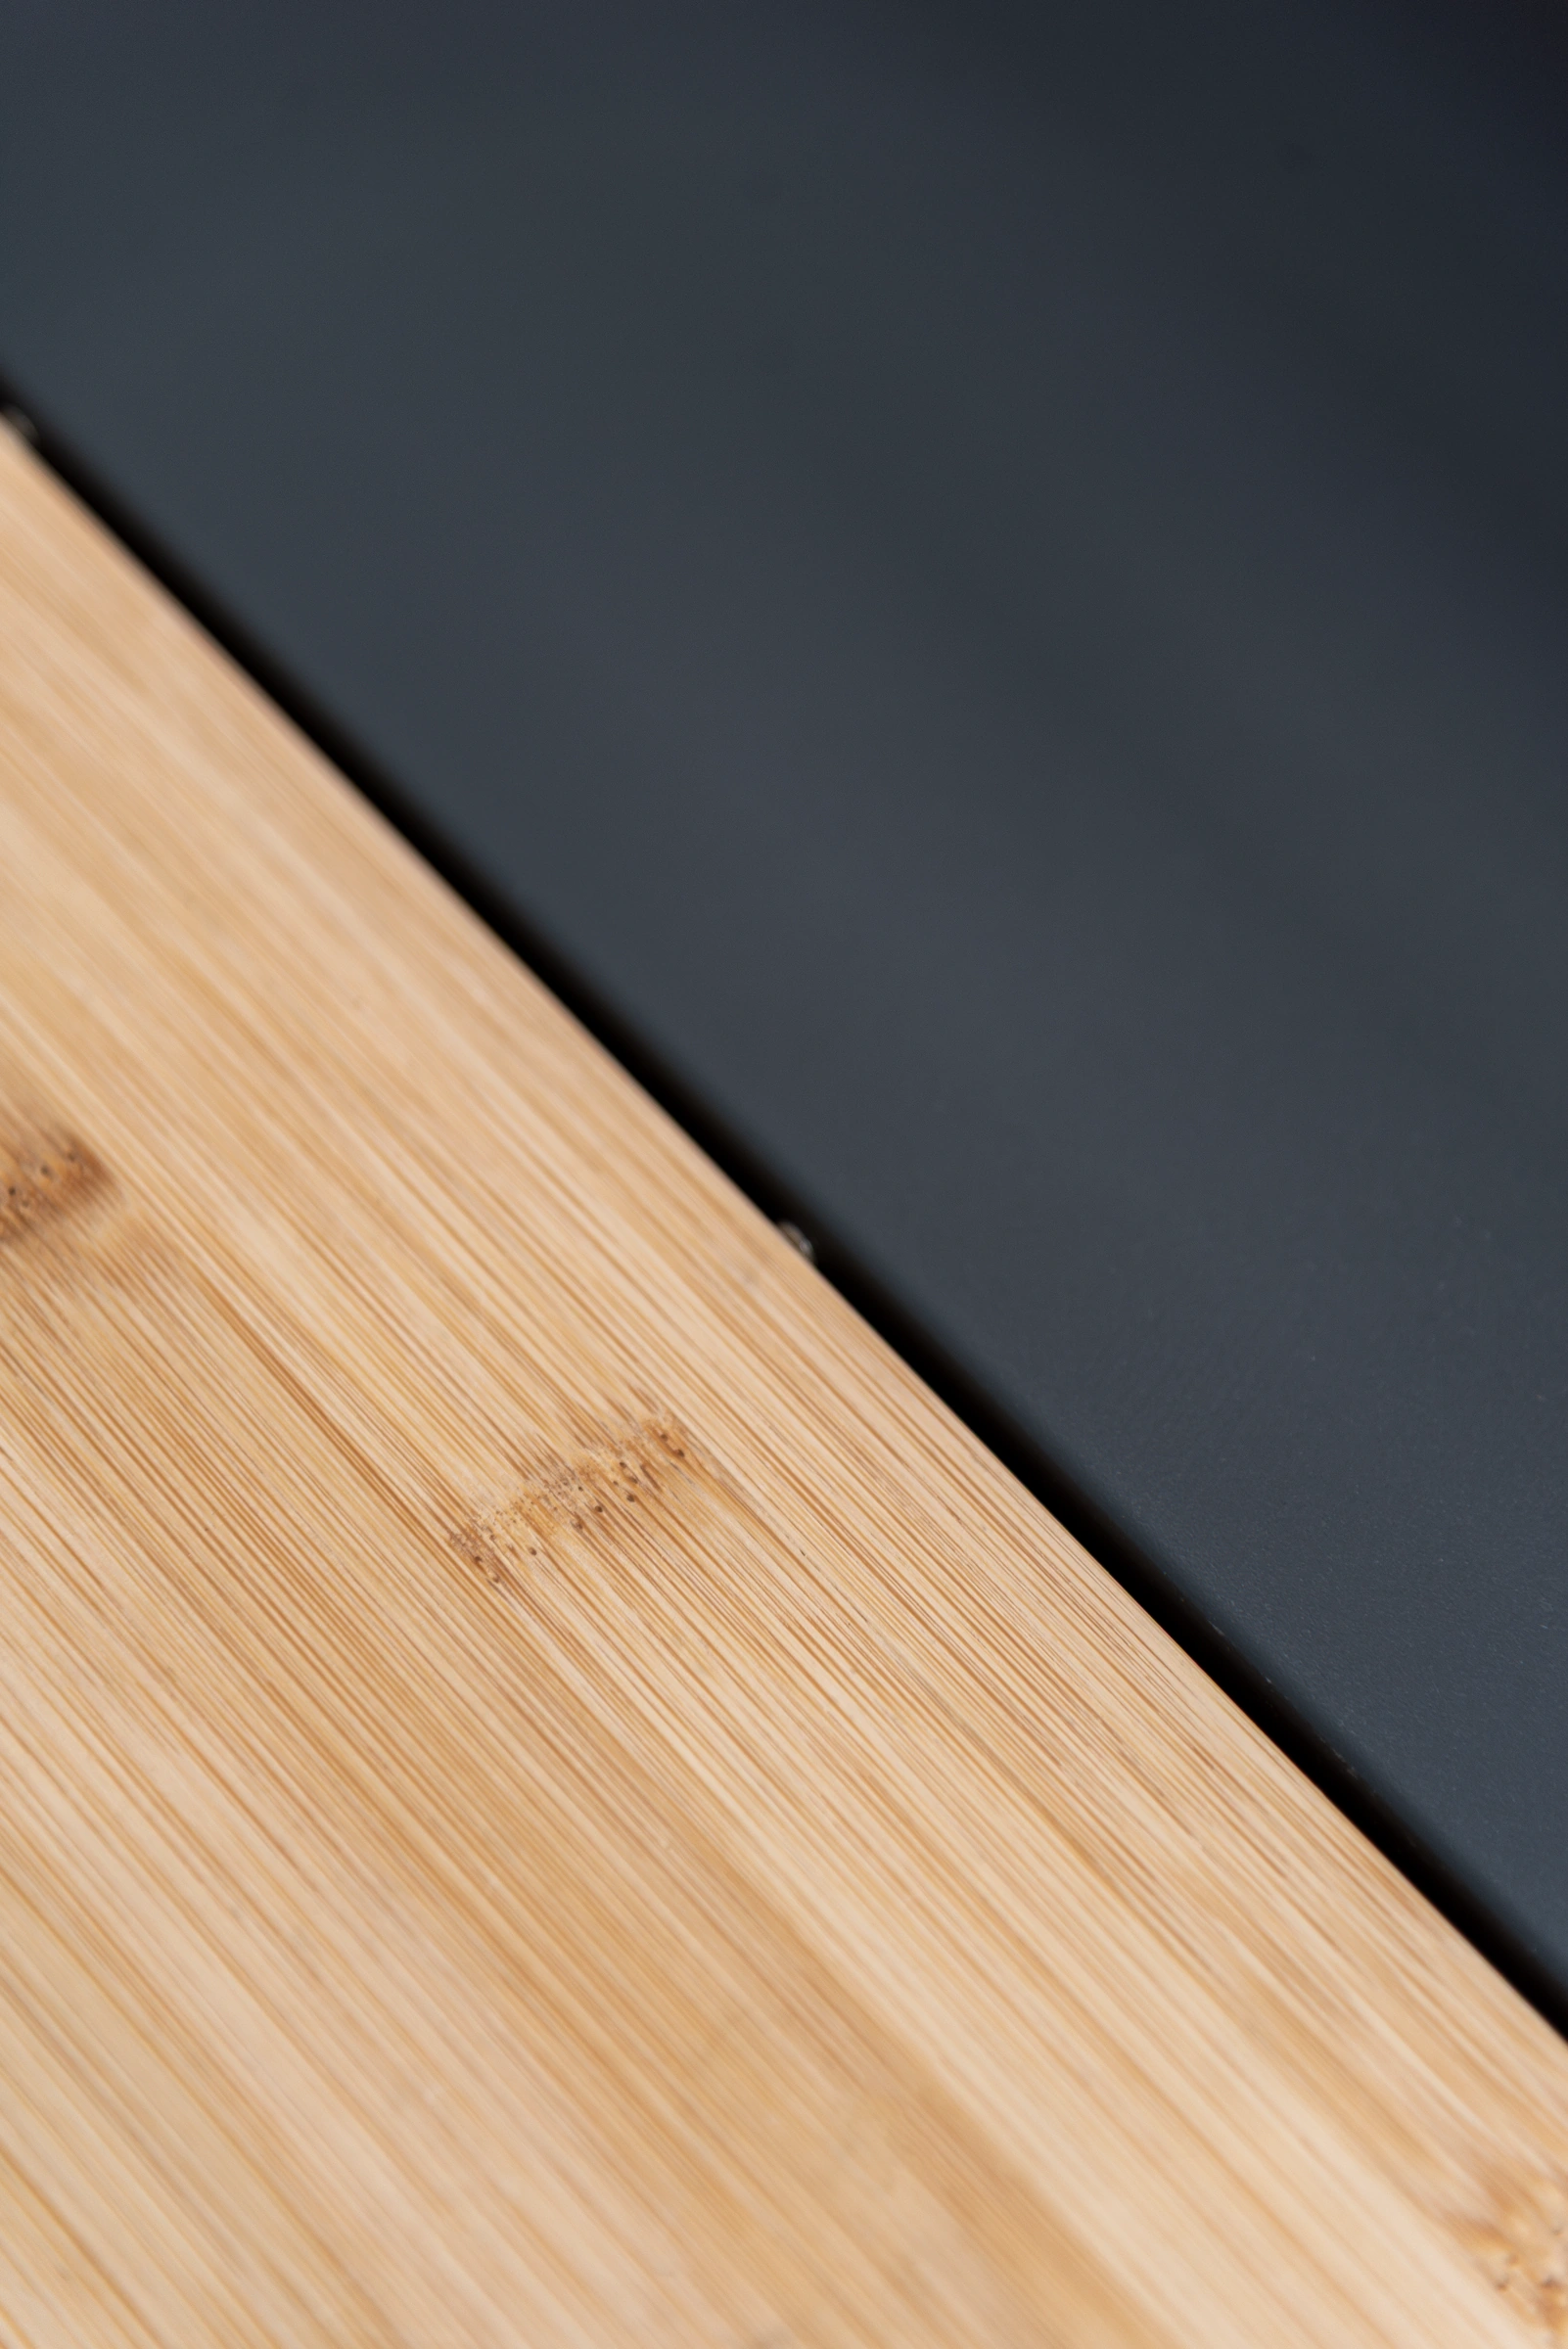 NOVA wood-grain preparation surface
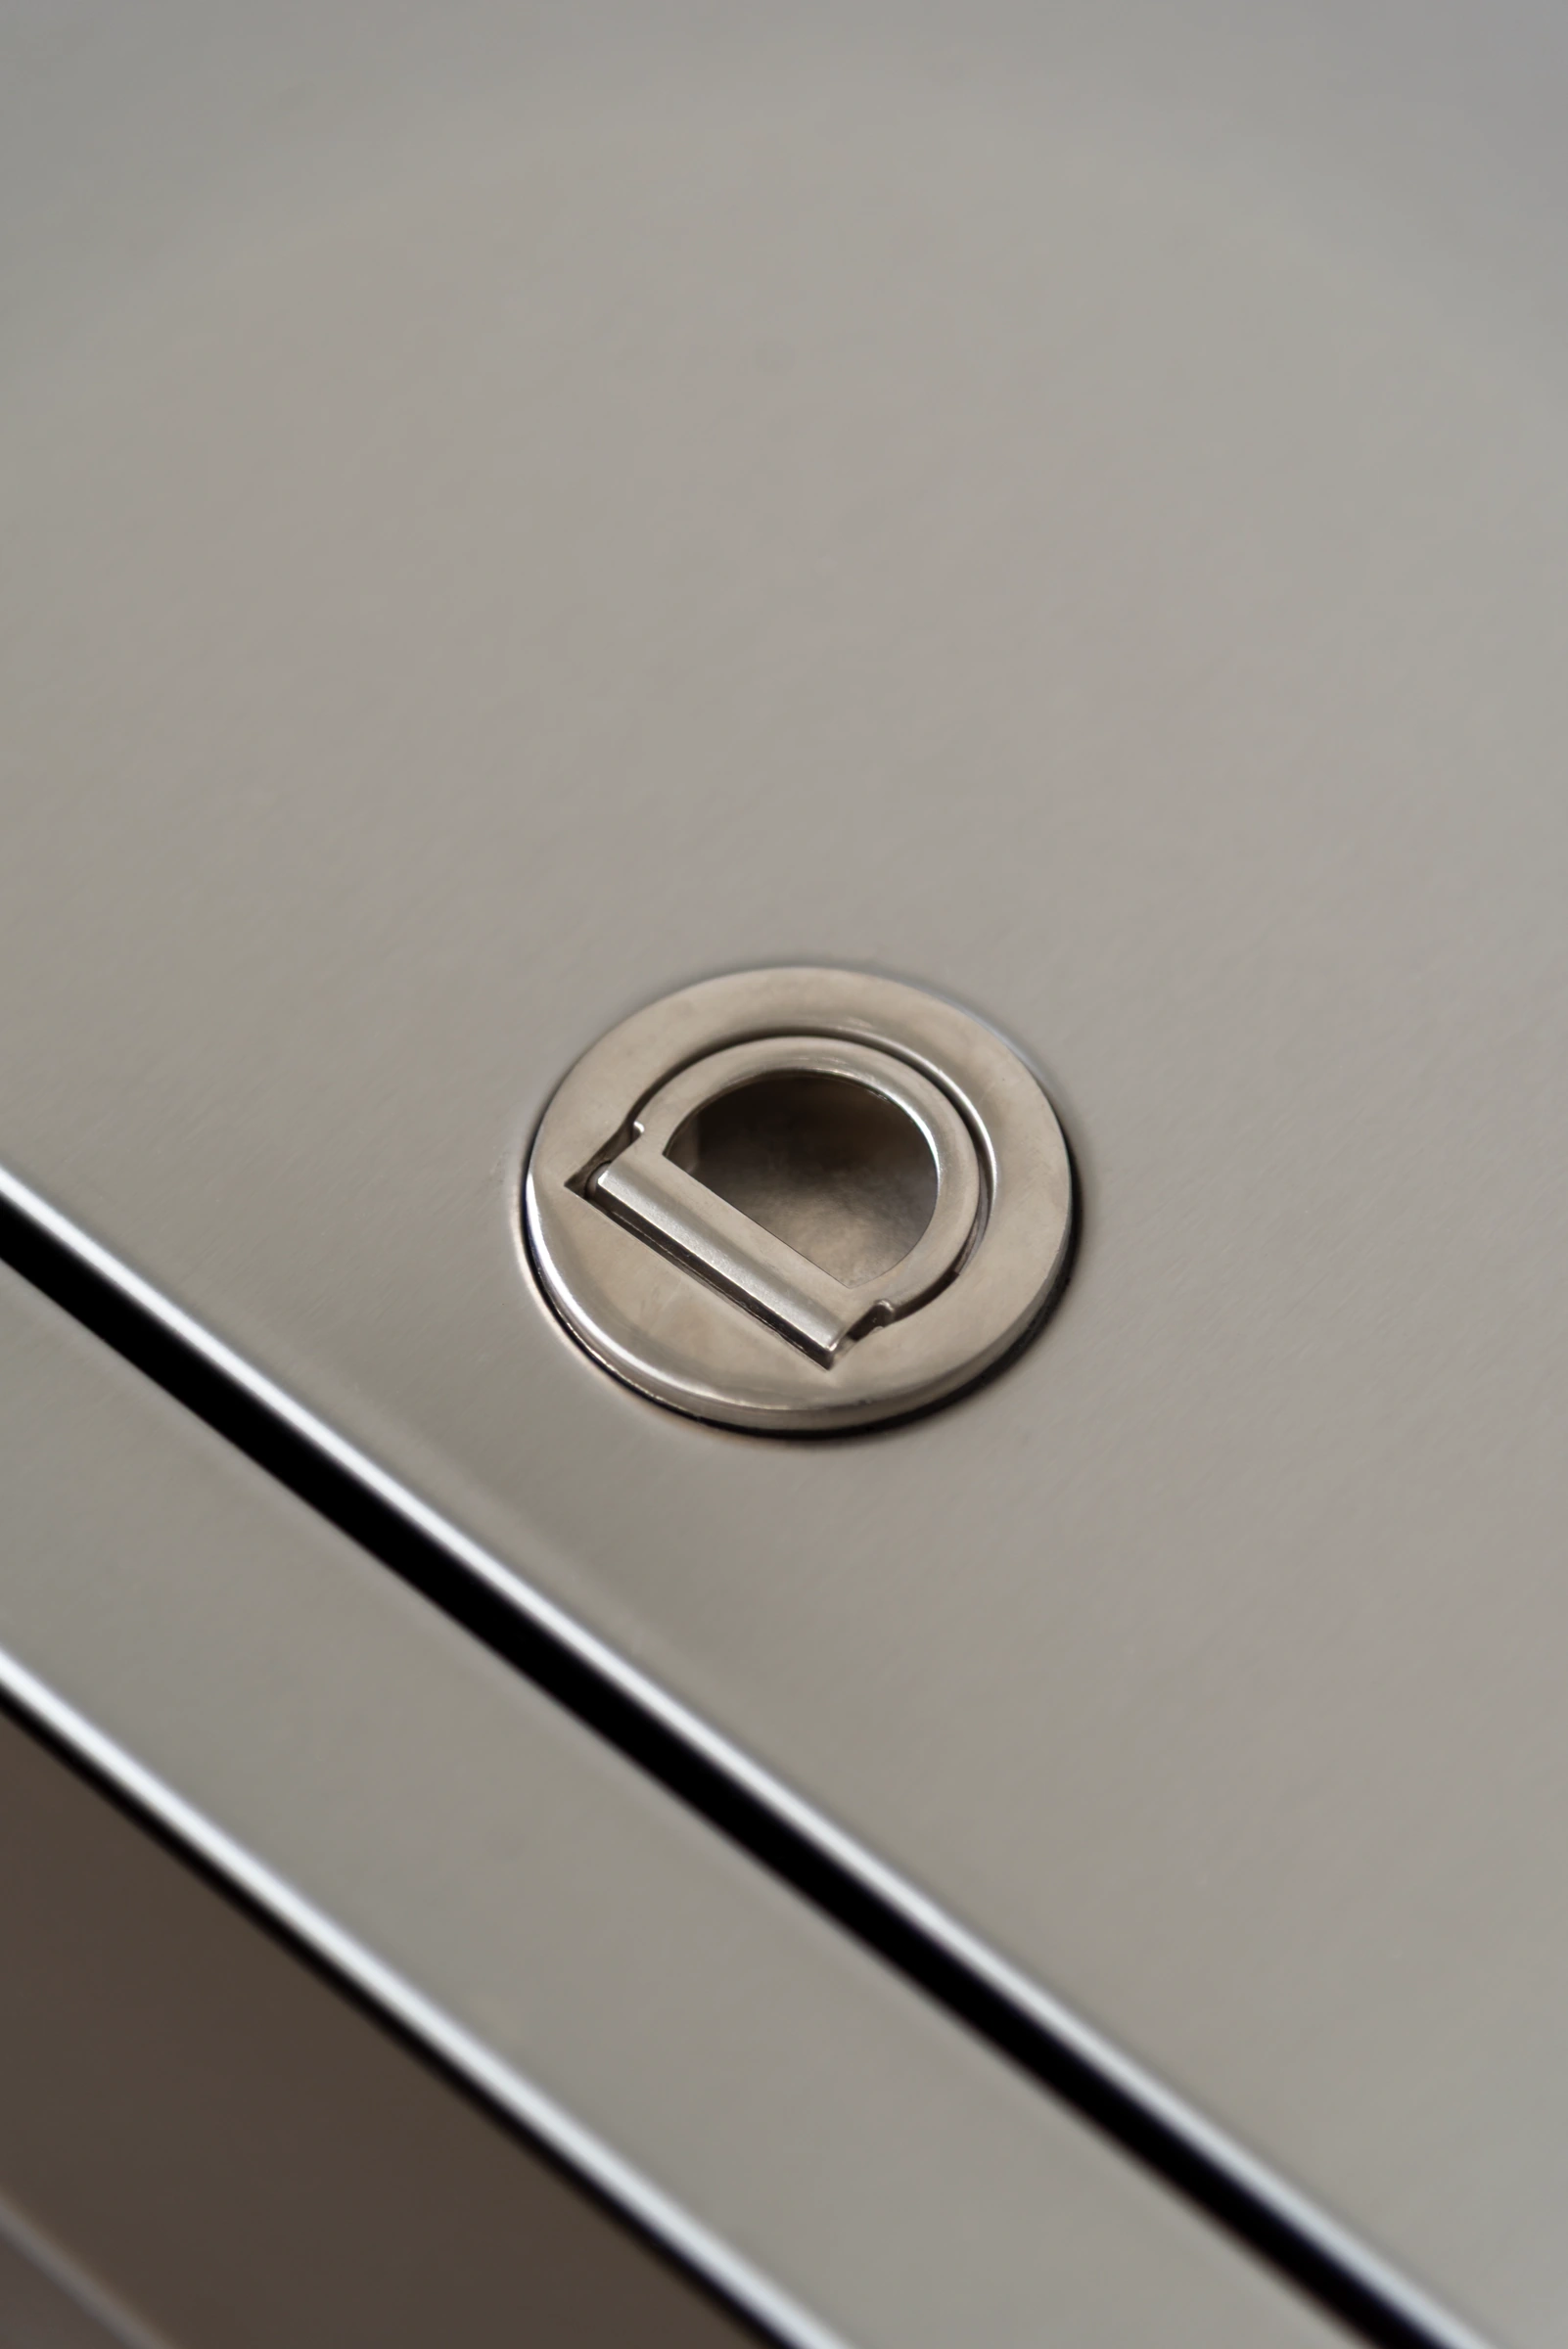 METRO countertop lid with a flush ring pull
Map storage to the step it serves. A shelf close to preparation may hold items the cook uses often, while an enclosed cabinet can serve an end of the run where items are put away. Treat washing as a destination in the workflow. On the METRO sink detail below, the faucet and basin identify the work point whose approach and connection need to be checked on the selected plan. For choosing the stations themselves, see the outdoor kitchen module planning guide.
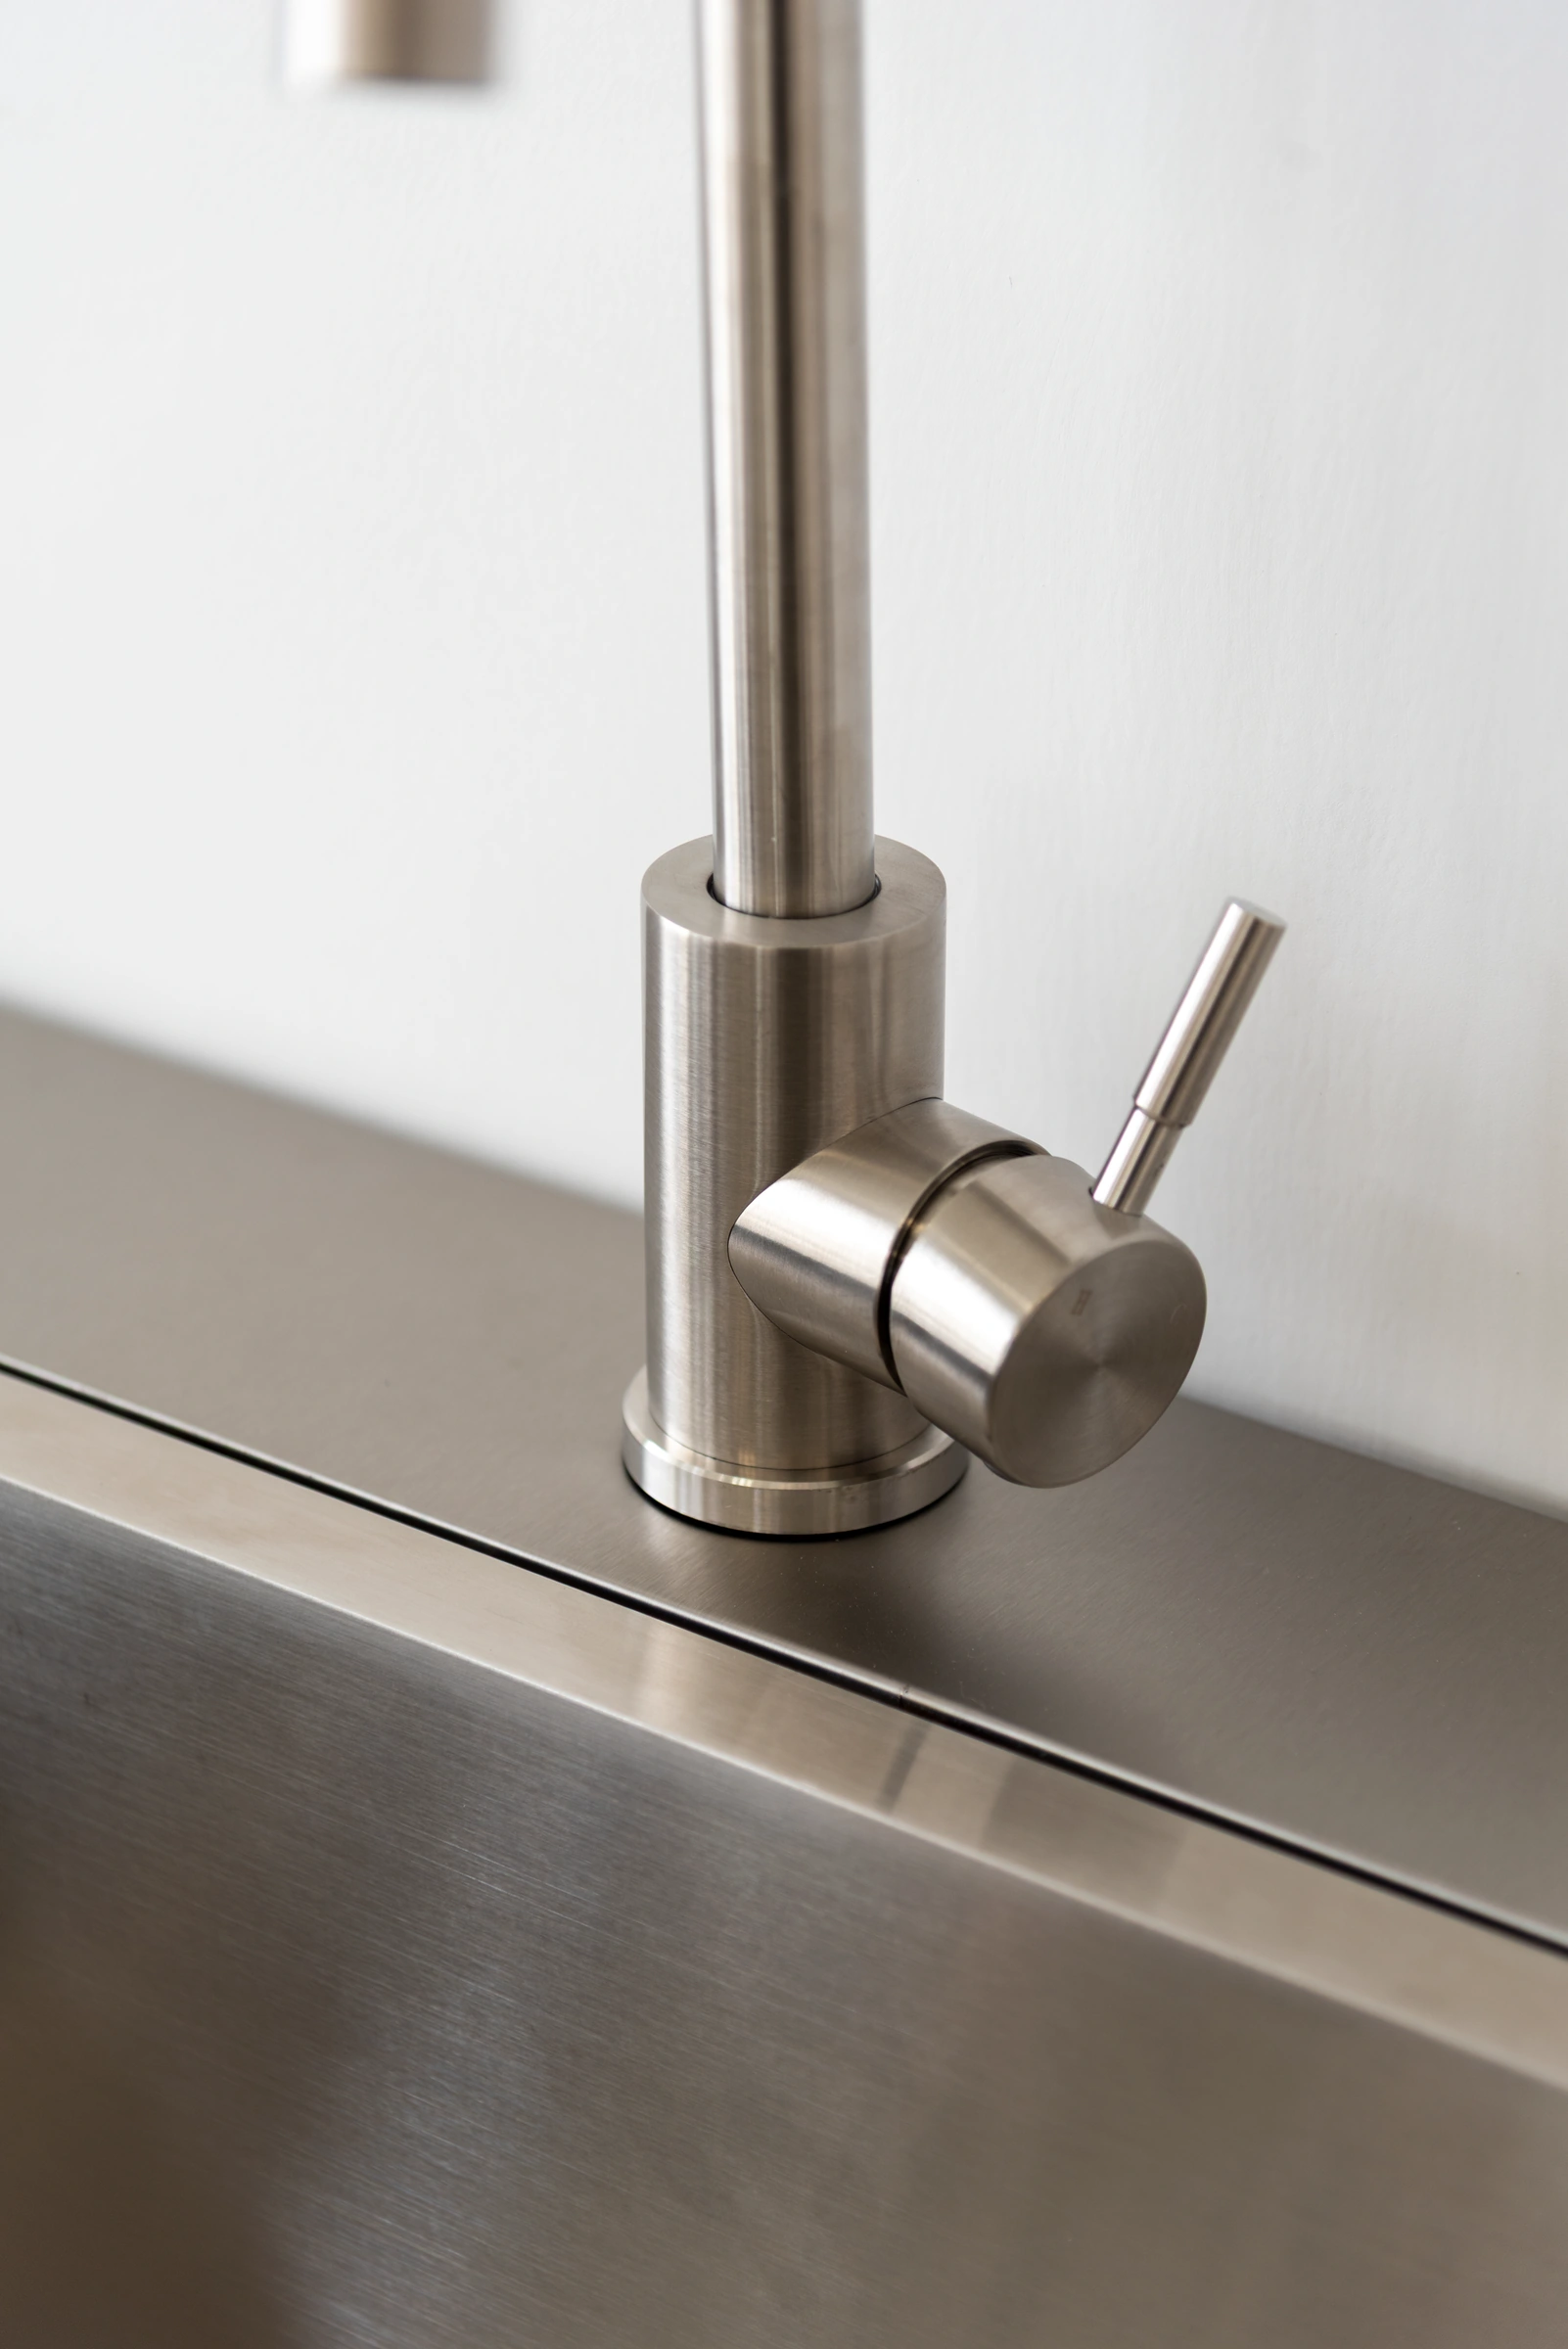 METRO faucet and sink edge at the washing station
Mark the routes for people using or passing the kitchen
Draw a route for the person working and another for anyone passing through or collecting food. Start those lines at the actual entrances to the space. A kitchen may look open on paper while a door from the house or a path to the dining area brings people directly past the hot or wet station. Test the route in both directions and with more than one person where that is part of the brief. Use the same site outline in the straight and L-shaped sketches.
Include fixed boundaries and ordinary obstructions. Edges of steps, columns, walls, planting and table positions can change how much of the plan is useful. Mark any required route for the project and show the appropriate approach or turning space for users. For projects subject to U.S. accessibility requirements, the U.S. Access Board guide to clear floor and turning space explains the underlying concepts. Confirm the provisions that apply to the specific location and use.
Test an ordinary busy moment on both plans. For example, one person can be taking a pan from a cabinet while another brings clean plates from the house. Indicate where each can stand with the relevant cabinet open. Then trace a third person passing the kitchen if that is likely at the site. This check can expose a bottleneck that a view of the closed cabinets misses.
- Straight work route. The solid blue arrow follows the sink, preparation surface and cooking positions on one run.
- Straight guest route. The dashed line stays on the open side of the work zone.
- Open drawer. Reserve front access with the drawer fully extended.
- Serving end. Check how dishes reach the dining area without blocking a cabinet front.
- Corner door swing. Check whether the door leaf and the adjacent face can both open as intended.
- L-shaped work route. The blue line turns from the main run toward the return.
- L-shaped guest route. Keep the dining approach outside the operating area.
- Cooking on the return. Verify that the return still leaves approach, operation and service space.
| Planning check | Straight-line layout | L-shaped layout |
|---|---|---|
| Work sequence | Arrange preparation, washing, cooking and serving along one run. | Assign each task to a leg and show what happens at the turn. |
| Usable surface | Mark clear work areas between the sink and equipment. | Measure usable areas on the main run and return separately. |
| Open fronts | Check where open doors and drawers project into the front route. | Check the movement on both legs and where the openings meet. |
| Passing route | Trace from the actual entrance along or around the run. | Trace the approach past the outside end of the return. |
| Storage access | Draw where people stand to open and reach cabinets. | Confirm how users approach the corner and adjoining storage. |
When a Straight-Line Outdoor Kitchen Fits
Use one run to keep a route open
A linear outdoor kitchen places the stations along one side. It can suit a terrace where a second leg would occupy a valuable strip of depth. That benefit depends on where people enter, how equipment projects into the space and where the route continues. Place the kitchen run, the furniture and the route on the same drawing. A narrow area with a long wall may provide room for the cabinets while leaving too little space in front to open or service them comfortably.
Check the distance between the first and last steps in the work sequence. If utensils are stored at one end and the washing point is at the other, one continuous run can still require frequent crossing between users. Mark the stations the cook visits most often. Reserve a place to set down prepared food and a place to collect it. If guests arrive from one end of the terrace, consider whether they can reach the collection point without passing the cook’s working position.
Keep the cabinet list and the kitchen position distinct in the comparison. A documented AXIS modular outdoor kitchen with straight configurations can illustrate how one series arranges cabinets along one run. Use the selected layout drawing to decide where the run begins and ends, and identify exposed sides or obstacles before approving a site fit.
For a run parallel to the house, start with the door from indoors and mark where it opens. Then place the station used most often to bring items outside and the place where food is collected. Moving one station toward the other end can change how much the cook and guests share the same edge. Check the resulting cabinet sequence against the arrangement options for the proposed series.
Test doors, drawers and clear worktop along that run
Show cabinet fronts, appliance doors and drawers in their working positions. It is easy to measure the passage from the closed cabinet and miss the space needed to open a door or reach a drawer. Plot the actual travel from the cabinet and equipment drawings. If an appliance door opens toward the main route, trace what a person passing it would do at the same time. The National Kitchen and Bath Association’s floor-planning guide explains why equipment swings belong on the plan.
The long handles on METRO cabinets illustrate another part of the front to check. A handle is a real projection and a grasp point. Confirm its position with the selected cabinetry drawing and test how a person reaches it. Also show furniture or a nearby wall that might limit movement. Review the clear worktop again after the appliances, sink and any cooktop covers have been located on the chosen run.
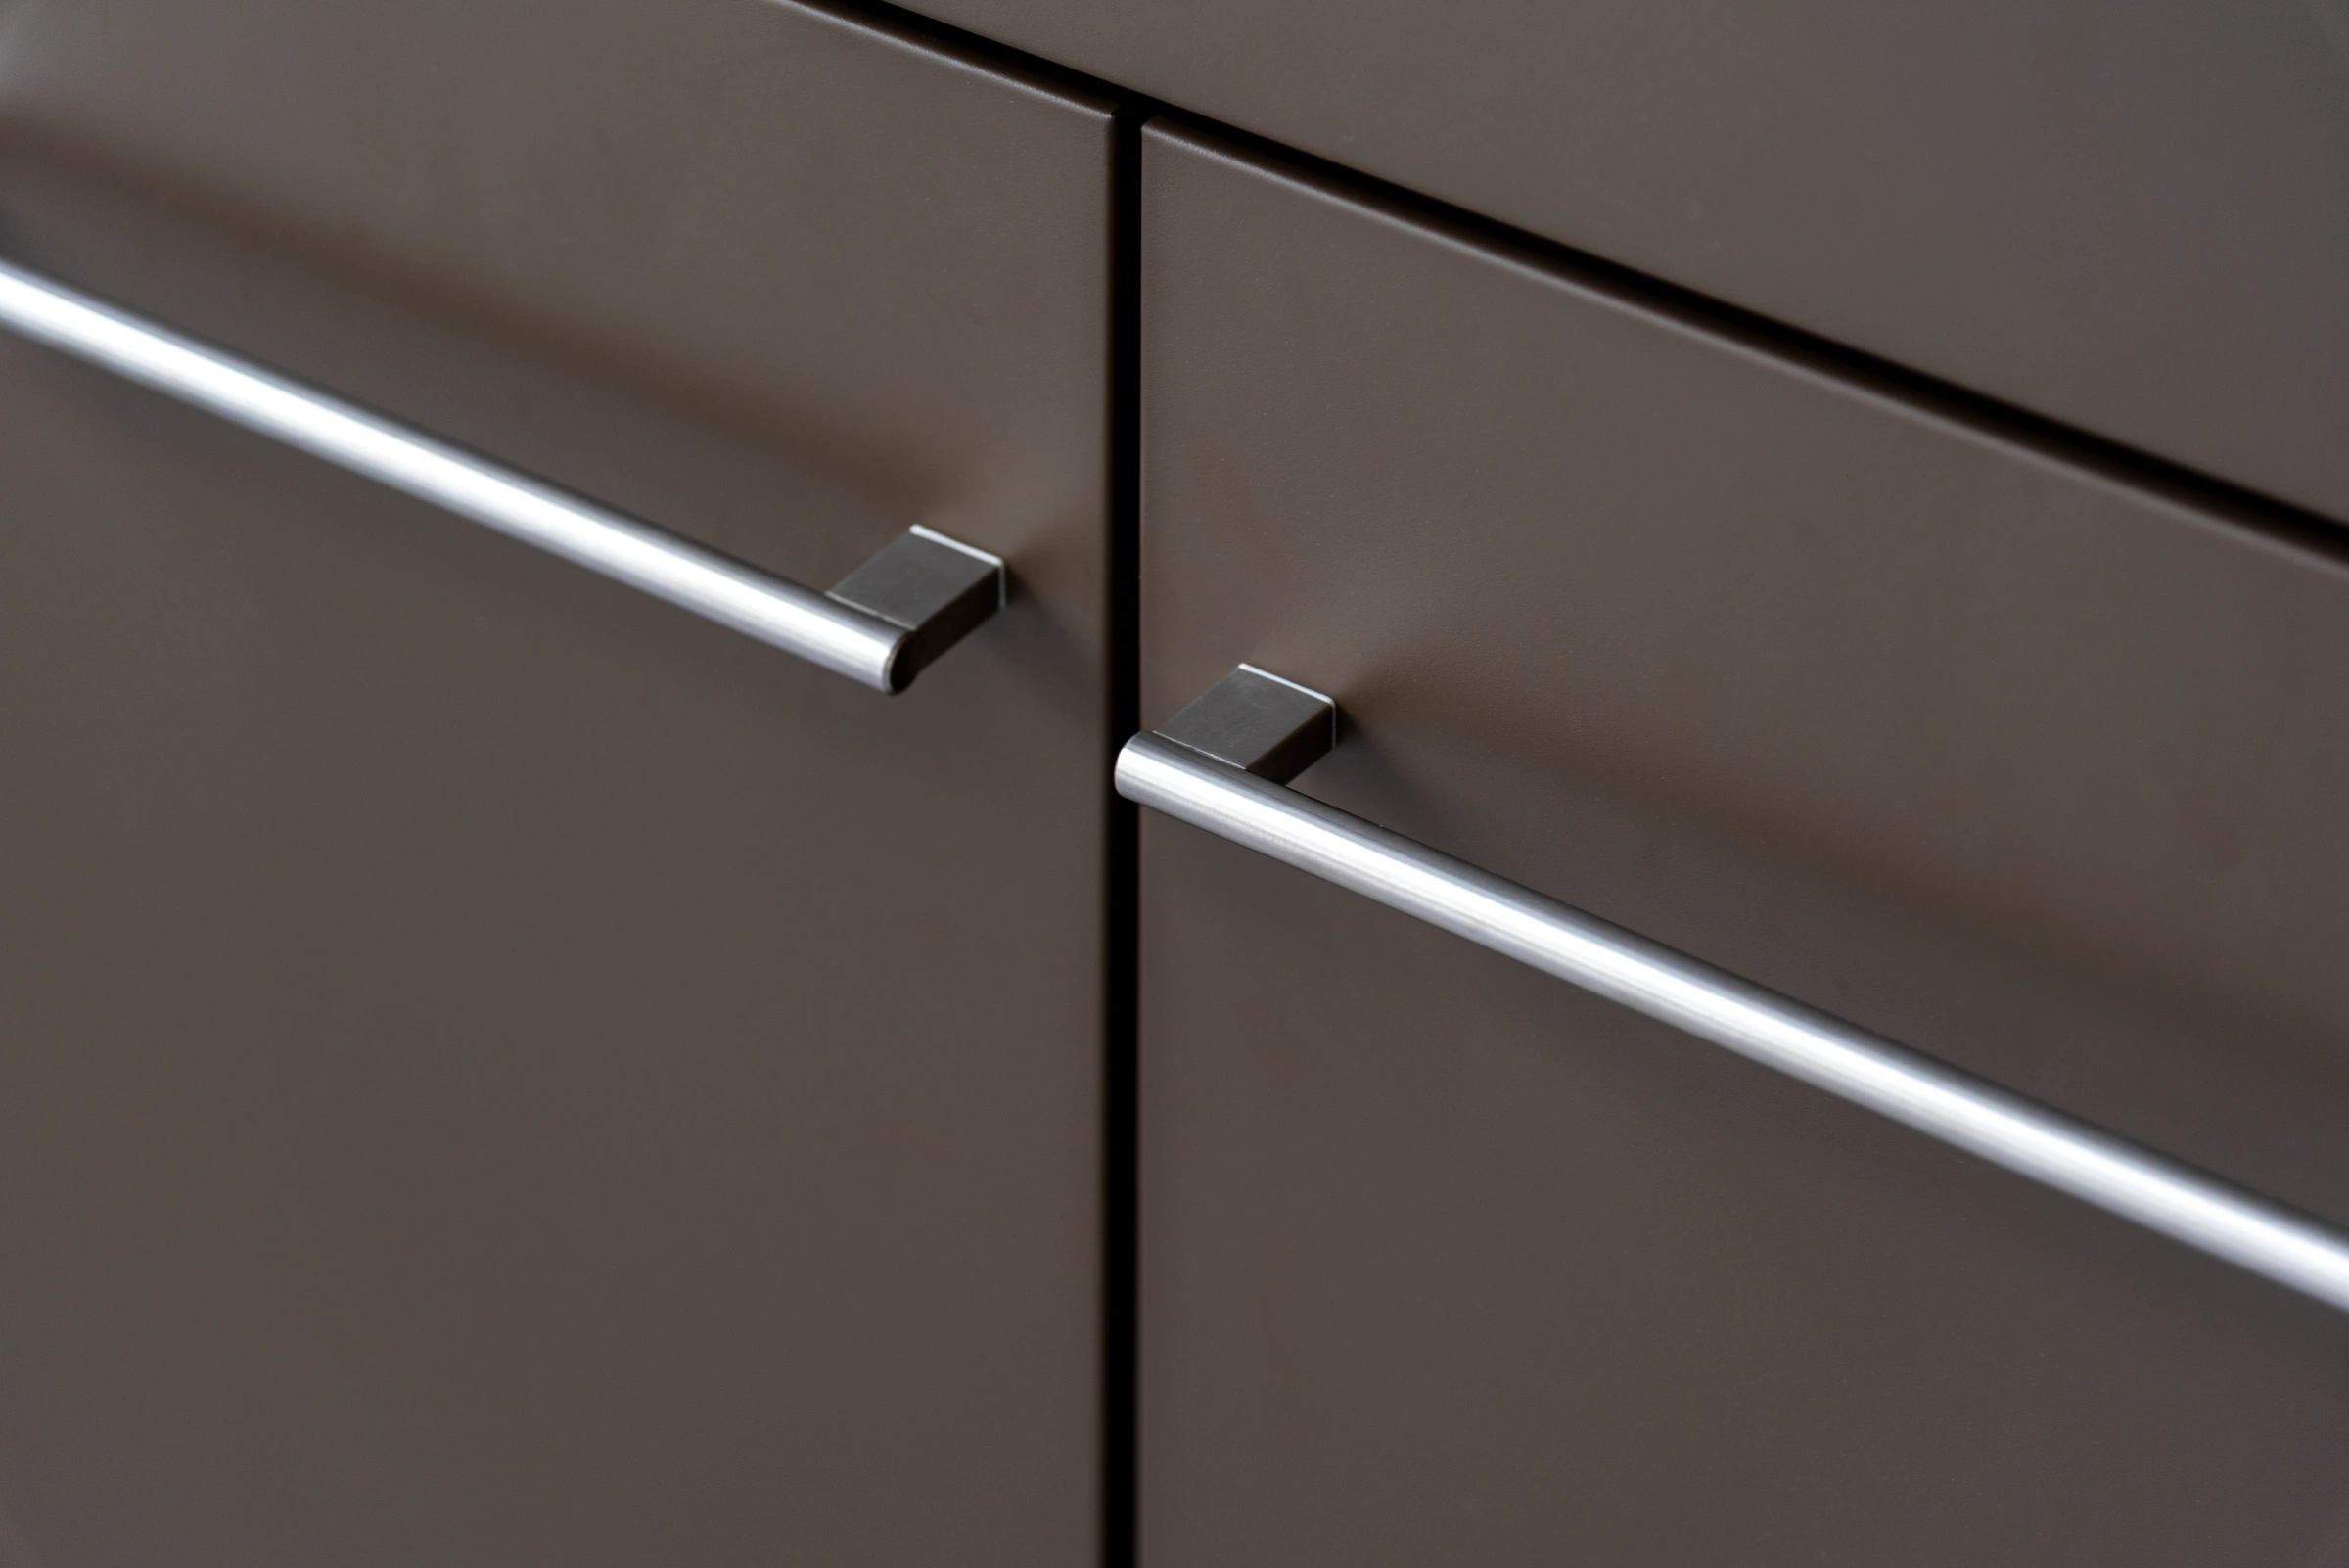 METRO long handles on adjacent cabinet fronts
What an L-Shaped Return Changes
Give the return a defined use
The second leg can move a task to a different edge of the site. Assign it a specific role before comparing area or cabinet count. For one project it may provide a place to assemble plates. For another it may carry preparation or accessible storage beside a sink. Draw where the person doing that task stands and what they can reach. If the added leg leaves too little space for that stance, its extra worktop will be harder to use as intended.
Then test the route past the outside end of the return. This is often where people enter the work area, turn toward dining or pause to pick up a plate. Plot that movement against everyone working at the kitchen. A return that gives the cook a separate preparation point may still intercept the route to a gate or seating. When a serving point belongs on that leg, check which side people will actually approach.
Give your outdoor kitchen manufacturer that supports project layout review the intended return orientation and the activities it needs to support. Share the site outline with the existing doors and furniture positions. The supplier can then match the request to a documented series layout and flag a connection or orientation that needs confirmation.
Show the return from a consistent viewpoint on the plan and in the quote. Identify which leg faces the house and which end faces the dining area. A simple left or right label can be read from opposite sides of a kitchen. A plan with a fixed reference point makes it easier to ask about the available corner module, the visible ends and the fronts that will face the work area.
Check the inside corner and openings on both legs
At the inside corner, test storage access and adjoining openings together. An open shelf gives a different approach from a drawer or hinged front. Inspect how the corners meet at worktop level and identify which side a user can stand on to reach stored items. NOVA offers a corner unit and also uses open slatted storage in its range. The shelf photo illustrates how to assess reach and access to stored items in the chosen layout. Confirm the exact corner and neighboring module on the plan.
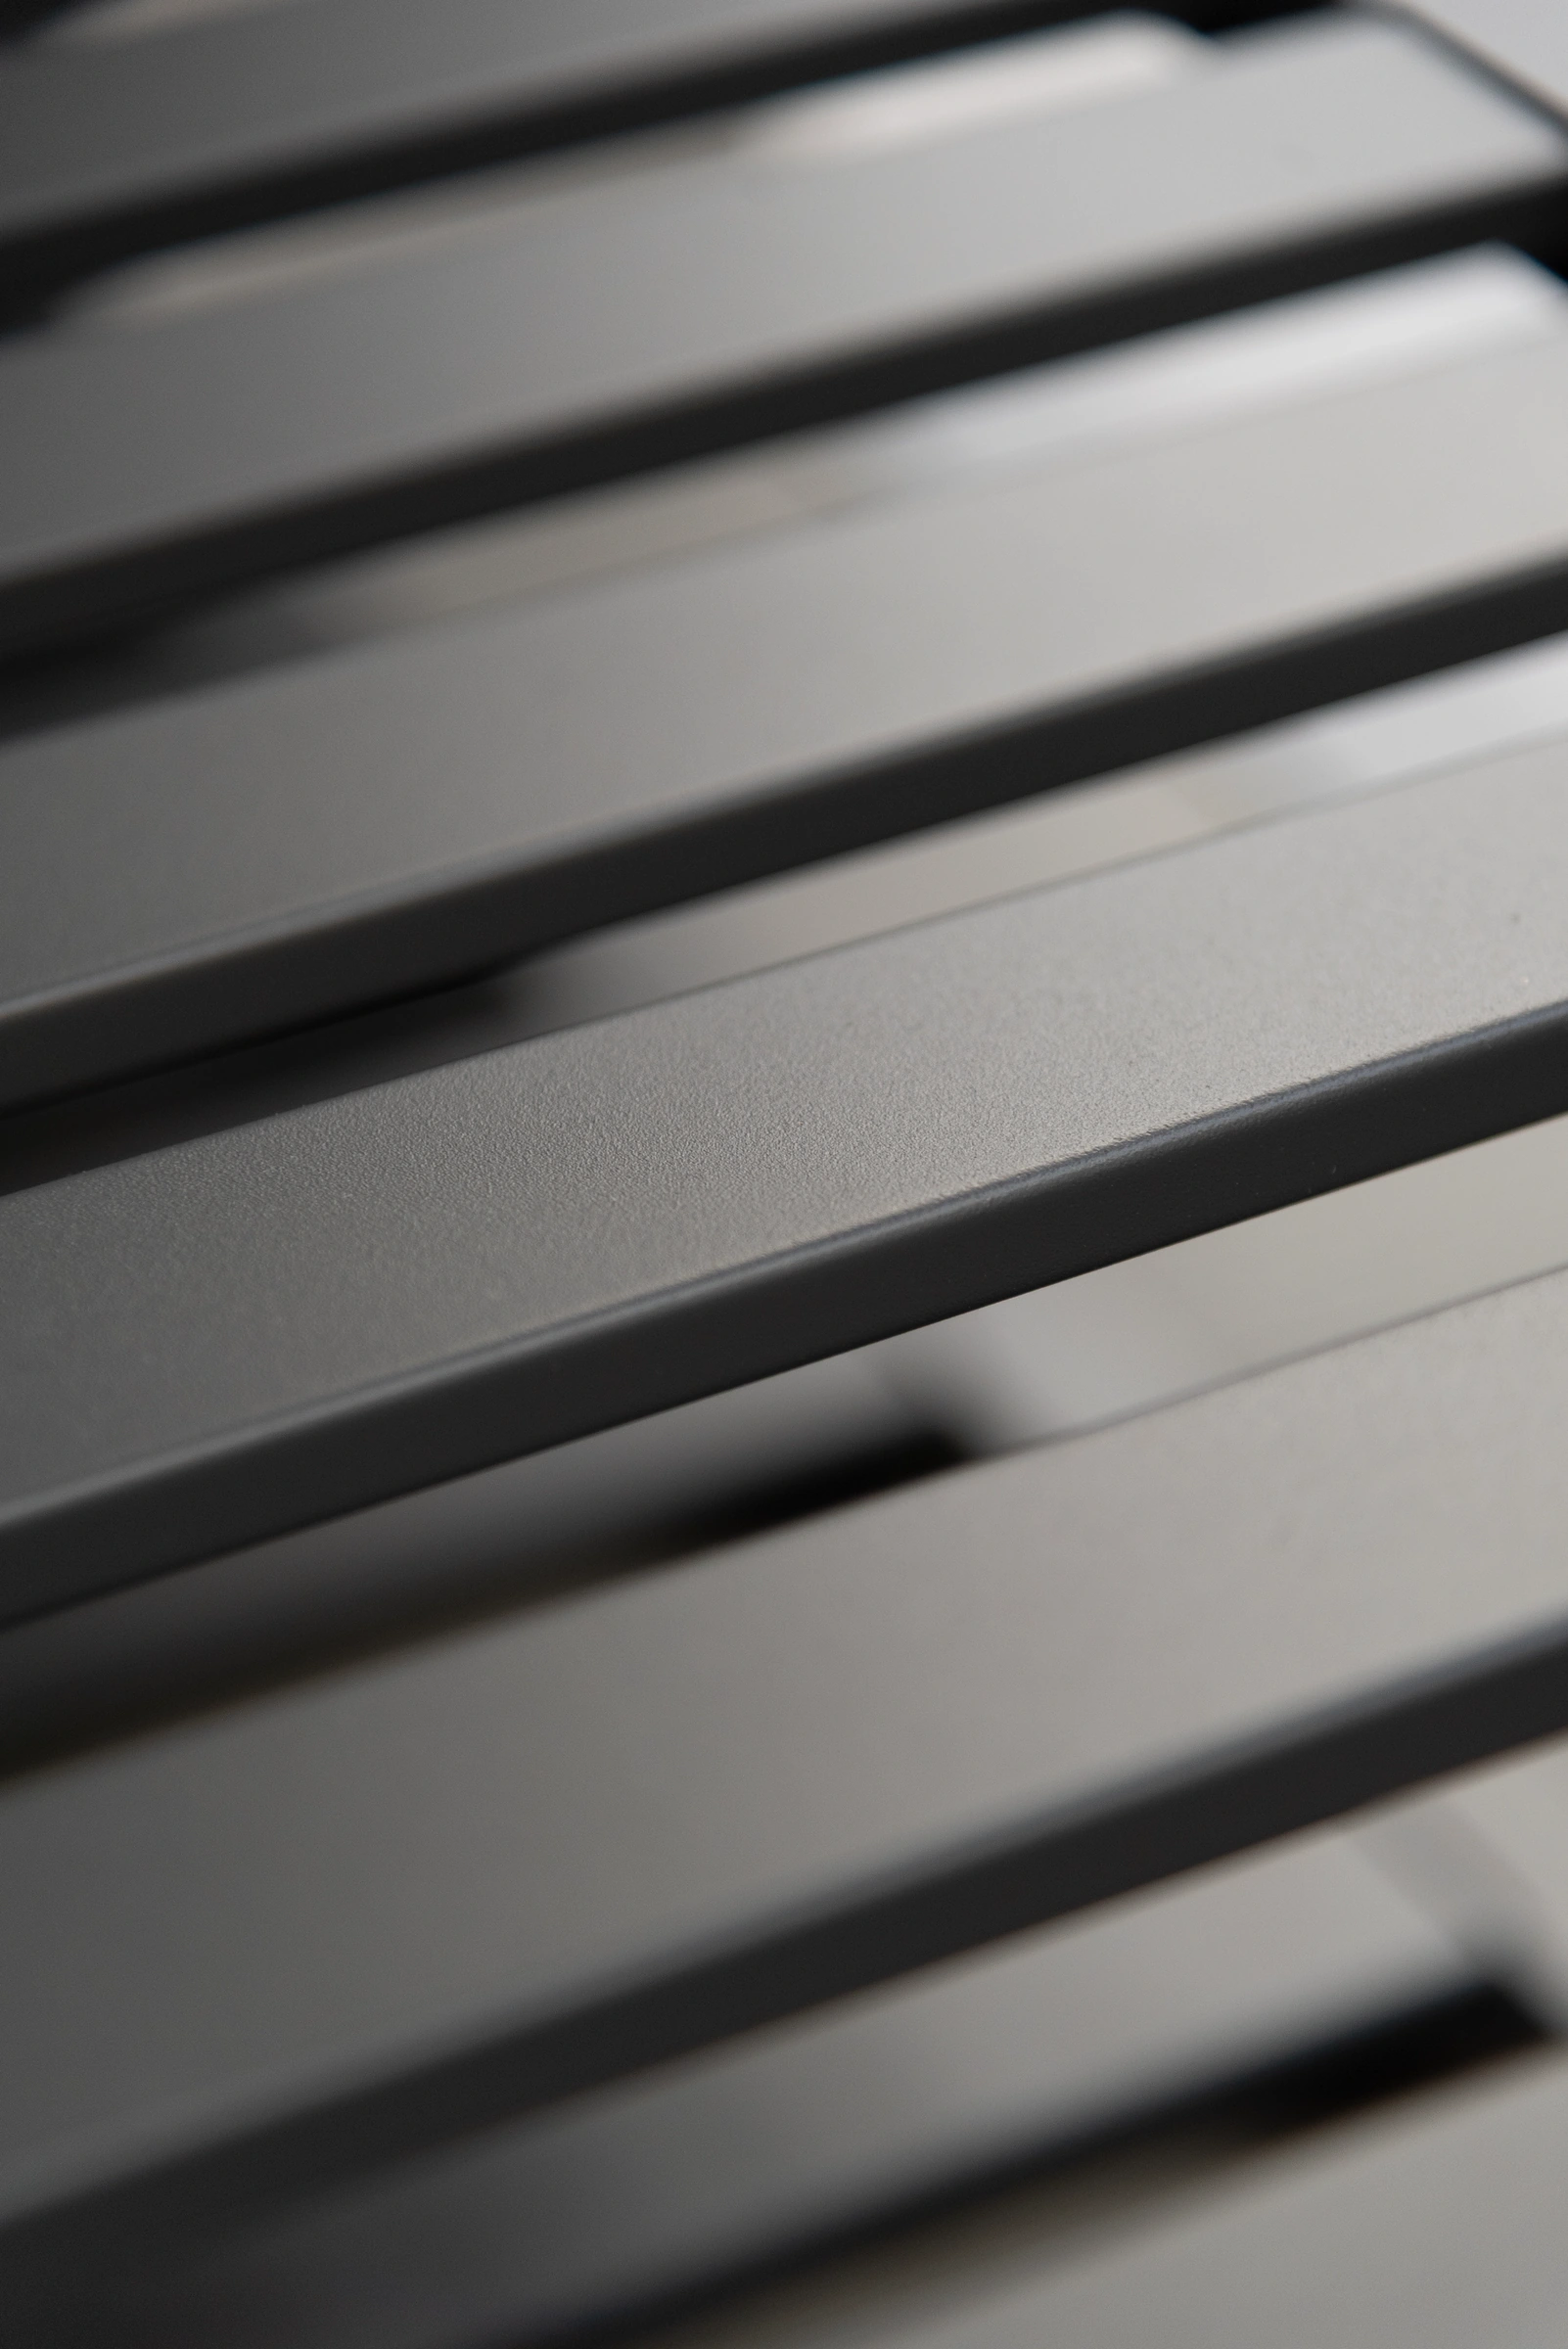 NOVA galvanized-steel slatted shelf
Draw handles and movement at the corner before choosing those cabinets. The NOVA handle close-up shows a point that needs to remain reachable while other doors are in use. Ask the supplier which fronts face each leg and how adjoining openings are shown on the order drawings. Check the same conditions where a refrigerator door, drawer or equipment cover could occupy that working area.
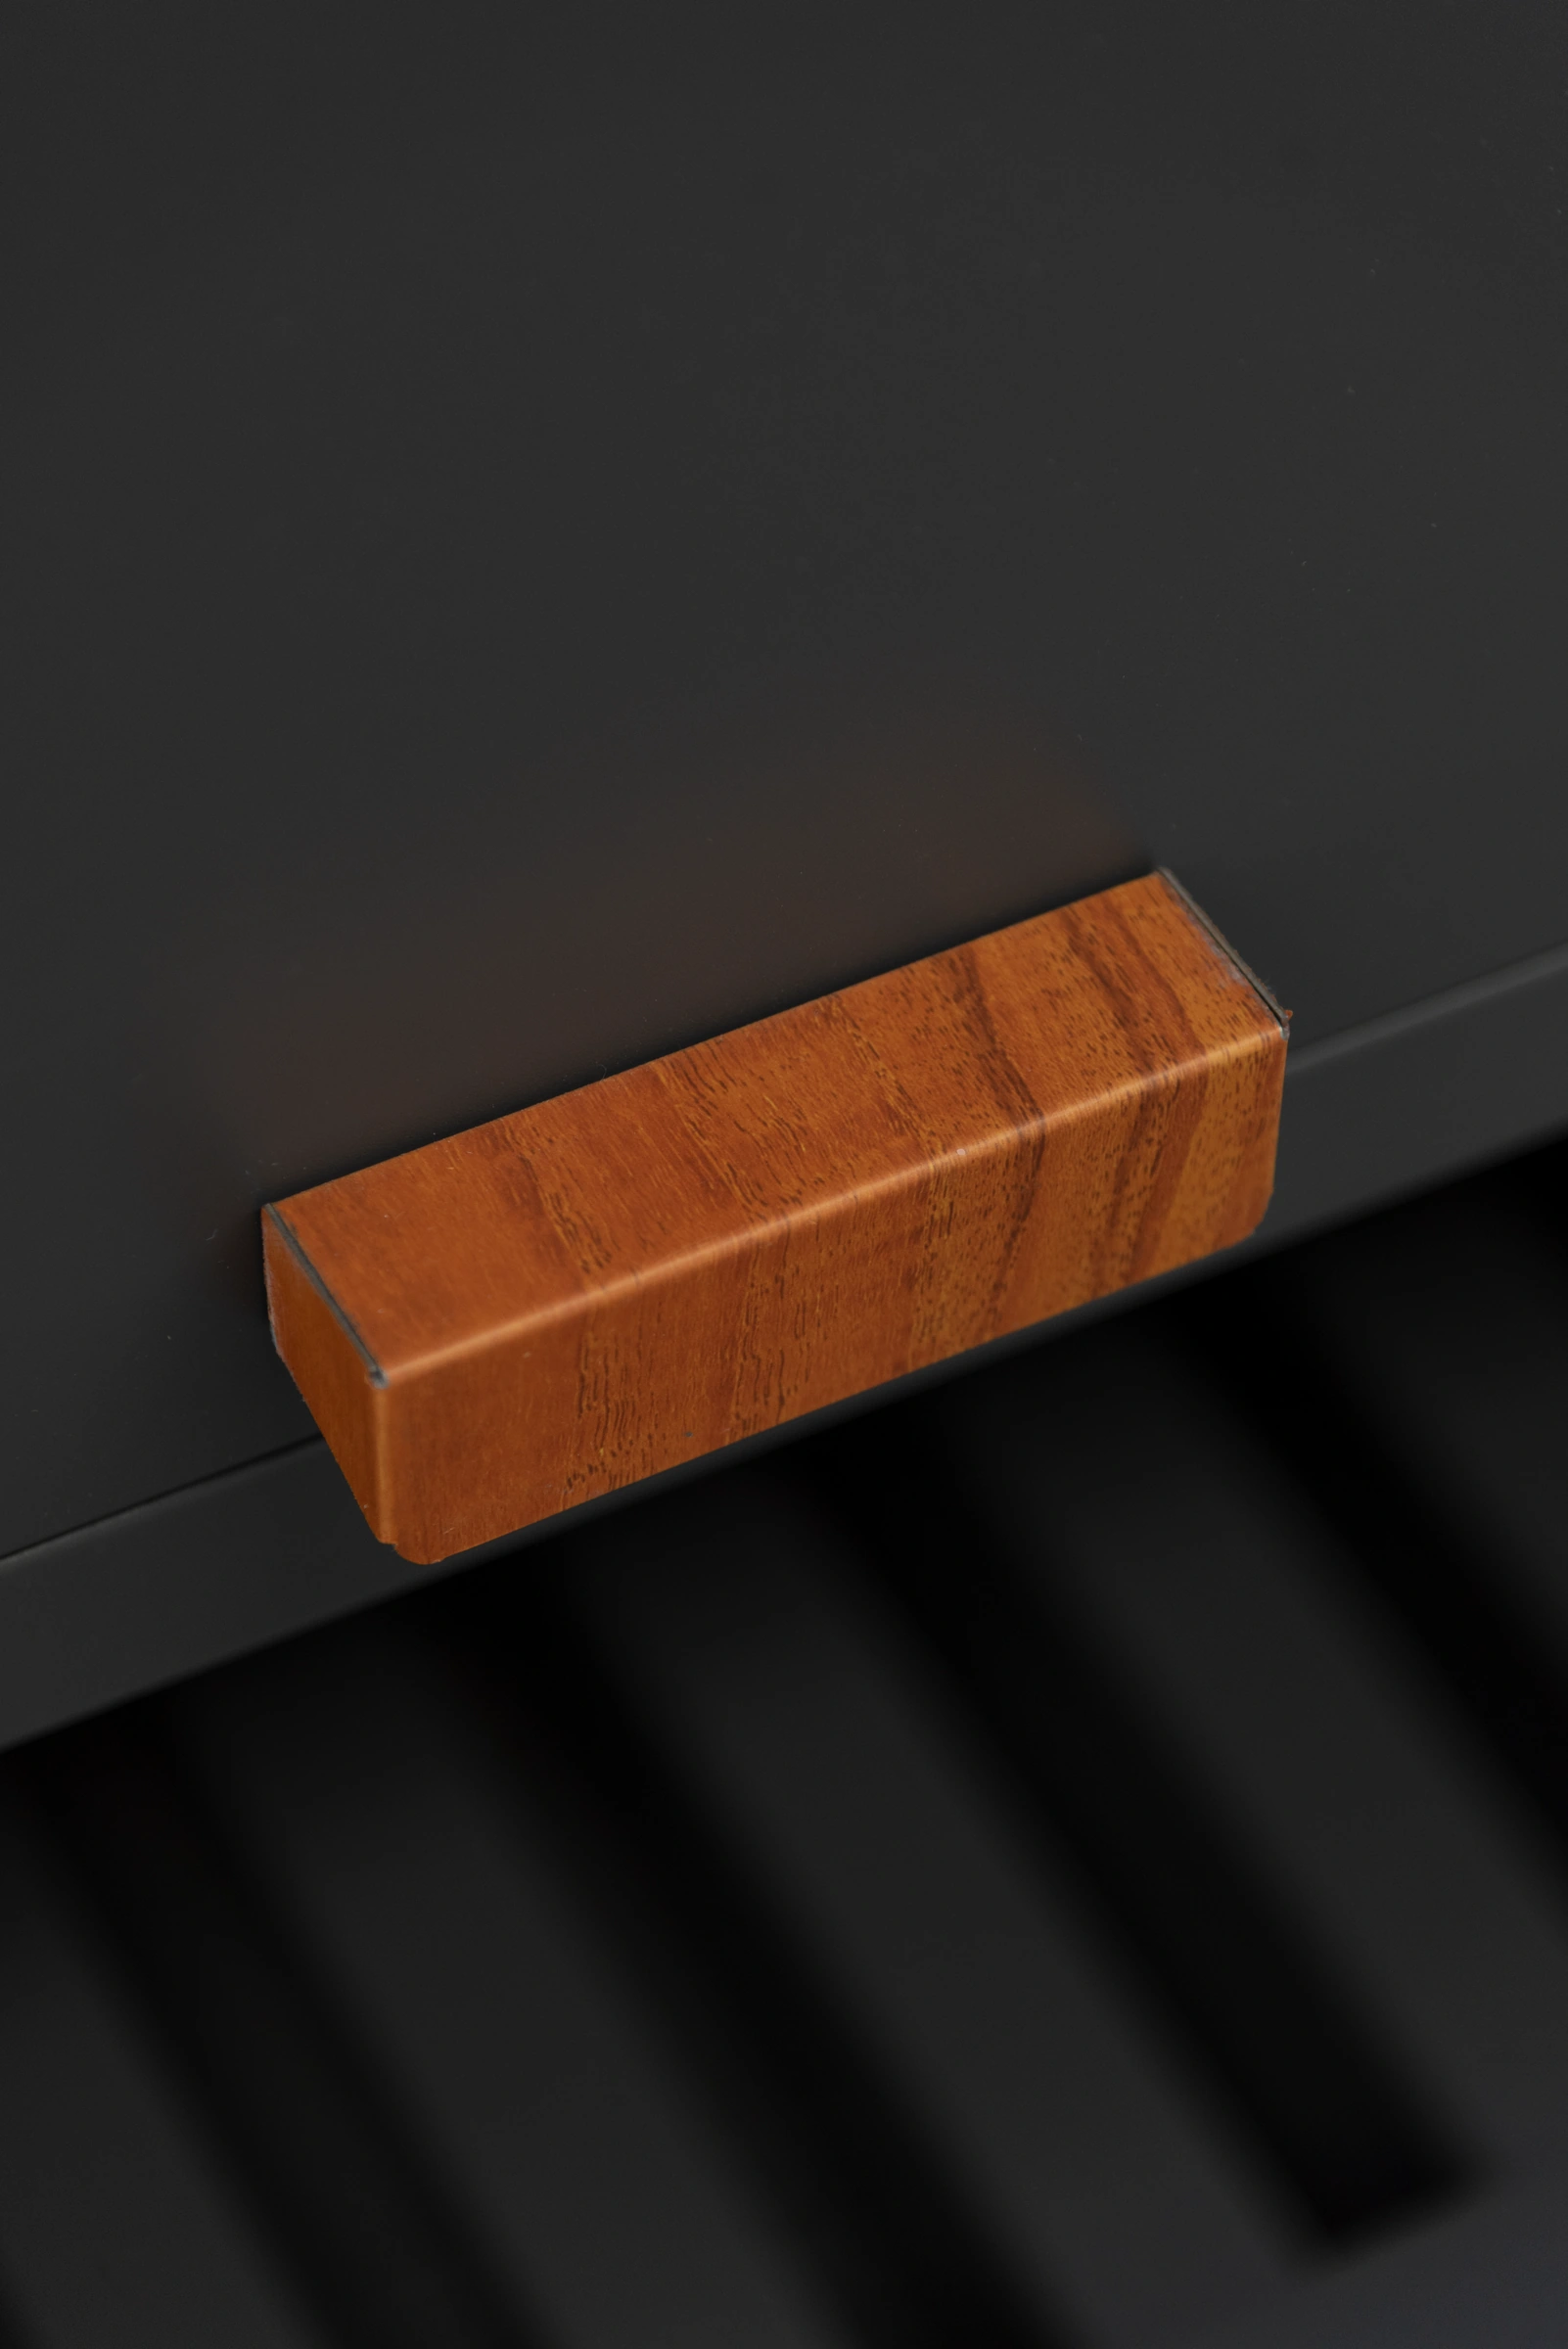 NOVA wood-grain pull on a cabinet front
Where cooking is located on the return, verify its position against the selected appliance instructions and the conditions on site. The U.S. Consumer Product Safety Commission gas grill guide directs users to the instructions supplied with the grill. Obtain the model documentation for the project and have the relevant installer or designer confirm the location, service access and applicable provisions before approving the plan.
Test the Layout Before Requesting a Quote
Compare the two NOVA plans with the same core module codes
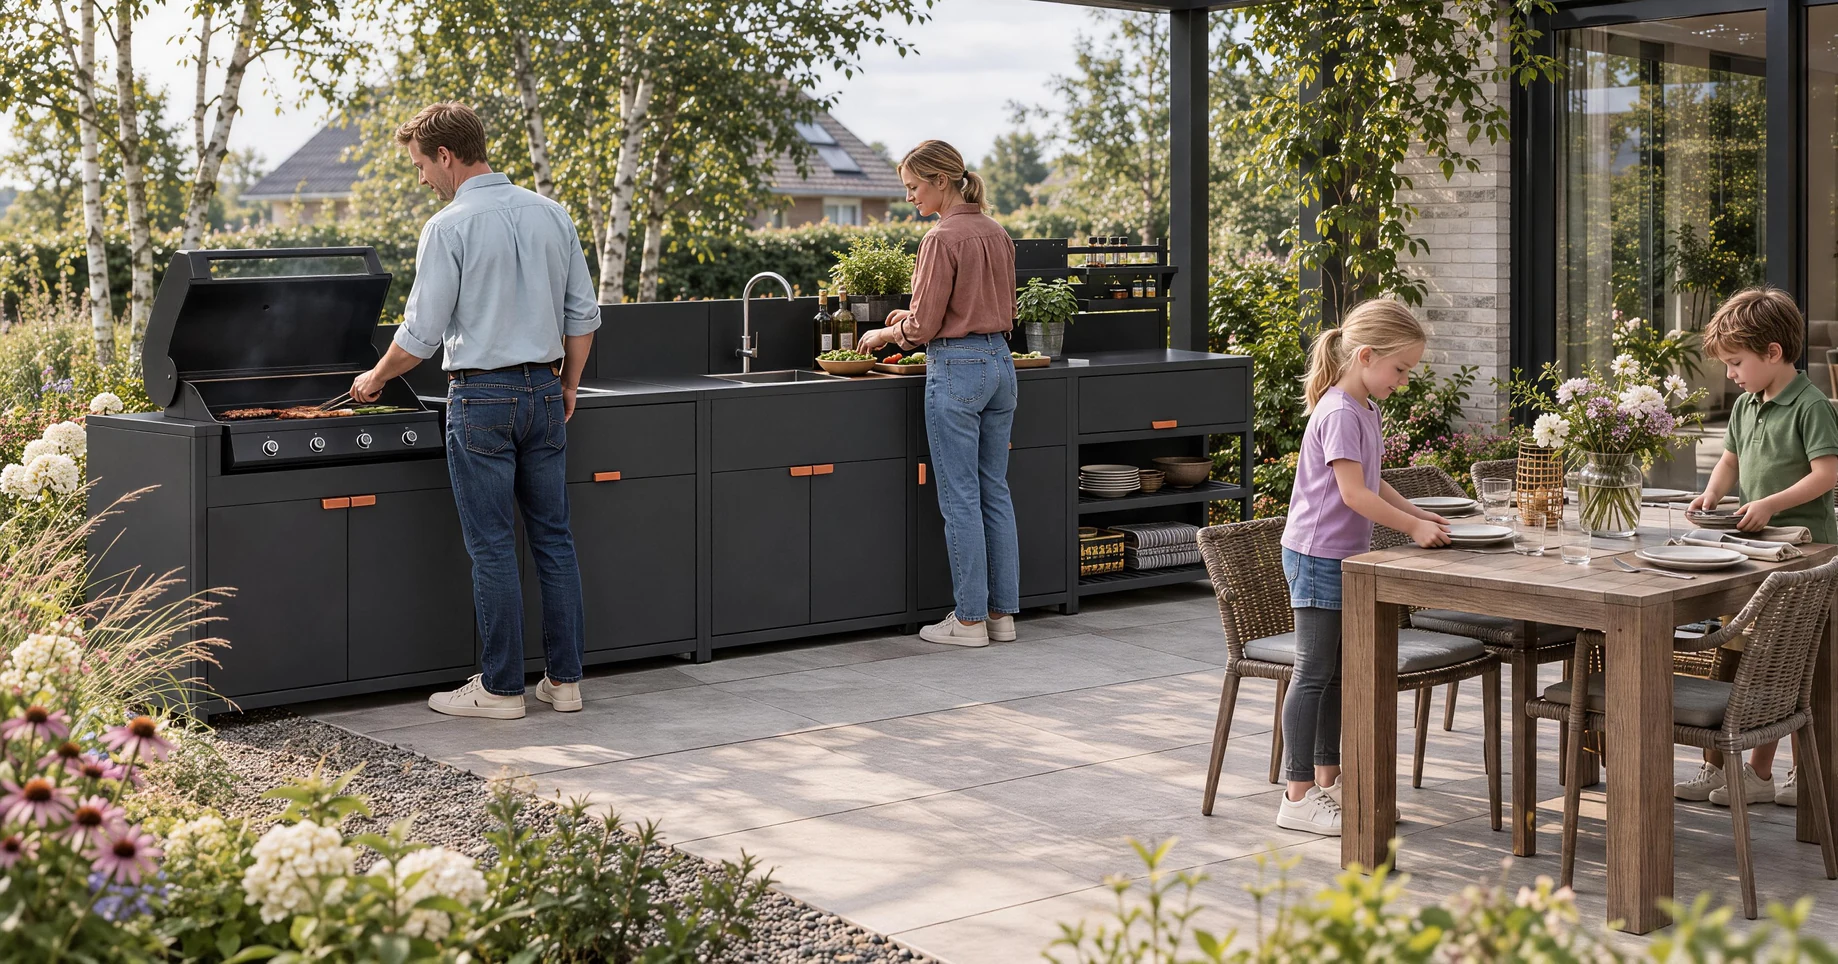 NOVA straight-line outdoor kitchen beside a garden dining area
NOVA gives a practical example of what changes when a run turns. In catalog layout 3, the sequence is A, E, A, B and C along a single line. Layout 2 keeps those five core positions in order and inserts the D corner unit between B and C. The C preparation and shelving module turns onto the return. That changes the direction from which it is approached. Trace the move from the sink toward C in both illustrations and check where the user stands to work.
NOVA layout 1 shows an L with two different cooking positions. Layout 4 uses a shorter straight run with storage, a sink and a barbecue position. These alternatives help a buyer match the quote to the functions that will actually be used. Use the layout number and a module list to record the proposal. Confirm the fittings and equipment shown in the illustration against the items priced for the order.
For the comparison between layouts 2 and 3, keep the assumed cooking and cleaning tasks the same on your working sketch. In plan view, place a marker where someone stands to use C. If that marker moves onto the path guests use to collect food when the cabinet turns, test another serving position. The catalog views establish the cabinet arrangement. The project plan shows whether the changed approach works at the site.
- NOVA-F lowered kamado base. The lowered support holds the kamado pictured in the catalog.
- NOVA-A storage cabinet. The top and lower enclosed storage form part of the work run.
- NOVA-B sink cabinet. The sink position brings washing onto the same run as adjacent preparation.
- NOVA-D corner module. The chamfered corner includes open slatted storage and a bamboo lid at the top.
- NOVA-C preparation and rack module. The worktop sits over slatted shelves, with a raised tool rack.
- NOVA-E barbecue base. The drawing shows the barbecue above the lower cabinet.
- NOVA-A storage cabinet. The top and lower enclosed storage form part of the work run.
- NOVA-E barbecue base. The drawing shows the barbecue above the lower cabinet.
- NOVA-A storage cabinet. The top and lower enclosed storage form part of the work run.
- NOVA-B sink cabinet. The sink position brings washing onto the same run as adjacent preparation.
- NOVA-D corner module. The chamfered corner includes open slatted storage and a bamboo lid at the top.
- NOVA-C preparation and rack module. The worktop sits over slatted shelves, with a raised tool rack.
- NOVA-A storage cabinet. The top and lower enclosed storage form part of the work run.
- NOVA-E barbecue base. The drawing shows the barbecue above the lower cabinet.
- NOVA-A storage cabinet. The top and lower enclosed storage form part of the work run.
- NOVA-B sink cabinet. The sink position brings washing onto the same run as adjacent preparation.
- NOVA-C preparation and rack module. The worktop sits over slatted shelves, with a raised tool rack.
- NOVA-A storage cabinet. The top and lower enclosed storage form part of the work run.
- NOVA-B sink cabinet. The sink position brings washing onto the same run as adjacent preparation.
- NOVA-E barbecue base. The drawing shows the barbecue above the lower cabinet.
Review METRO’s open corner and equipment positions
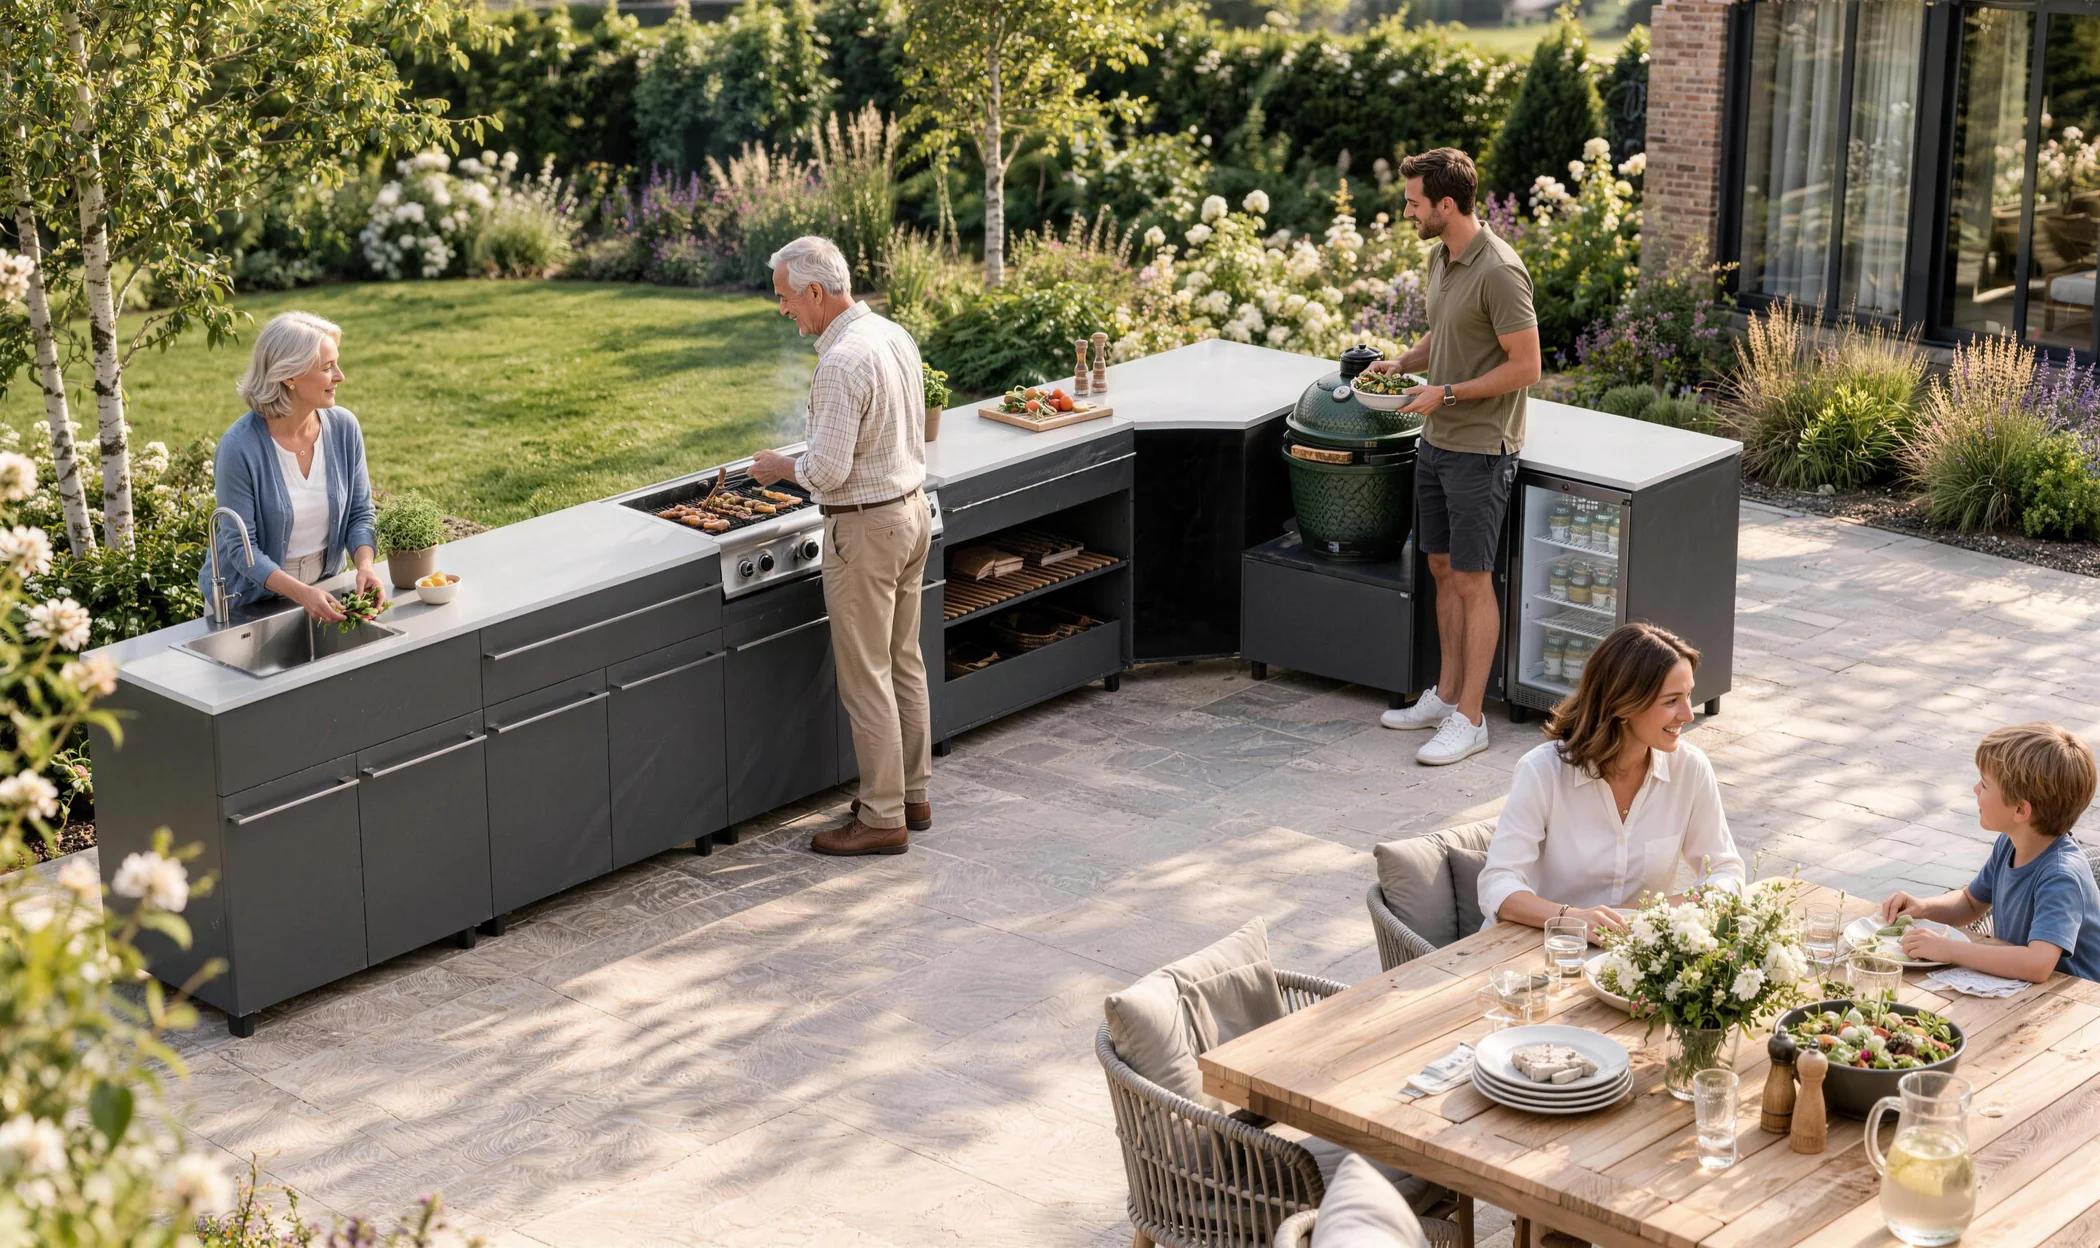 METRO L-shaped outdoor kitchen in a garden cooking setting
METRO provides a different comparison. Layout 2 places the refrigeration position, sink, drawer storage and kamado position along one line. Layout 3 uses the E open corner shelf at the turn and sets the kamado position and drawer unit on the return. It also includes a barbecue position on the first leg. Use these arrangements to see how a change in equipment mix can change the work sequence as well as the outline.
In the fourth METRO view, the visible turn is a worktop and the refrigeration position is at the end of the return. Review that end of the plan for equipment access and the open side of the cabinet. A designer can compare the relationship between cold storage and preparation there with the second arrangement, where refrigeration sits at one end of the straight run. Check the actual selected refrigeration equipment and its documentation when pricing either version.
- METRO-D drawer and storage cabinet. The storage faces remain approachable from the front of the run.
- METRO-G lower barbecue base. The lower cabinet supports the raised barbecue in this configuration.
- METRO-D drawer and storage cabinet. The storage faces remain approachable from the front of the run.
- METRO-A sink cabinet. The faucet and basin mark the washing position along the worktop.
- METRO-F lowered kamado base. The catalog shows a kamado at this cooking position.
- METRO-L refrigeration housing. The illustration shows refrigeration equipment inside the housing.
- METRO-L refrigeration housing. The illustration shows refrigeration equipment inside the housing.
- METRO-A sink cabinet. The faucet and basin mark the washing position along the worktop.
- METRO-D drawer and storage cabinet. The storage faces remain approachable from the front of the run.
- METRO-F lowered kamado base. The catalog shows a kamado at this cooking position.
- METRO-L refrigeration housing. The illustration shows refrigeration equipment inside the housing.
- METRO-C flush barbecue cabinet. The flush cooking position has front controls and enclosed storage below.
- METRO-A sink cabinet. The faucet and basin mark the washing position along the worktop.
- METRO-E open corner shelving. The angled corner presents two shelf levels to the inside of the L.
- METRO-F lowered kamado base. The catalog shows a kamado at this cooking position.
- METRO-D drawer and storage cabinet. The storage faces remain approachable from the front of the run.
- METRO-G lower barbecue base. The lower cabinet supports the raised barbecue in this configuration.
- METRO-D drawer and storage cabinet. The storage faces remain approachable from the front of the run.
- METRO-A sink cabinet. The faucet and basin mark the washing position along the worktop.
- METRO-F lowered kamado base. The catalog shows a kamado at this cooking position.
- METRO-L refrigeration housing. The illustration shows refrigeration equipment inside the housing.
Confirm the selected arrangement on a dimensioned plan
Carry the layout choice into a dimensioned plan that identifies the series, orientation and specific cabinets. Mark the limits of the usable site, the door or drawer movement, the location of each appliance and the main route past the kitchen. If the project still needs to choose a sink, barbecue or refrigerator, record what is provisional. A drawing with those items marked lets a buyer compare prices on the same basis and gives the equipment supplier a defined place to check.
Record the differences between the two plans in the quote request. A designer can state which work surfaces must remain accessible, who needs to pass the kitchen and which openings need to be checked together. If both versions meet those conditions, compare the quoted cabinet lists and equipment positions. If one leaves a conflict unresolved, ask which module, orientation or equipment choice would have to change and request that change on the drawing.
Other ranges show additional ways to assign functions to a run. The URBAN modular kitchen with straight and L-shaped configurations and ELITE outdoor kitchen with a corner cooking position are separate series with their own cabinet schedules. Compare their verified arrangements against the same site drawing. For a wider short list, see the modular outdoor kitchen systems with straight and L-shaped layouts.
Send the marked plan to a factory-direct modular kitchen supplier for outdoor project orders with the cabinet sequence, equipment list and the side on which a return is required. Identify whether drawings and preparation are at concept or final measurement stage. Ask the supplier to state which layout and equipment assumptions are reflected in the quote, then agree who will confirm the remaining site and installation details.
Frequently Asked Questions
Is an L-shaped outdoor kitchen suitable for a small patio?
It can work where both legs fit and the main route stays clear. Check door swing, inside-corner access and the appliance service area on the proposed plan.
When is a straight-line outdoor kitchen a better fit?
Choose one run when the required tasks and worktop fit along it and users can open doors, pull drawers and pass the kitchen as planned.
Can the return serve as a preparation or serving area?
Yes. Assign the return a task, then verify its clear worktop, where the user will stand and how others will approach it.
How do I check access at the inside corner?
Draw the adjacent doors and drawers fully open. Mark where someone stands to reach the corner and check the closest route past that position.
What should I send before requesting a kitchen layout quote?
Send a dimensioned site plan, the selected series and layout, equipment details, your preferred return orientation, and the routes people need to use.
Layouts, hardware, supplied appliances and installation requirements depend on the selected configuration and site. Custom options and final specifications are confirmed for each project and order.