Specify outdoor kitchen finishes for the exact cabinet part and its expected exposure. Confirm the substrate, surface treatment, edges, hardware and care instructions before signing off a purchase order. Two finishes that look the same on an approved swatch can come from different systems, and the sink area, door pulls and sheltered joints on a single kitchen may need different checks. This checklist helps importers and brands approve the selected specification and answer practical questions from the people who use it.
Specify the finish by cabinet component
Separate the substrate, finish and appearance
Write finish specifications for outdoor kitchen cabinets after selecting the series and substrate. Add separate rows for door fronts, side panels, worktops, shelving, pulls and exposed fasteners. For each row, write the component code, base material, specified surface treatment, appearance reference and intended exposure. Ask the supplier to identify which faces receive the stated finish and who approves any treatment at a folded edge, cutout or opening. The appearance reference may be a color code, a physical pattern sample, a gloss range or an agreed combination of these.
Buyers often receive one color name for a complete run. That name is useful for design coordination, although the door face, shelving and handle may have different substrates, surface finishes or care requirements. A wood-grain appearance, for example, should be listed against the printed component, while a genuine wood trim gets its own material and care row. With a part-level schedule, a purchaser can ask a focused question about a replacement pull, an exposed edge or one mismatched door.
Review the sample under the lighting in which customers will see it. For a directional pattern, record the intended orientation on each face. Where two surfaces meet, have the team check a representative junction and agree what degree of variation is acceptable. A small loose swatch rarely captures how the pattern or sheen appears across both a door and its adjacent return.
- Exposed face. Record the surface treatment where specified and approve the appearance for this part.
- Substrate. Identify the underlying material on the part schedule and match it to the approved sample.
- Edge or joint. Ask how formed corners, cut edges and hardware contact points will be finished on the delivered part.
Check how the treatment is described at edges and interfaces
A flat finish swatch shows appearance across a small, accessible surface. Use a drawing or a representative part to check the folded edge, fastener hole or seam that will experience splash, hand contact or cleaning. Record any variant in the fabrication sequence when it affects the specified treatment. If the project calls for a site-drilled fixing, ask who approves the location and how the newly exposed surface will be handled. Put the answer next to the drawing revision and the particular part.
Industry terminology can help distinguish the layers. The American Galvanizers Association describes a duplex system as a paint or powder topcoat applied over hot-dip galvanized steel. Use that example to understand why a zinc coating and an added finish should be recorded separately. Establish the substrate, zinc treatment and any topcoat on the selected cabinet with its own documentation. See the American Galvanizers Association guide to duplex systems.
Use our modular outdoor kitchen cabinet and worktop options to locate the series and then record the details for the selected modules in the finish schedule.
Read finish details across three outdoor kitchen series
AXIS galvanized steel edges, mesh and wood-grain pulls
 AXIS in a garden cooking setting. Use the specified component finishes and site exposure to assess the installation.
Our AXIS galvanized steel cabinets with open mesh shelving use 0.6 mm galvanized steel for both the listed cabinet material and the worktop. The exposed worktop edge is a useful place to discuss finish continuity. Ask to see a representative formed part when the project requires an edge condition to be approved. Record separately how drilled openings or changes made for installation will be handled.
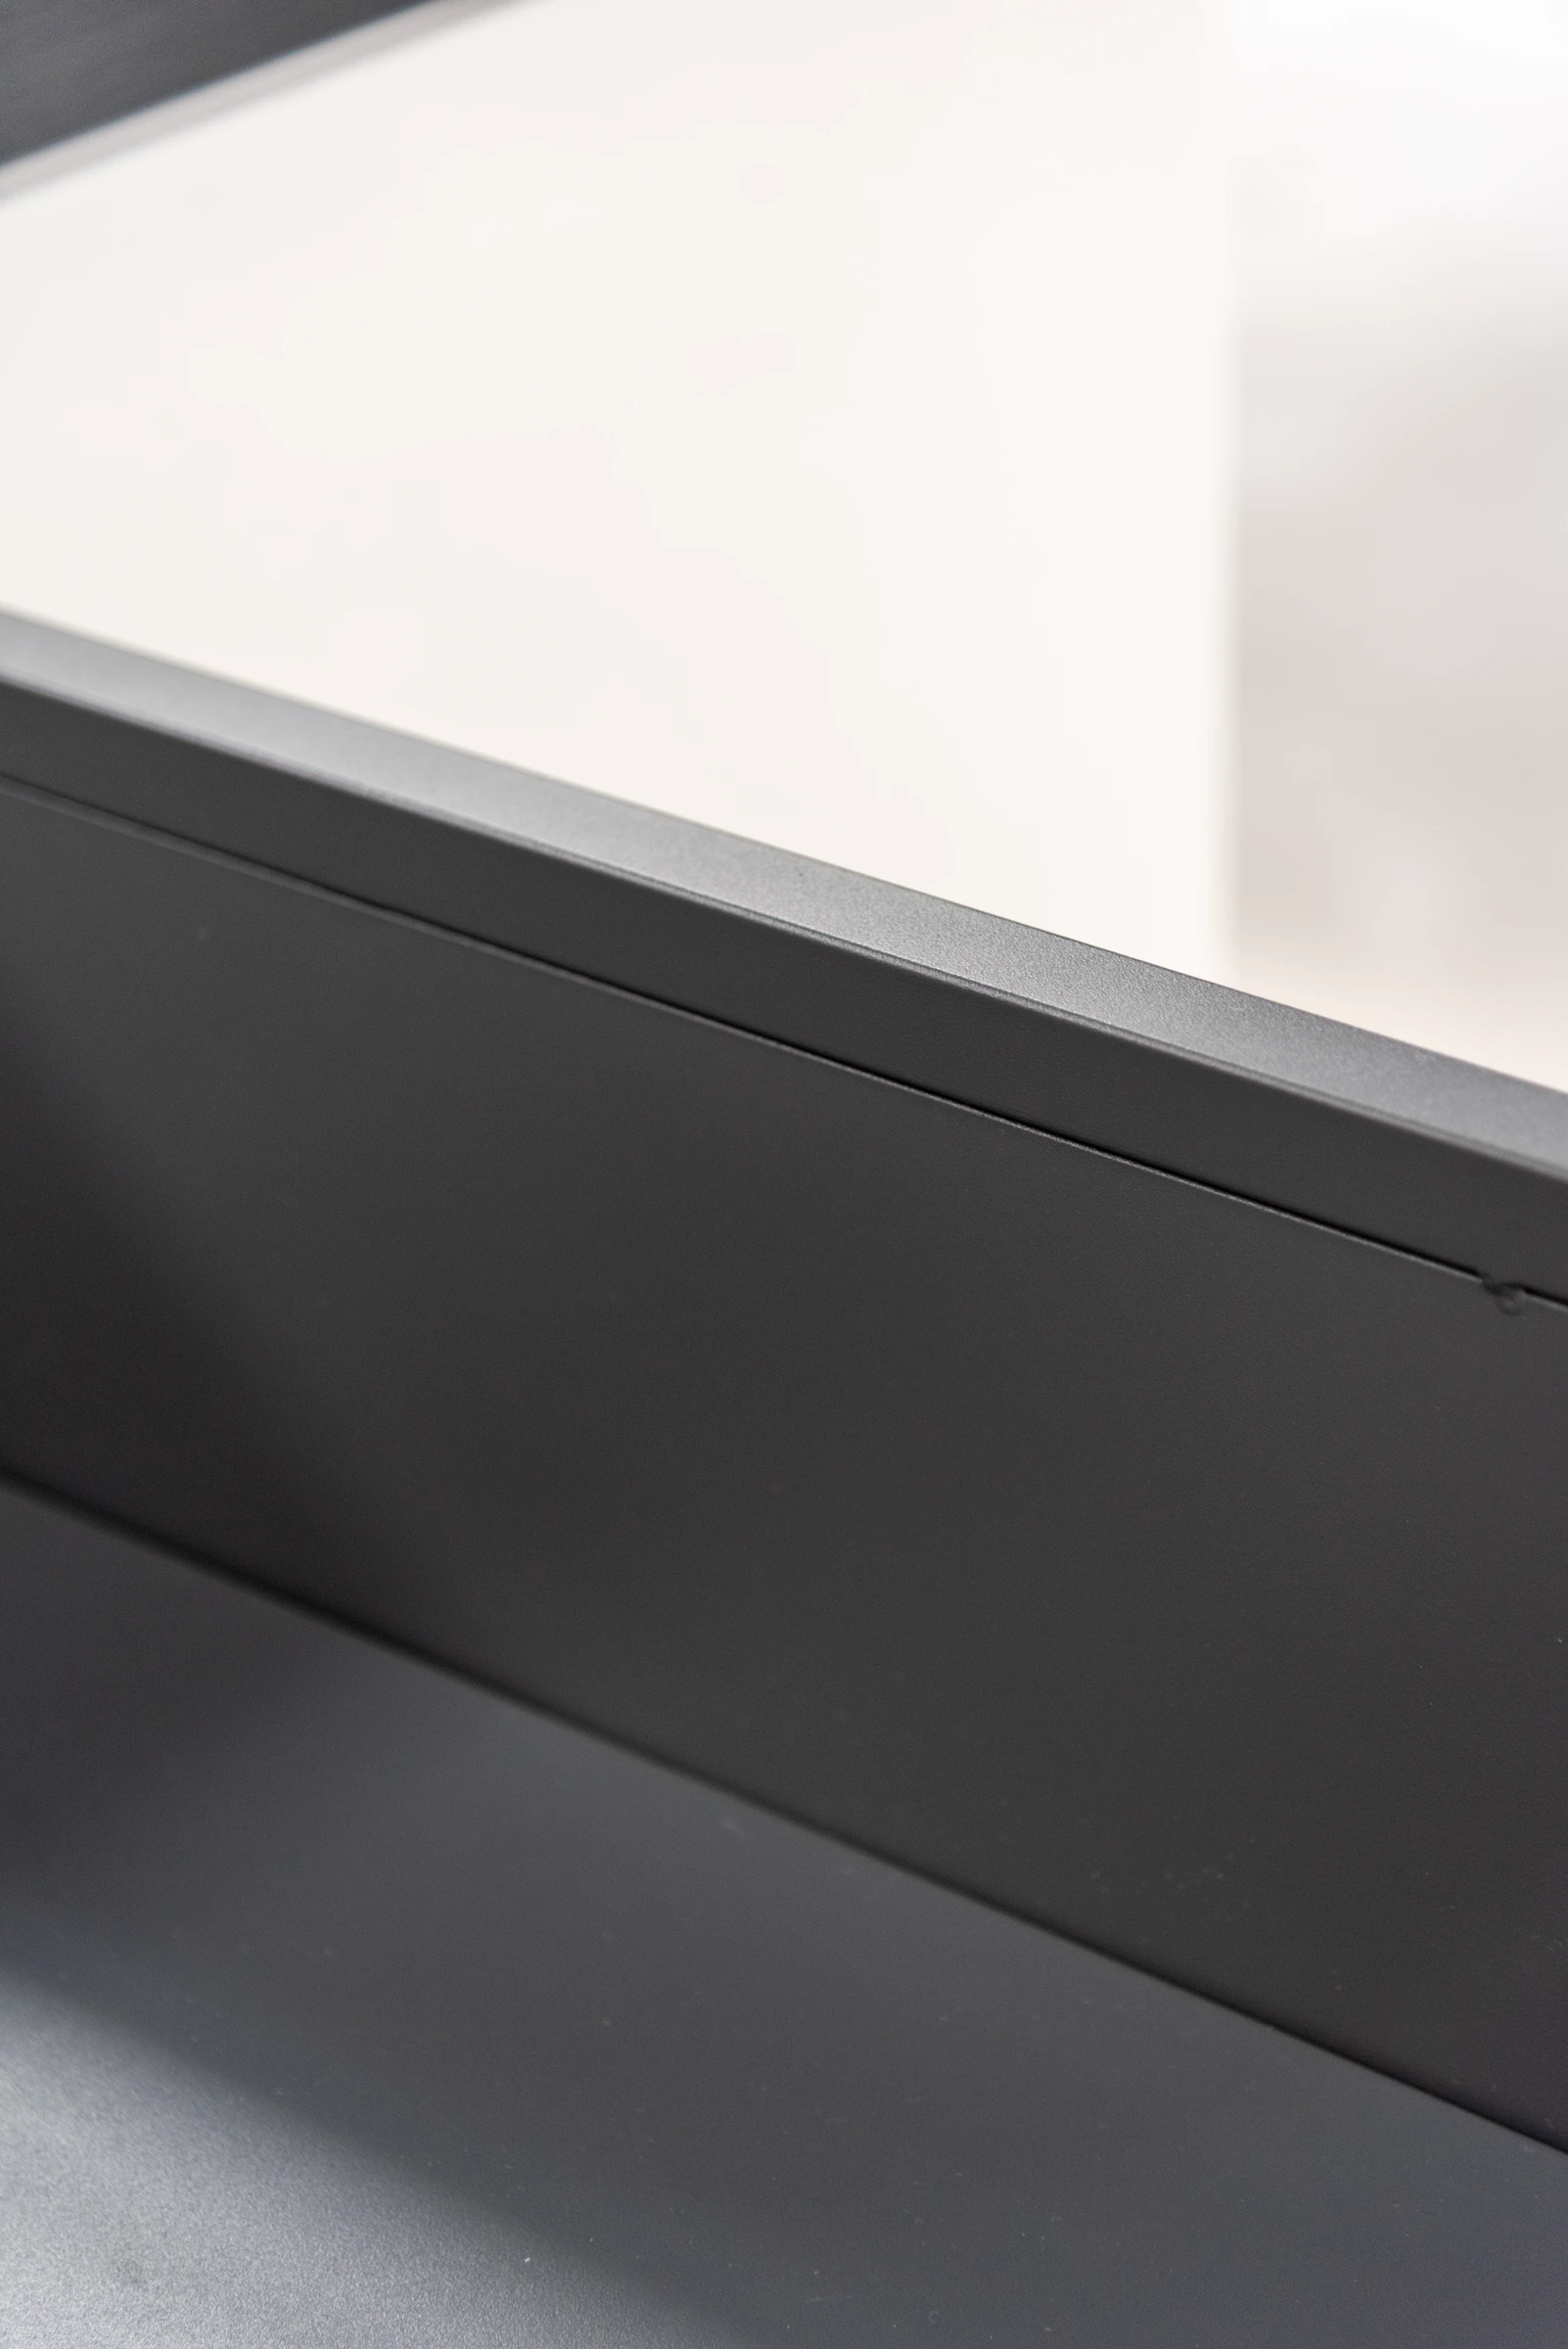 AXIS worktop edge. Ask how the specified finish is carried around formed edges and openings.
The open mesh shelf shows another point a user will handle and clean. Confirm the finish on the specified shelf assembly and how its exposed ends and joints are to be cared for.
 AXIS open-mesh shelf. Check the specified finish and cleaning access at intersections and edges.
For the wood-grain pull detail, identify the matching appearance reference and which parts will use it. AXIS product information records heat transfer printing on selected modules. Ask for the applicable pull and door finish on the purchase schedule so a visual approval is attached to a particular part.
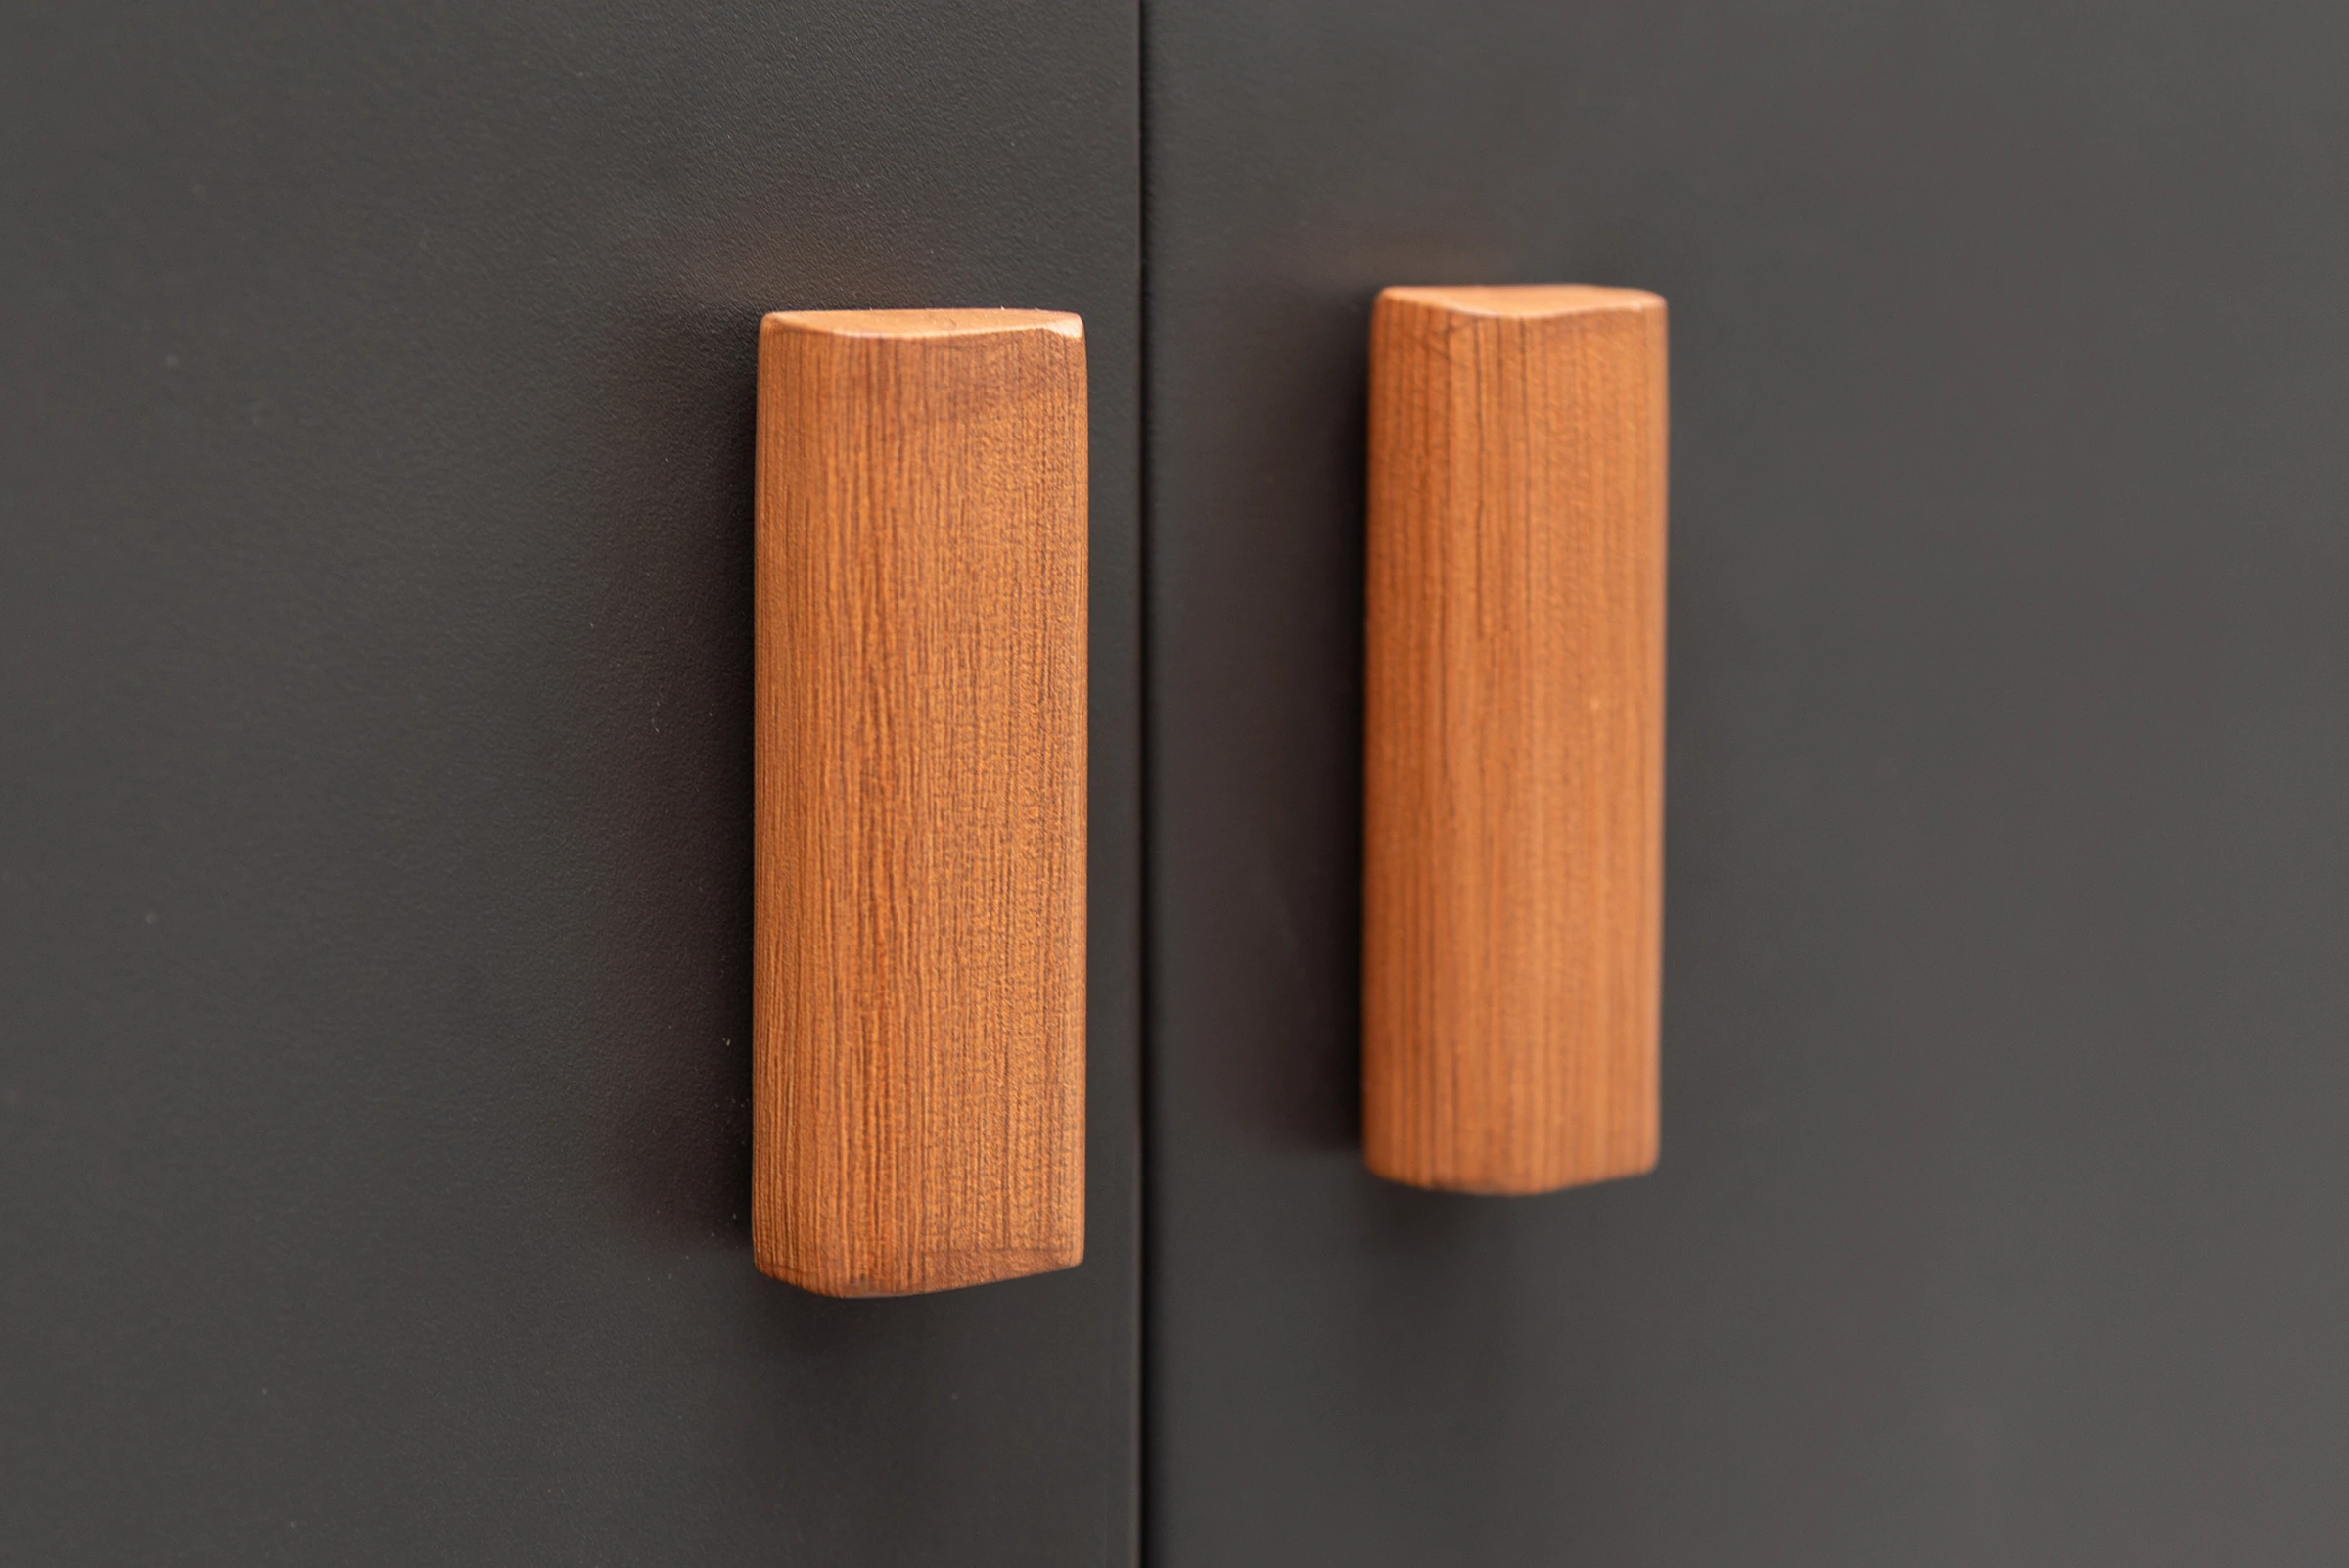 AXIS wood-grain handles. Confirm the handle material and finish separately from the cabinet body.
URBAN aluminum cabinetry, wood-grain shelves and wet-zone interfaces
 URBAN in a garden dining setting. Record the aluminum cabinet, shelf finish and sintered-stone top separately.
Our URBAN aluminum outdoor kitchen with wood-grain open shelving pairs a 1.2 mm aluminum cabinet specification with an 11 mm sintered stone worktop. The product information identifies heat transfer printing and shows the wood-grain appearance on the open shelf. Specify the appearance and the underlying material in separate fields so the end user receives care instructions for the actual shelf surface.
 URBAN wood-grain shelf. Specify the decorative finish on the selected aluminum component.
At the sink, list the faucet, worktop and neighboring cabinet surfaces separately. Frequent splashes can make a customer see marks first around the fitting or where water is left along an edge. A metal faucet photograph can locate the contact area for a care discussion. Confirm the specified fitting and its finish in the order documentation.
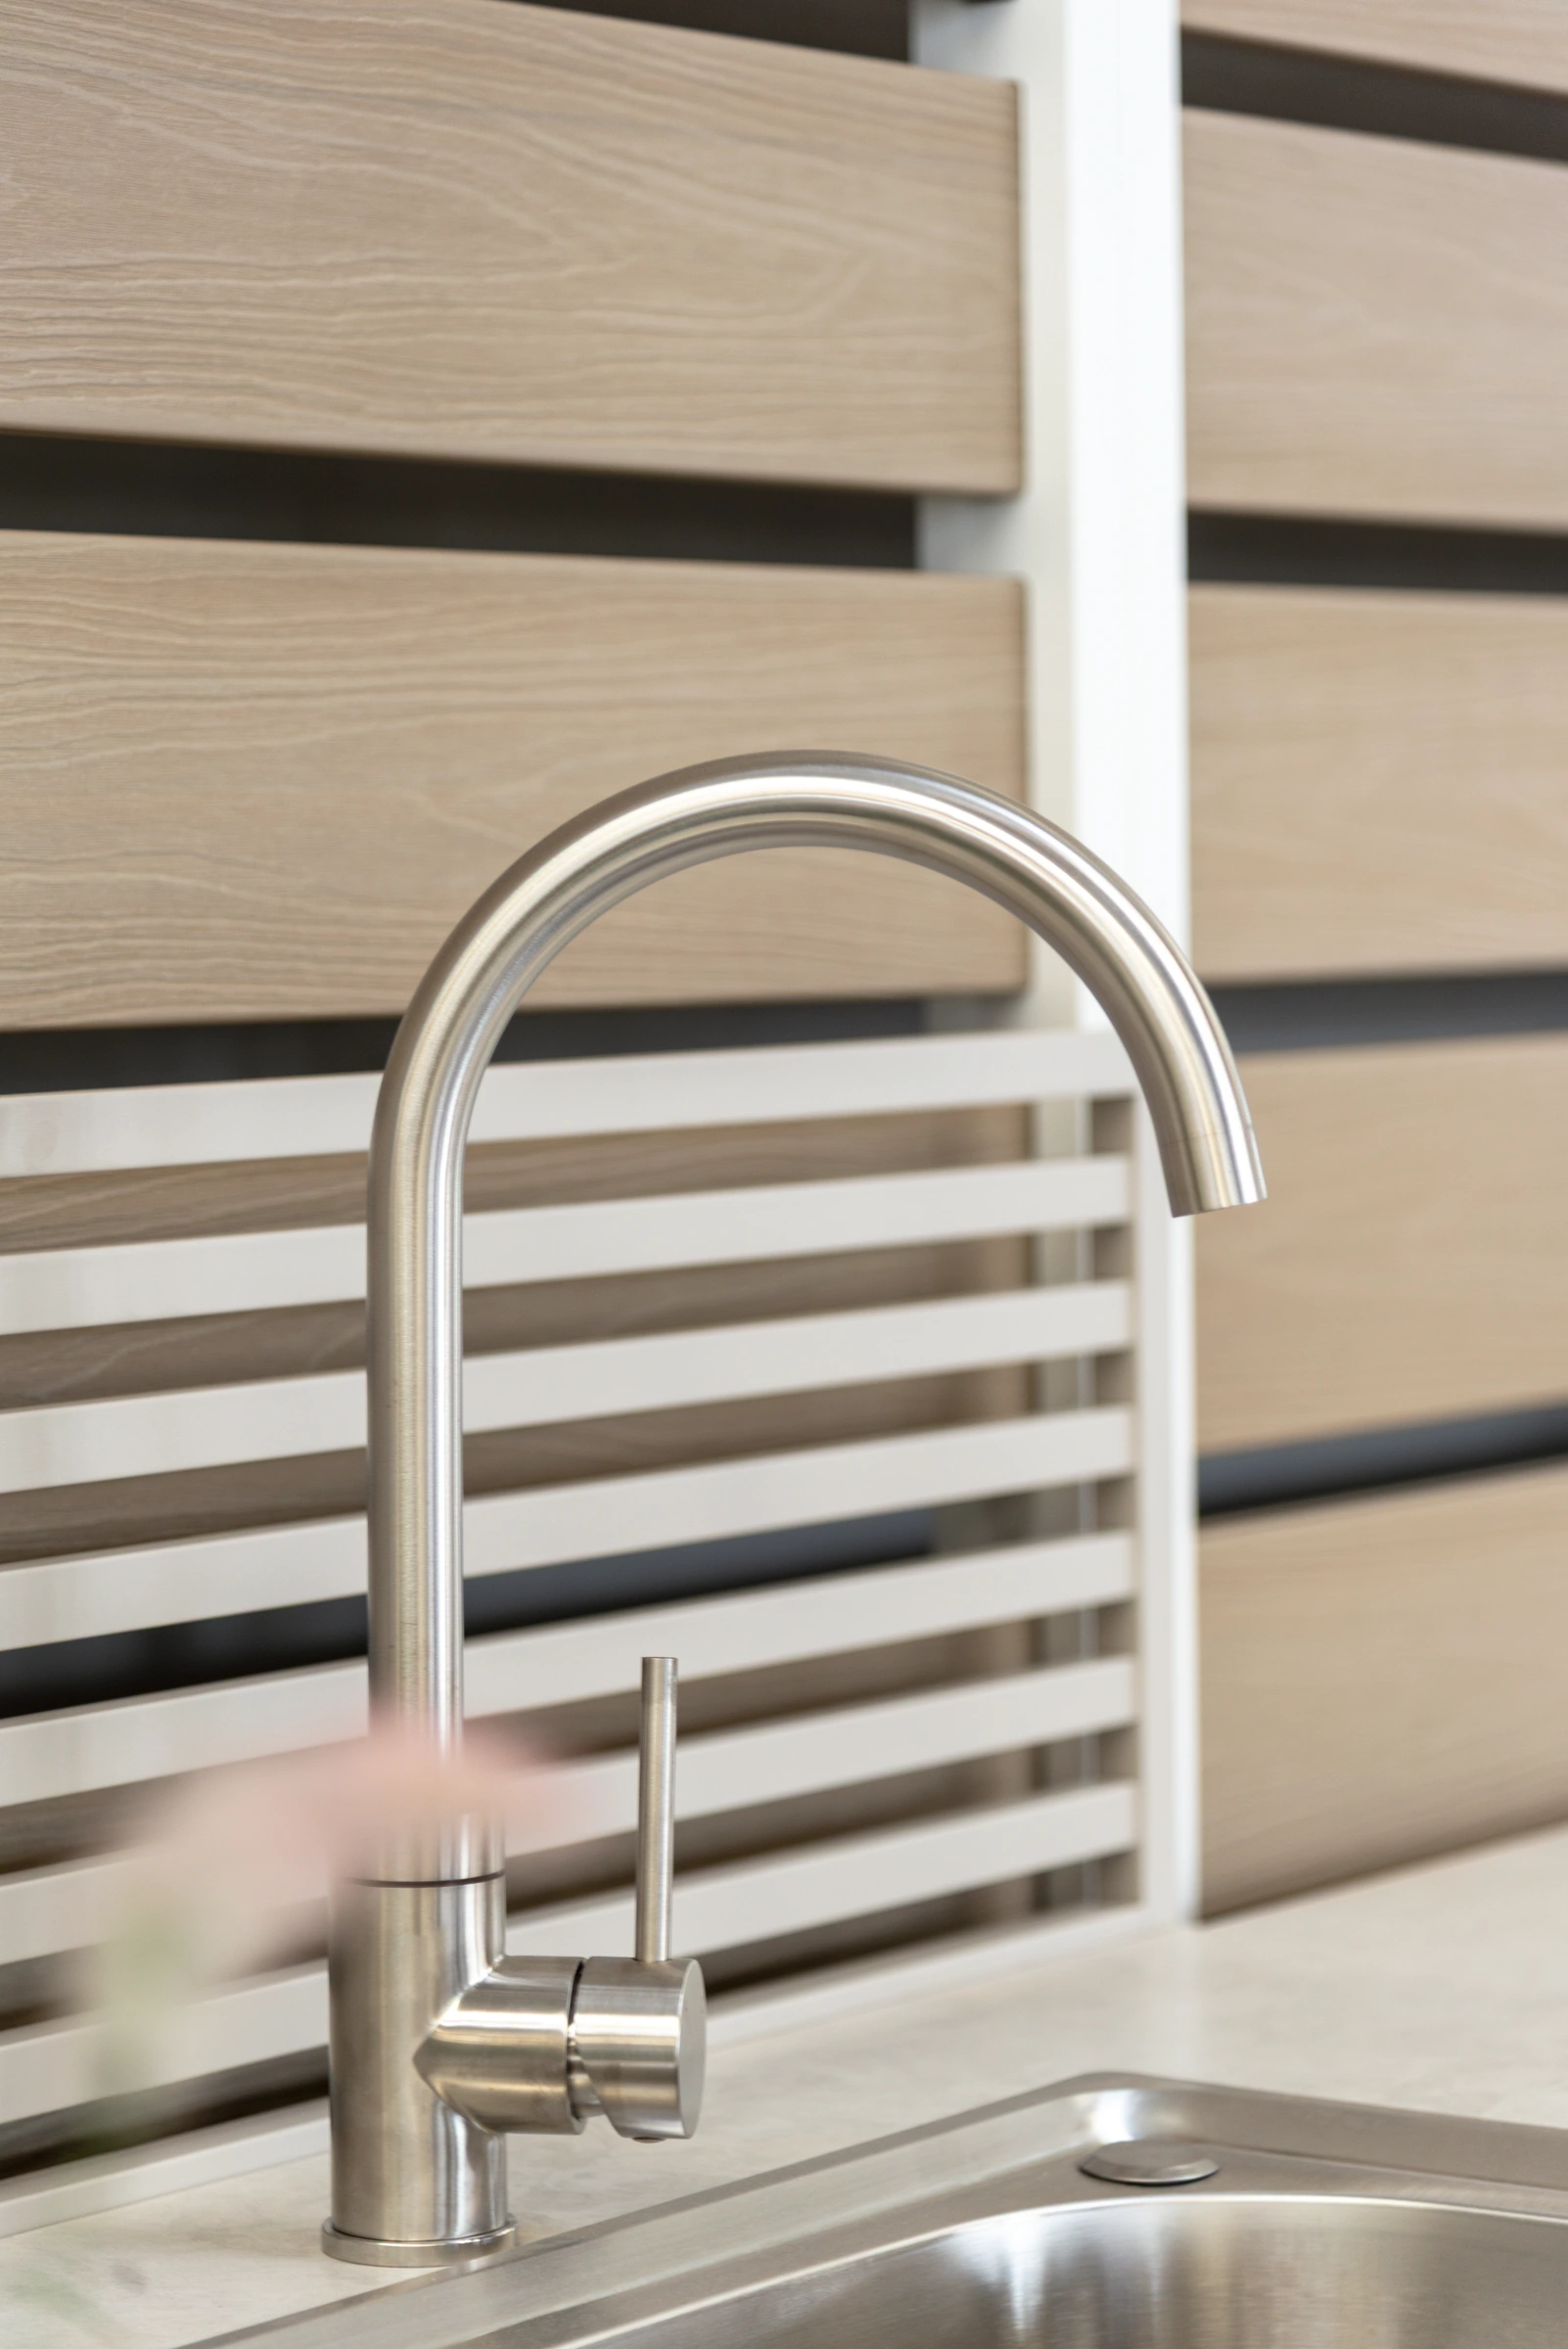 URBAN faucet detail. Confirm water exposure and the care instructions for the adjoining surfaces.
At the worktop edge, list sintered stone and its approved cleaner on their own line, then give the adjoining aluminum or decorative surface its own instructions.
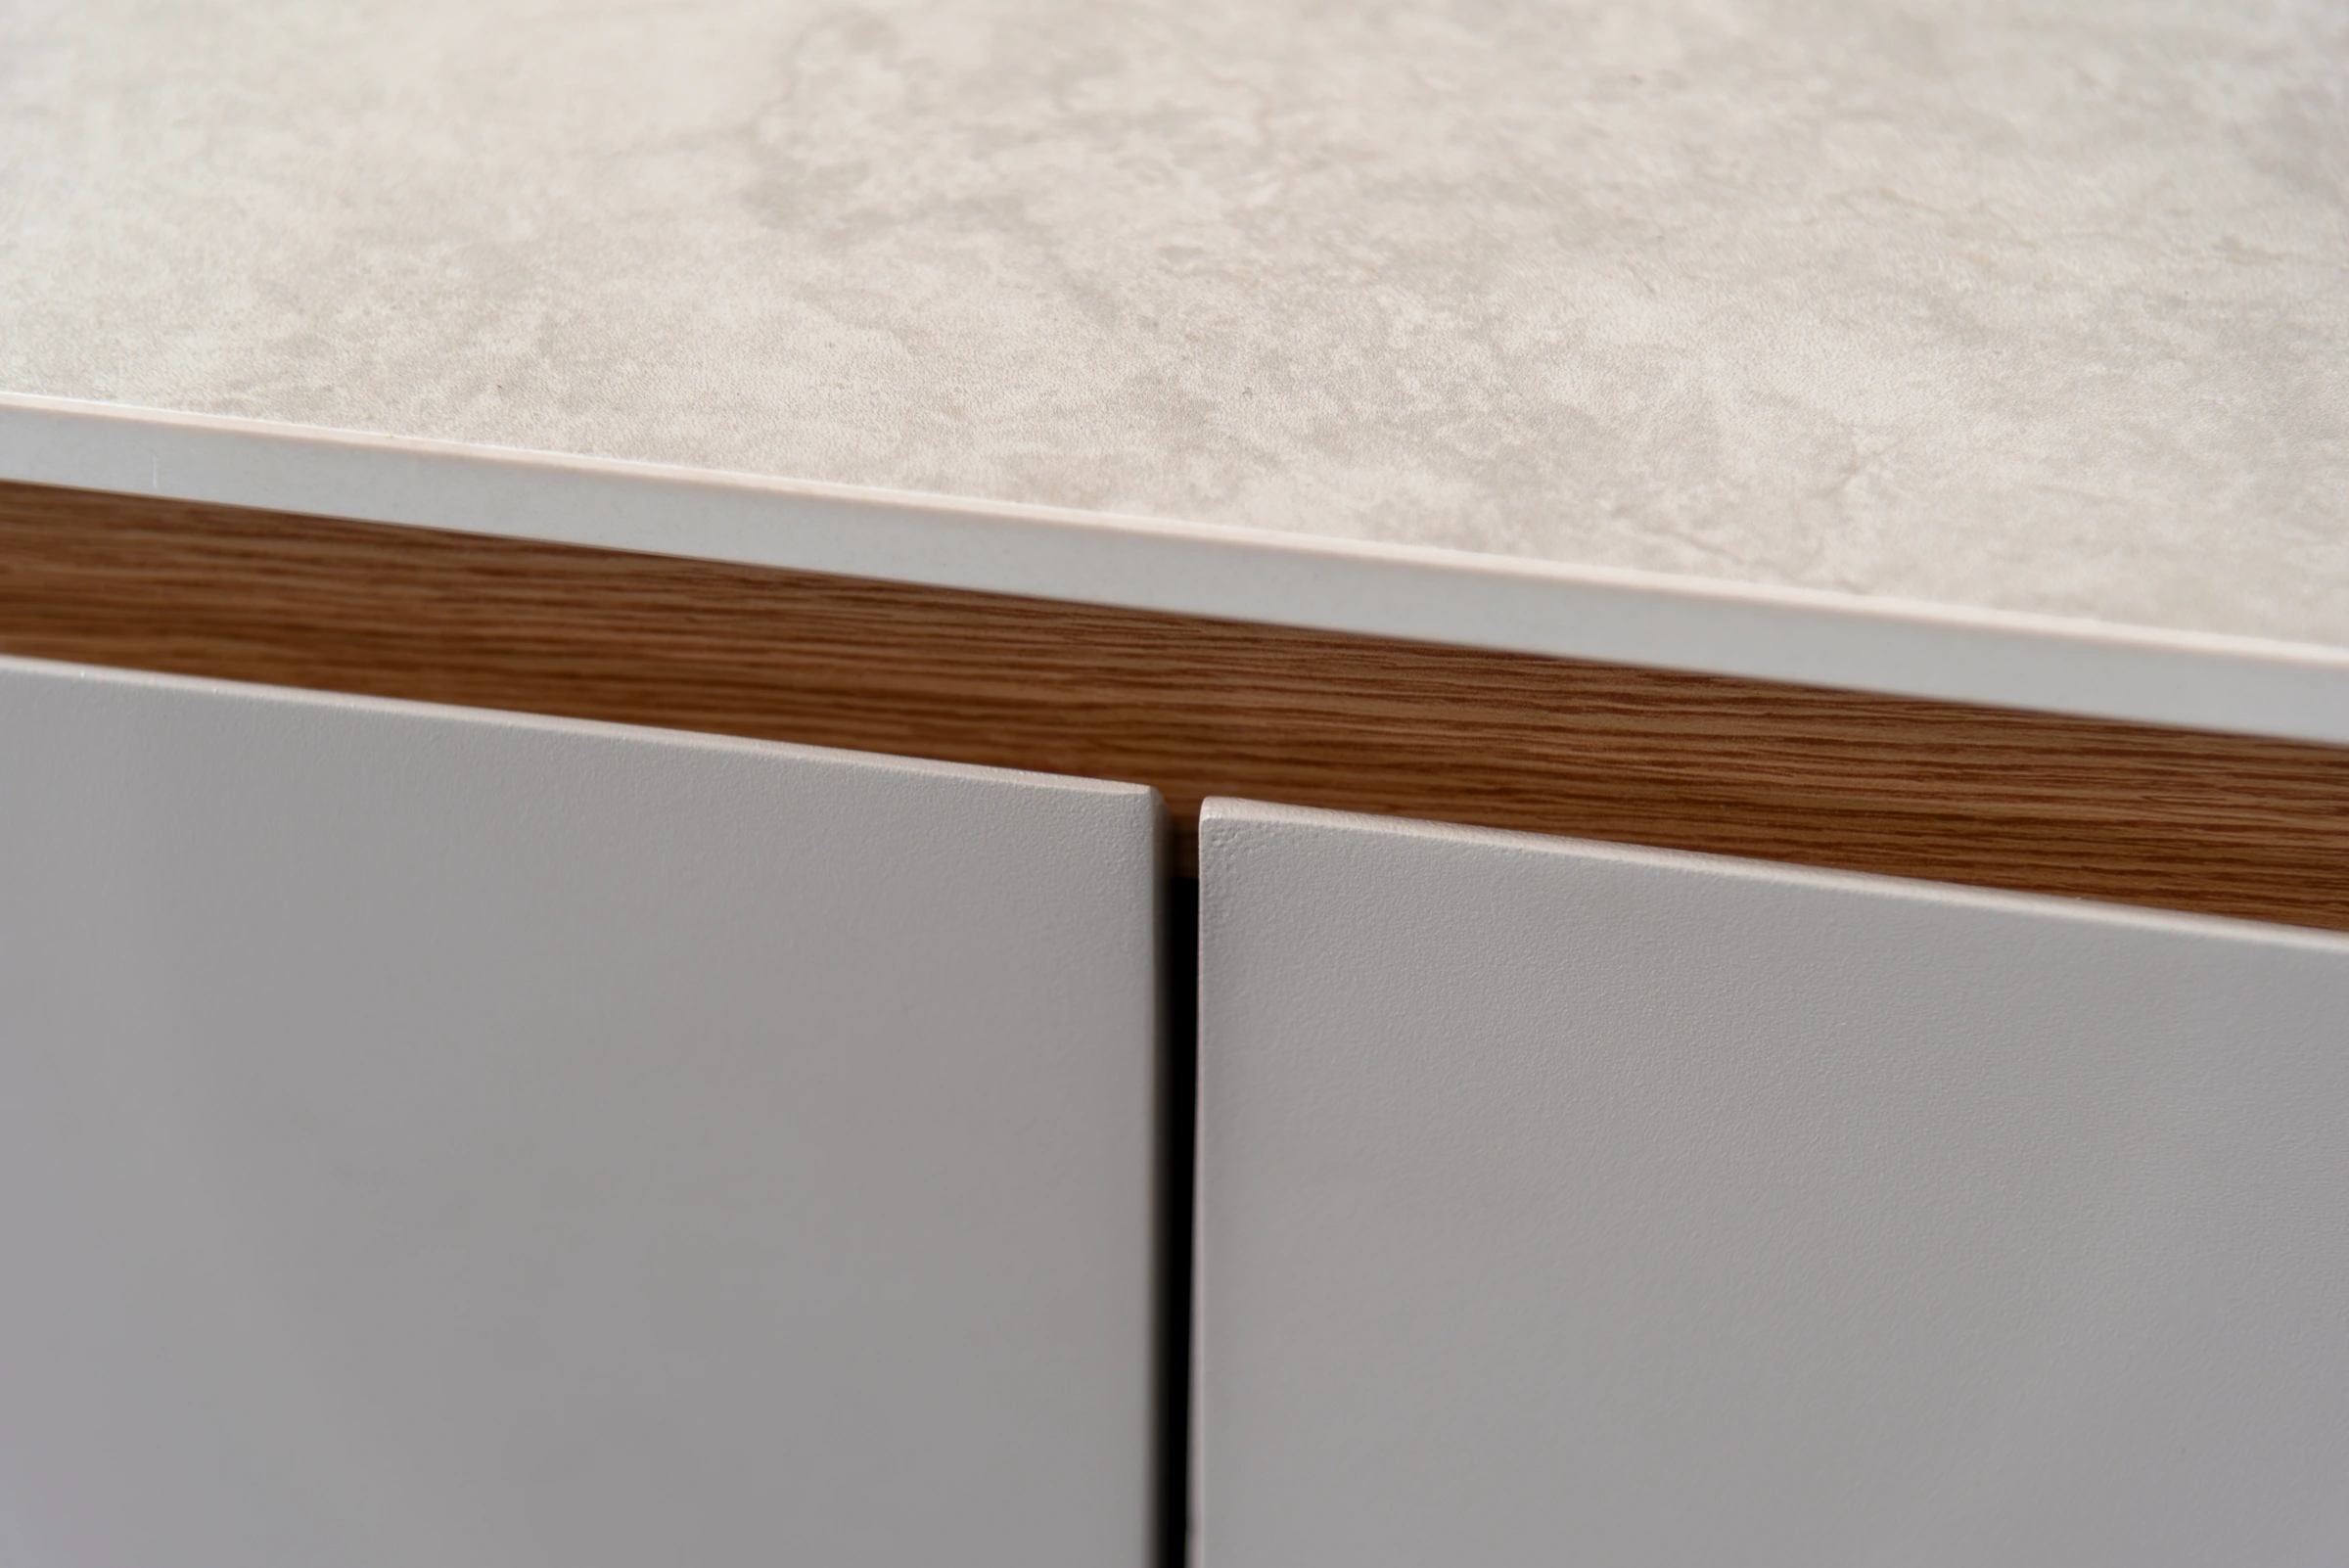 URBAN sintered-stone edge. Record the worktop finish separately from the cabinet and shelf finishes.
ELITE composite cabinets, solid teak trim and stone touchpoints
 ELITE in an outdoor living setting. Confirm the cabinet assembly, stone surface and trim against the selected modules.
Our ELITE stainless steel composite cabinets with solid teak accents illustrate a different specification. The cabinet has an 18 mm composite construction with double-layer stainless steel and aluminum honeycomb filling. The listed 12 mm sintered stone worktop and the solid teak trim above the doors on modules A, B and C are separately identified components. Record appearance approval for the visible worktop surface against the proposed specification.
 ELITE sintered-stone face. Match the approved finish sample to the working surface for the selected order.
Specify the solid teak trim separately where it is present, then check the adjacent stone and metal care instructions. The countertop and trim close-up gives the buyer a place to mark the finish transition.
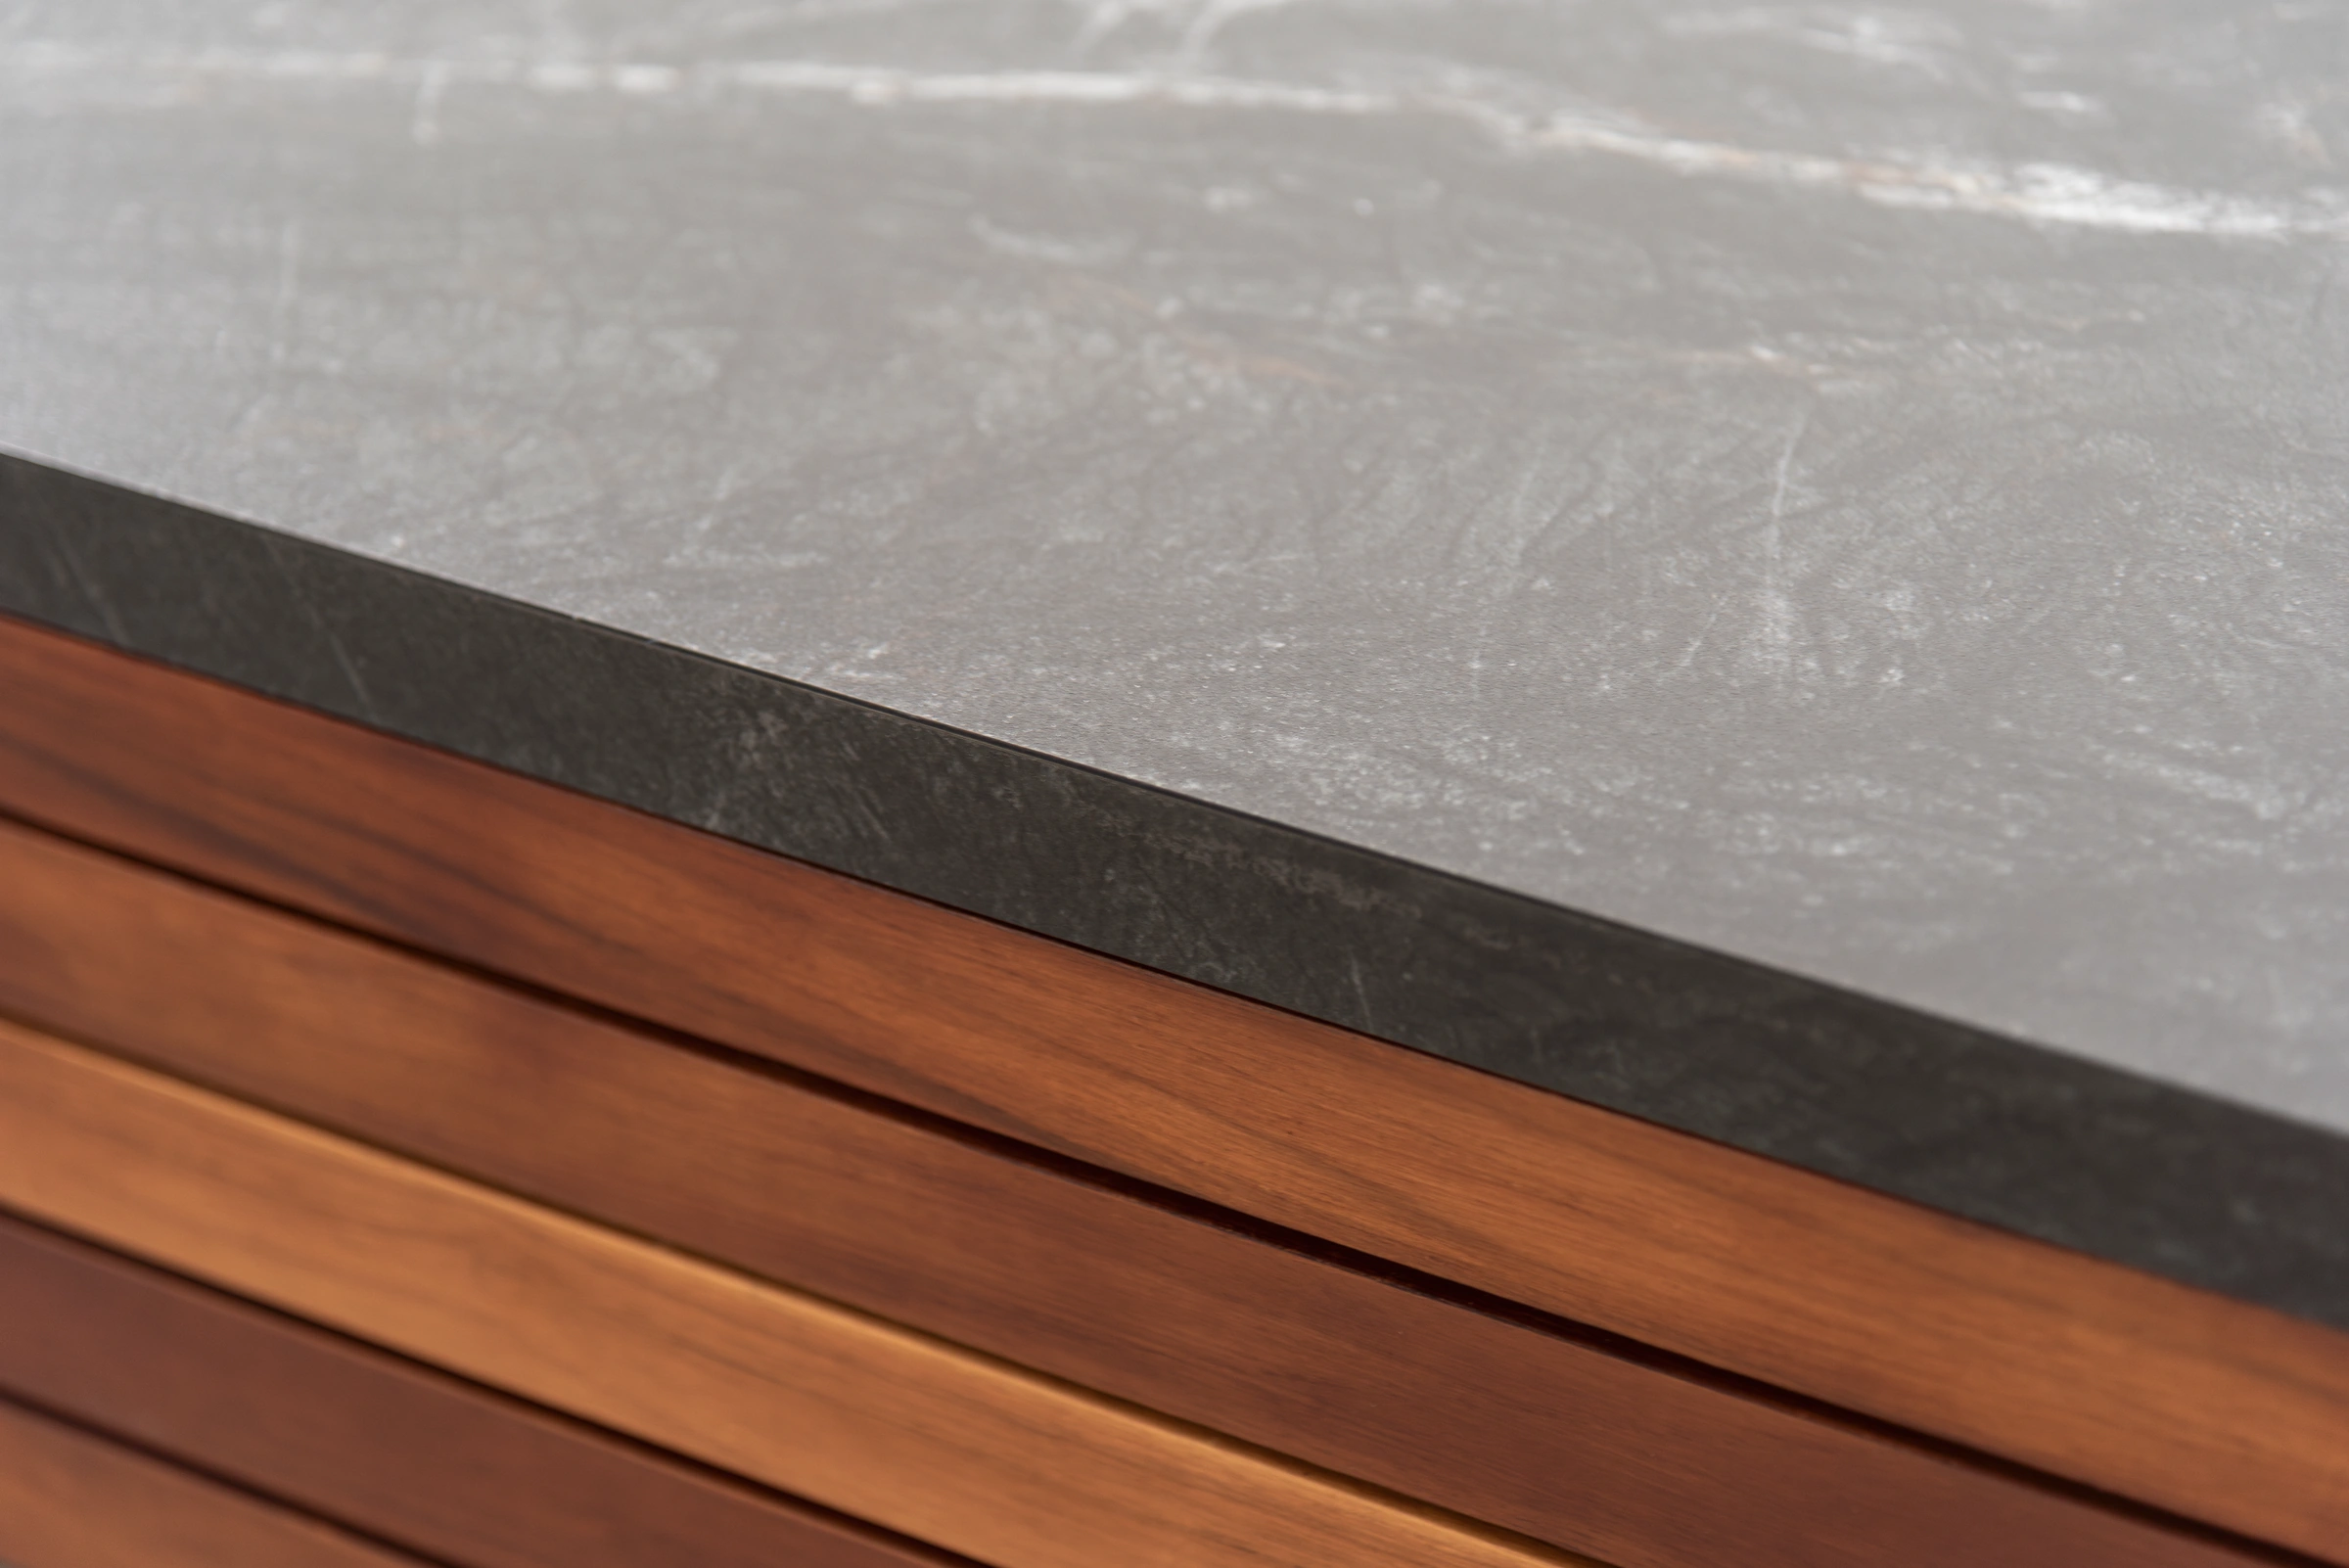 ELITE countertop and solid teak trim. Confirm the wood care instructions for the selected trim-equipped module.
The door and pull close-up shows the touch zone where customers can notice fingerprints or cleaning streaks. Ask which cleaners are approved for the selected surfaces and how to handle a replacement trim, panel or pull if the appearance must match an existing run.
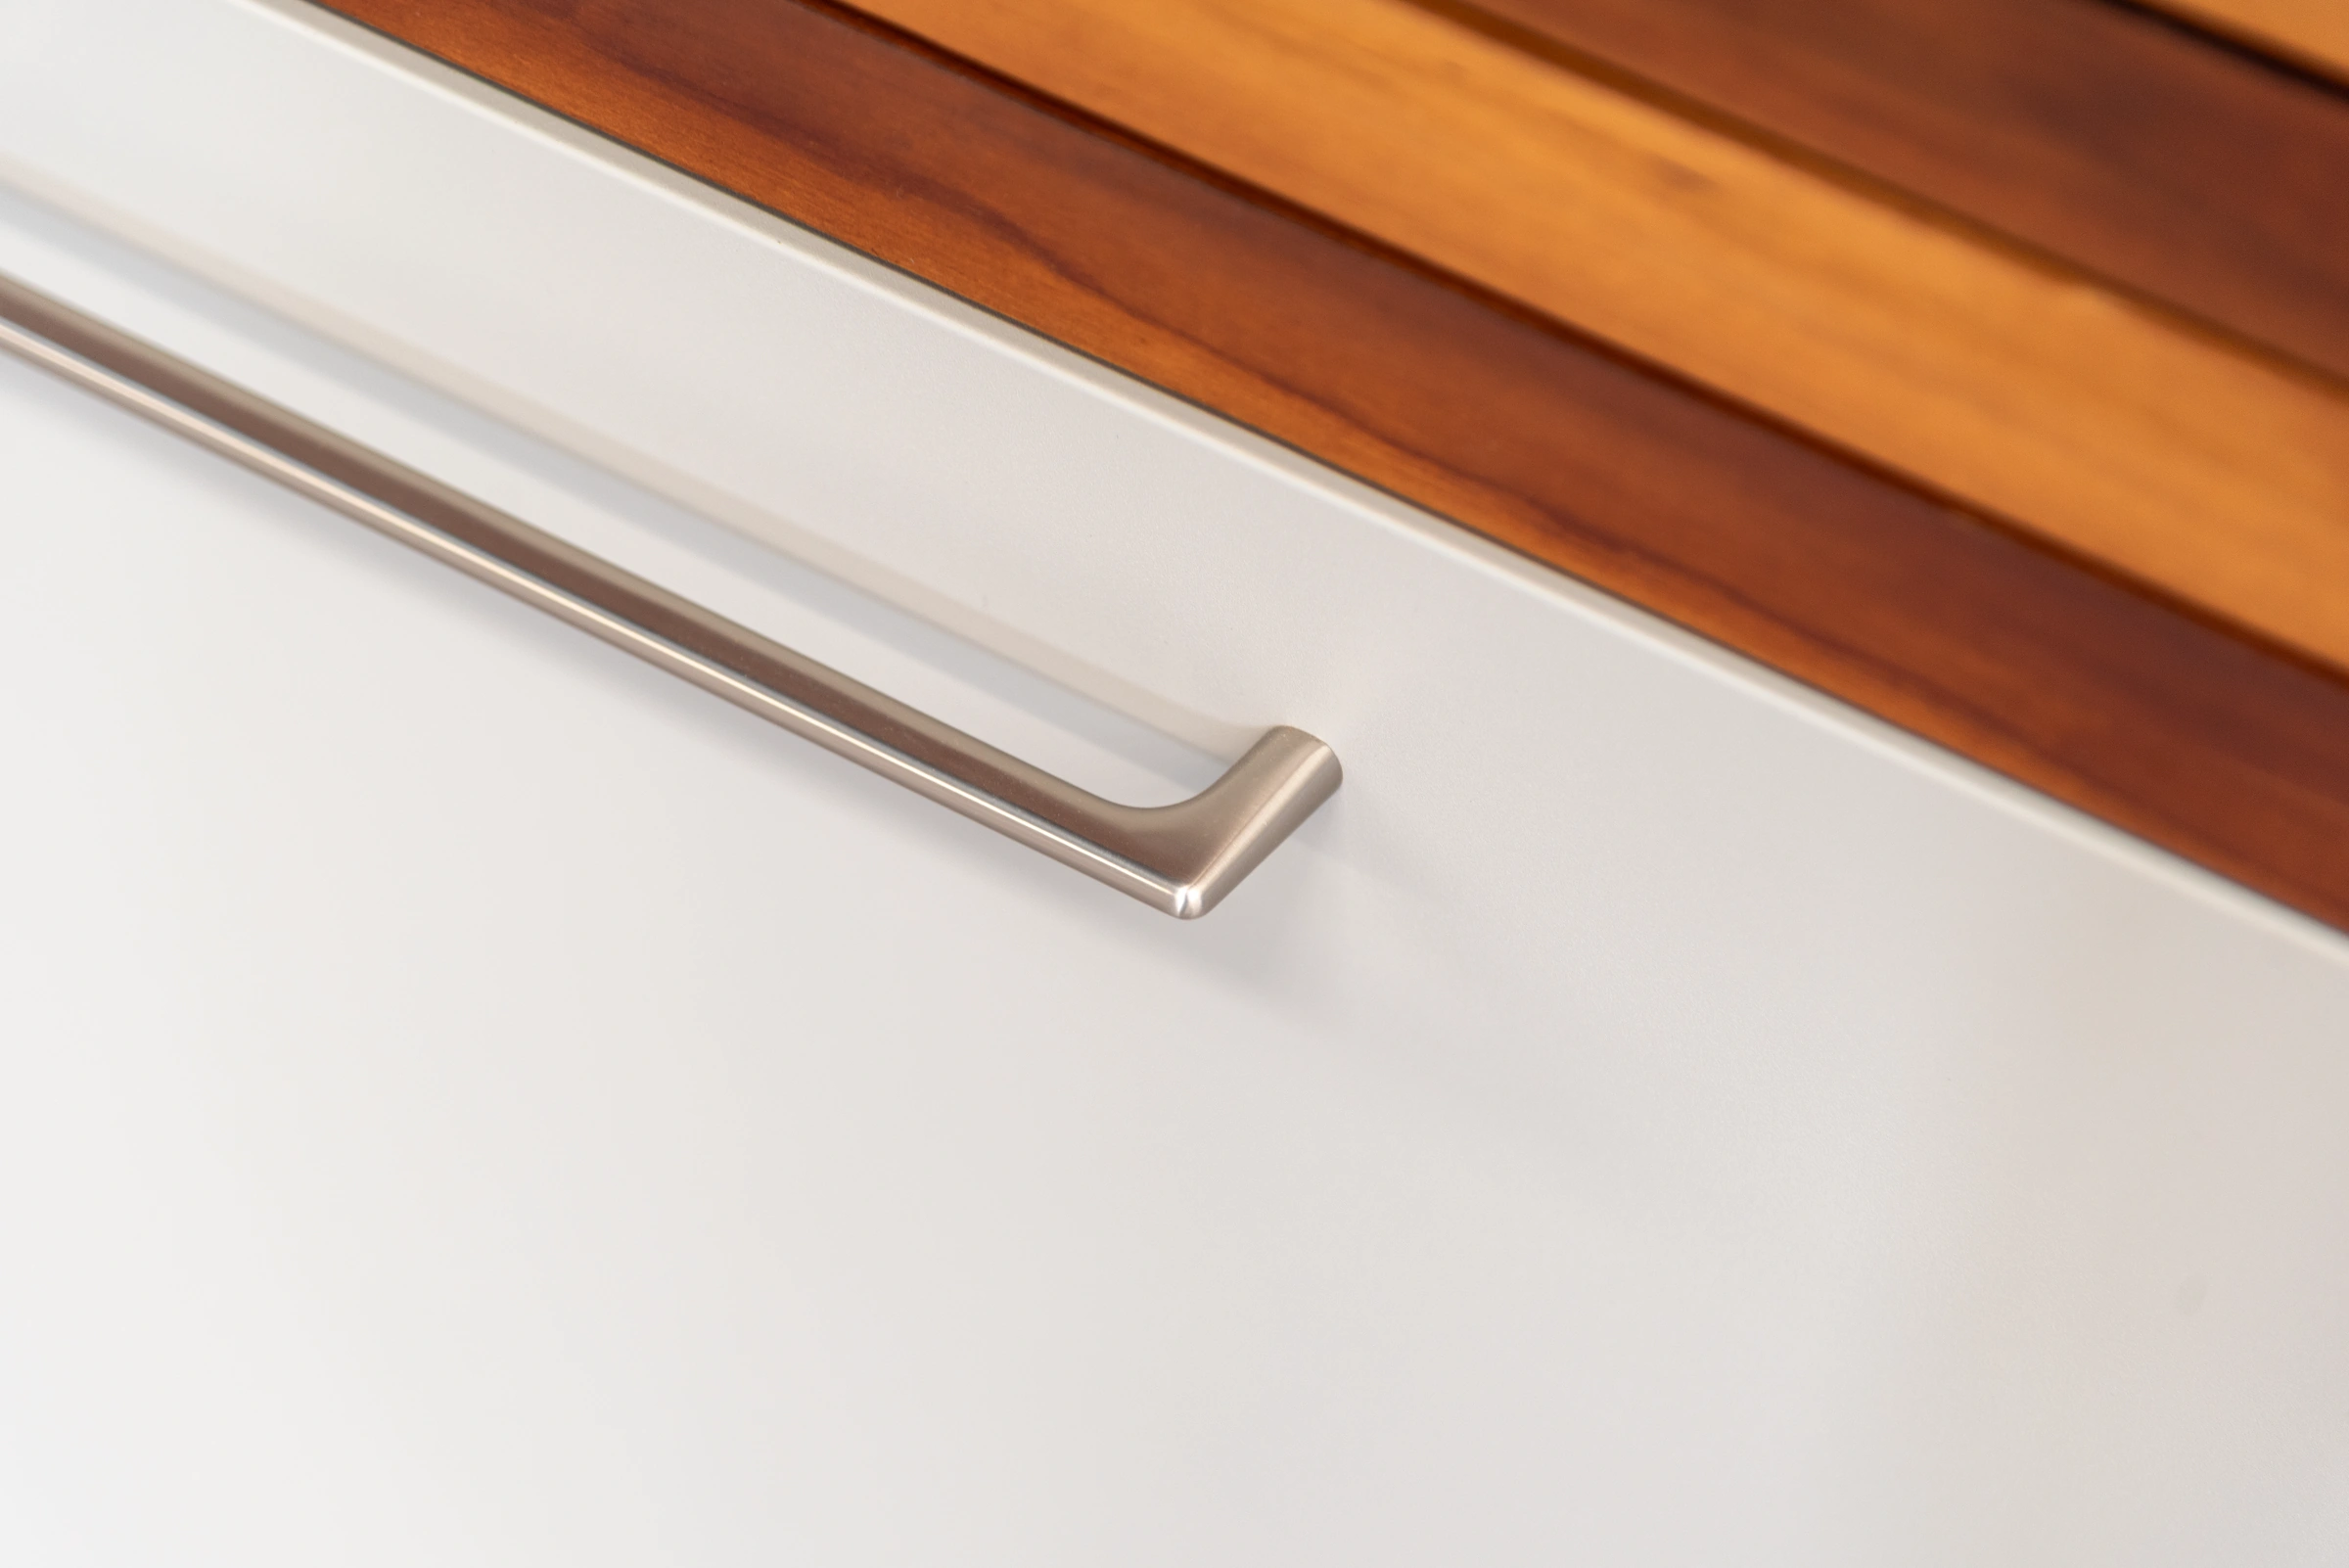 ELITE door and handle area. Get separate cleaning guidance for the touch point and surrounding finishes.
Carry component-specific approvals to the rest of the range
The same schedule can cover NOVA galvanized steel cabinets with wood-grain handles and METRO galvanized steel cabinets with 304 stainless steel worktops. NOVA's galvanized steel cabinets, handles and bamboo-lid corner need entries against their own surfaces. METRO lists 304 stainless steel on the worktop and galvanized steel for the cabinet material, so document the two surfaces independently. The Outdoor Creation product range for kitchen and outdoor projects provides the route to these individual series.
When a brand starts a range with an outdoor kitchen manufacturer for custom cabinet finish specifications, a part-level record gives both sides the same basis for approval. A later change to a handle, an edge treatment or a cabinet side can then be reviewed against the exact approved entry.
Map the end user's exposure and care concerns
Mark splash, open weather and sheltered areas on the plan
Begin exposure checks for a modular outdoor kitchen by marking wet sink edges, rain-exposed side panels and sheltered returns that receive little rain wash. Ask how water drains from the site, where wind drives rain and where users may leave wet tools or cleaning residue. Mark the sink perimeter, lower edges, fronts, shelf corners and inaccessible joints on the planning drawing. For a coastal project, add likely chloride exposure to any affected zone. A covered position still deserves a check where a buildup can remain on a surface between cleanings.
- Sheltered. Check where dust, cooking residue or salt can collect on surfaces that rain seldom reaches.
- Sink splash. Check wet edges and joints, including places that are difficult to reach for routine cleaning.
- Open weather. Record direct rain, sunlight and repeated wetting in the actual use area.
- Coastal exposure. Record chloride exposure for the site and flag affected areas when reviewing the finish and care guidance.
Turn visible complaints into checks the buyer can use
Customers often report a mark before they know what caused it. Ask when it first appeared, whether the cabinet was under cover and which water, cleaners and utensils contacted the spot. Have them photograph the whole module and the affected detail, and note whether the mark sits on the part itself, near a fastener or in the path of runoff. Document the condition before cleaning where evidence is needed. Follow the approved instructions and ask for a review if the mark persists or the surface is visibly damaged.
On a stainless steel surface, coastal brown discoloration can be consistent with tea staining. Its location, the surface condition and exposure history help guide a technical review. The part receiving the mark and the fitting above it may need separate examination. Confirm cleaning guidance and the appropriate grade and surface details with the product evidence. See the ASSDA guidance on coastal tea staining.
Distinguish a change in appearance from a change in surface condition before advising the customer. A dull streak left after cleaning calls for a review of the product used and its application. A raised edge, a blister or a visible break in the finish calls for a close inspection of the affected component and any nearby joint or fixing.
- Chipped edge. Photograph the damage and have the supplier identify the finish system and approved repair route.
- Spots on stainless steel. Verify the material, exposure and cleaning history before assessing possible tea staining.
- Surface deposits. Check what collects at the location and use the cleaning method approved for the surface.
- Wet seam. Note how long moisture remains after use. Have the installer or supplier review the joint and its surroundings.
Give the end user a response tied to the affected part
The matrix is a starting point for discussing use and acceptance. Replace its example checks with the requirements for the selected module and confirm who will resolve any missing information before the order is released.
| Zone or surface | End user concern | Buyer acceptance check | Response for the customer |
|---|---|---|---|
| Sink and splash zone | Rings around the faucet or splash marks along the edge. | Confirm the fitting finish, adjacent materials and cleaning guidance on each surface. | Identify the affected part and use its approved care method. Report persistent marks. |
| Open face in rain and sun | Uneven appearance or gloss change compared with a covered panel. | Record external exposure, the appearance reference and the applicable finish documentation. | Photograph the two parts in comparable light and note their different exposure. |
| Sheltered seam or lower edge | Residue under a return, a mark near a fixing or damage along a corner. | Confirm edge treatment, hardware and access for cleaning or inspection. | Show the seam or fixing in a close photo and record any standing water. |
| Coastal exposure across zones | Recurring deposits or brown marks after previous cleaning. | Obtain written exposure and care guidance for the exact finish and hardware. | Describe the setting, record the affected surface and request a review if the issue returns. |
| Pull, trim or frequently touched face | Cleaning streaks, grip wear or a replacement with a different shade. | Identify the appearance reference, care limits and replacement part code. | Use the specified care method and quote the part code when asking about a match. |
| Fold, cutout or coated edge | Chipping, blistering or a mark that grows outward from an opening. | Check the formed sample or approved detail and document any work done onsite. | Document the location and ask for guidance on inspection or repair before touching up. |
Match corrosion evidence to the ordered part
Make the specimen and test result traceable
When the project calls for test evidence, request the reference standard and revision, the specimen description, substrate, preparation, finish and exposure duration. Ask whether the sample was flat, formed, assembled or scribed, how edges were handled and which features were examined. The report should also state its result and the criterion used to judge it. Use these details to decide whether the submitted test covers the same component and condition you are approving.
ASTM B117 sets out a controlled salt spray environment used to obtain comparative information. Use test hours with the specimen, conditions and assessment stated in the report, and seek appropriate supporting evidence before making any claim about service life or a coastal site. A flat-panel result may apply to the documented face and still leave the cabinet's cut edge, fastener and seam unresolved. See ASTM B117 scope and significance.
Resolve discrepancies before ordering
Suppose a buyer is shown a report for a flat aluminum panel and the order calls for a formed panel with a different finish or hardware. Flag those changes in the finish schedule. Ask the supplier to identify which aspects the evidence still covers and what additional evidence or approval is required for the changed parts. A result from another finish, substrate or component can inform an initial conversation, while purchase acceptance depends on the agreed match and application.
Confirm a line when the selected part, finish, exposure and supporting evidence are aligned. Hold a line when a required detail or care document is missing. Reconfirm a line when the approved sample, supplier specification, fabrication or exposure changes. Separate these decisions so a cabinet run can be discussed accurately even when just one fitting or corner detail remains open.
Release an approved finish specification and care handover
Keep the signed sample and order record together
Use one record with the module revision, finish code, appearance reference, applicable exposure zone, interfaces, sample reference and the evidence accepted for that line. Include a photo of the sample where it will help identify it and record the physical reference separately. Have the importer or brand name the person who can approve deviations. If the project permits a substitute or a later batch, agree how the proposed change will be reviewed against the finish and care records.
At Outdoor Creation, our manufacturing base in Xuancheng, Anhui, China supports global B2B outdoor kitchen orders. When working with a factory direct outdoor kitchen supplier for site exposure reviews, share the marked drawing and finish schedule together. Matching a material decision to its module and use area helps the team review custom appearance choices and flag open interfaces before final approval. See our outdoor living manufacturing facility for modular kitchens.
Give support teams a part-specific response after installation
Provide the end user with the approved care instructions by part, including what to use, what to avoid and whom to contact about a persistent mark or damage. Give a retailer or installer the order reference and a way to identify the module, finish and replaceable parts. Explain which situations to document immediately, including peeling at a cut edge, a recurring brown mark at a fixing or a surface that changed after a cleaner was used.
The best handover lets a dealer answer a maintenance question while identifying which component to check. Keep the issue tied to the finish schedule and approved care information so support can distinguish an appearance query, an exposure concern and a possible defect. That same record helps the buyer review repeat orders without losing the finish decisions made at the original release.
Frequently Asked Questions
Can I use coated cabinets near the coast?
Ask the manufacturer to review the selected finish, exposed hardware and cleaning access for the site. Share expected salt exposure and shelter before ordering.
Do salt spray hours predict outdoor service life?
No. Salt spray hours describe laboratory exposure. Compare the method, specimen and evaluation criteria. Ask for relevant field evidence when assessing a service life claim.
What should I do about a chip near a fastener?
Photograph the chip and identify the component. Request the approved repair procedure. Report spreading damage, blistering or loosening for assessment.
Is a wood grain finish solid wood?
Check the component specification. A transferred pattern can reproduce a wood grain appearance. Separately identified solid wood trim requires its own care instructions.
How can I remove marks from a cabinet?
Start with the approved care instructions for that surface. Photograph persistent marks before trying another cleaner, especially near joints, damaged finishes or hardware.
Does a covered outdoor kitchen still need cleaning?
Yes. Sheltered surfaces can collect grease and deposits. Follow the care instructions for each material and confirm access to seams, shelf undersides and hardware.
Materials, finishes, hardware, installation and care requirements vary with the configuration and site. Confirm customization options, final specifications and applicable terms for each order.