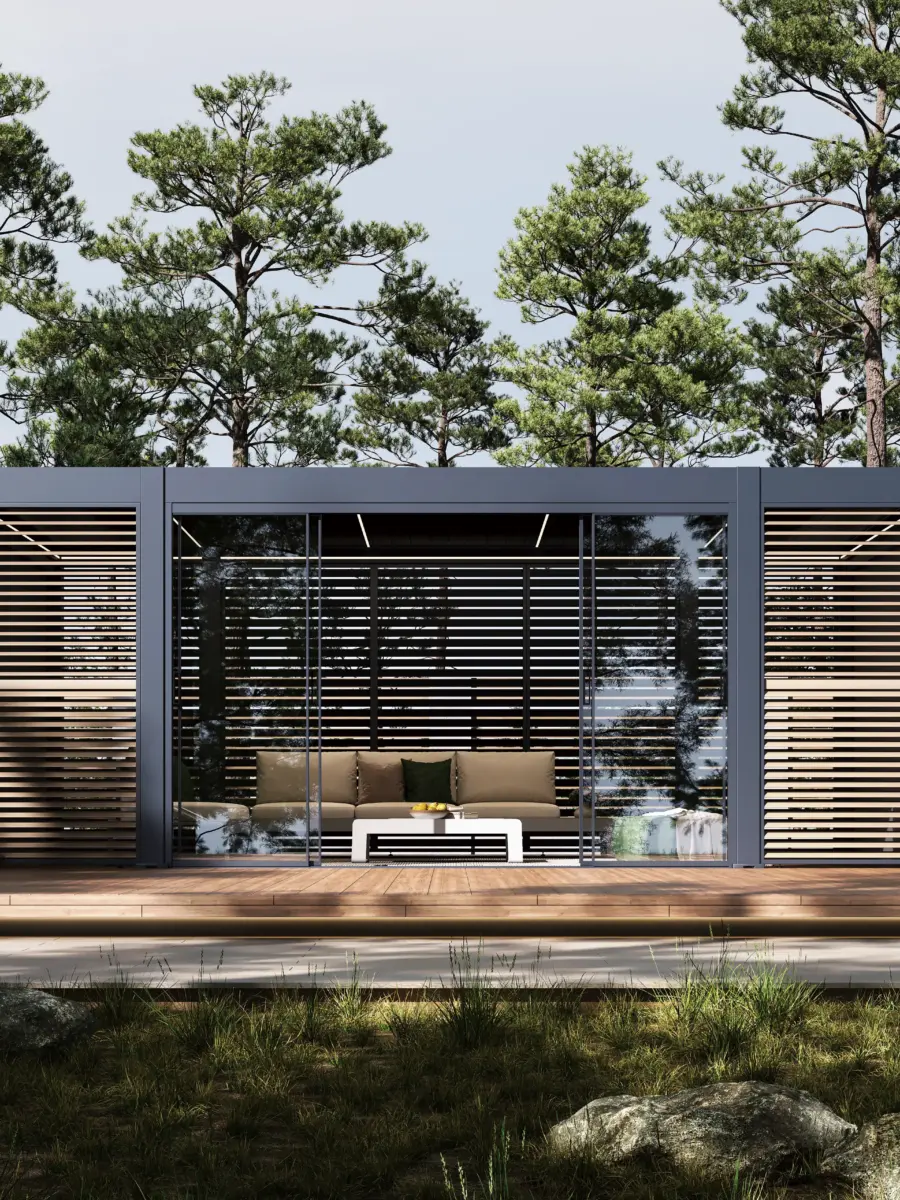
Start small outdoor kitchen planning by protecting the route people already use and giving the most frequent tasks the best space. Then choose the modules that still work when doors open, someone is cooking or an appliance needs service. Designers and retail advisers often receive a patio width, a reference photo and a wish list that includes prep, storage, a sink or a grill. A fixed doorway, existing utility connection or tight turn can change which of those requests fit the way the customer actually uses the patio.
Start with the client brief and fixed boundaries
Find out how the client uses the patio now
When a client brings small outdoor kitchen ideas to a showroom, ask them to walk through an ordinary meal. Where do ingredients come from? Who rinses them, where does the board go and which door do people use while someone is at the counter? A couple who cooks indoors and serves outside may need a short landing surface and accessible tableware. A household that regularly grills outdoors may be willing to give up an extra cabinet to gain a standing area beside the grill. Record what the client does most often before pricing the longest run that fits on paper.
For a retail adviser, the first decision may be to show one useful layout and one clearly explained option. For a designer, it may be to explain why a gate, floor drain or existing seating arrangement limits the brief. Both can use the same questions. Ask whether the client carries food through the kitchen to reach the garden, whether two people prepare food together and which items need to stay outside. Show the client which request takes up wall length, which takes up working depth and which needs a utility connection.
Measure the route and the obstacles that stay
Draw the usable wall length and the shallowest part of the patio. Mark returns, posts, thresholds, changes of level and the swing of each existing door or gate. Plot the route between the house and garden in the position people actually walk. Add the furniture in its normal position, including occupied chairs if they narrow that route. On an uneven plan, label the narrow point and its location so the supplier can see where the measurement was taken.
- Fixed edge. Measure the usable wall and any return or offset.
- Entrance swing. Record the hinge side, sweep and usable opening.
- Existing services. Locate accessible water, drain and power points before choosing positions.
- Fixed obstacle. Survey projections and the narrowest point beside them.
- Through-route. Preserve the actual route between the entrance and the garden.
Show fixed and movable items with different line styles. Keep dated photographs of corners and services with the drawing. A photograph of an empty patio can hide the movement of a side gate. A single overall length can hide a pier or handle that projects into the run. Record the position of water, drainage, power or fuel service where relevant and identify which details still need to be checked on site. When the fixed information is in place, use the modular outdoor kitchen category to identify series with the functions the client needs to compare.
Prioritize modules for the way the patio is used
Keep one usable prep area and frequent items within reach
Mark the clear surface the client needs for a board, a plate or a serving tray. A continuous worktop can look generous in elevation while much of it is occupied by a sink, backsplash fittings or the things that normally sit there. Draw the item that is hardest to place, then see which usable part of the worktop remains. Put everyday implements and serving pieces where the client can retrieve them without walking around the cook. Reserve a separate place for items used less often, even if that storage sits indoors.
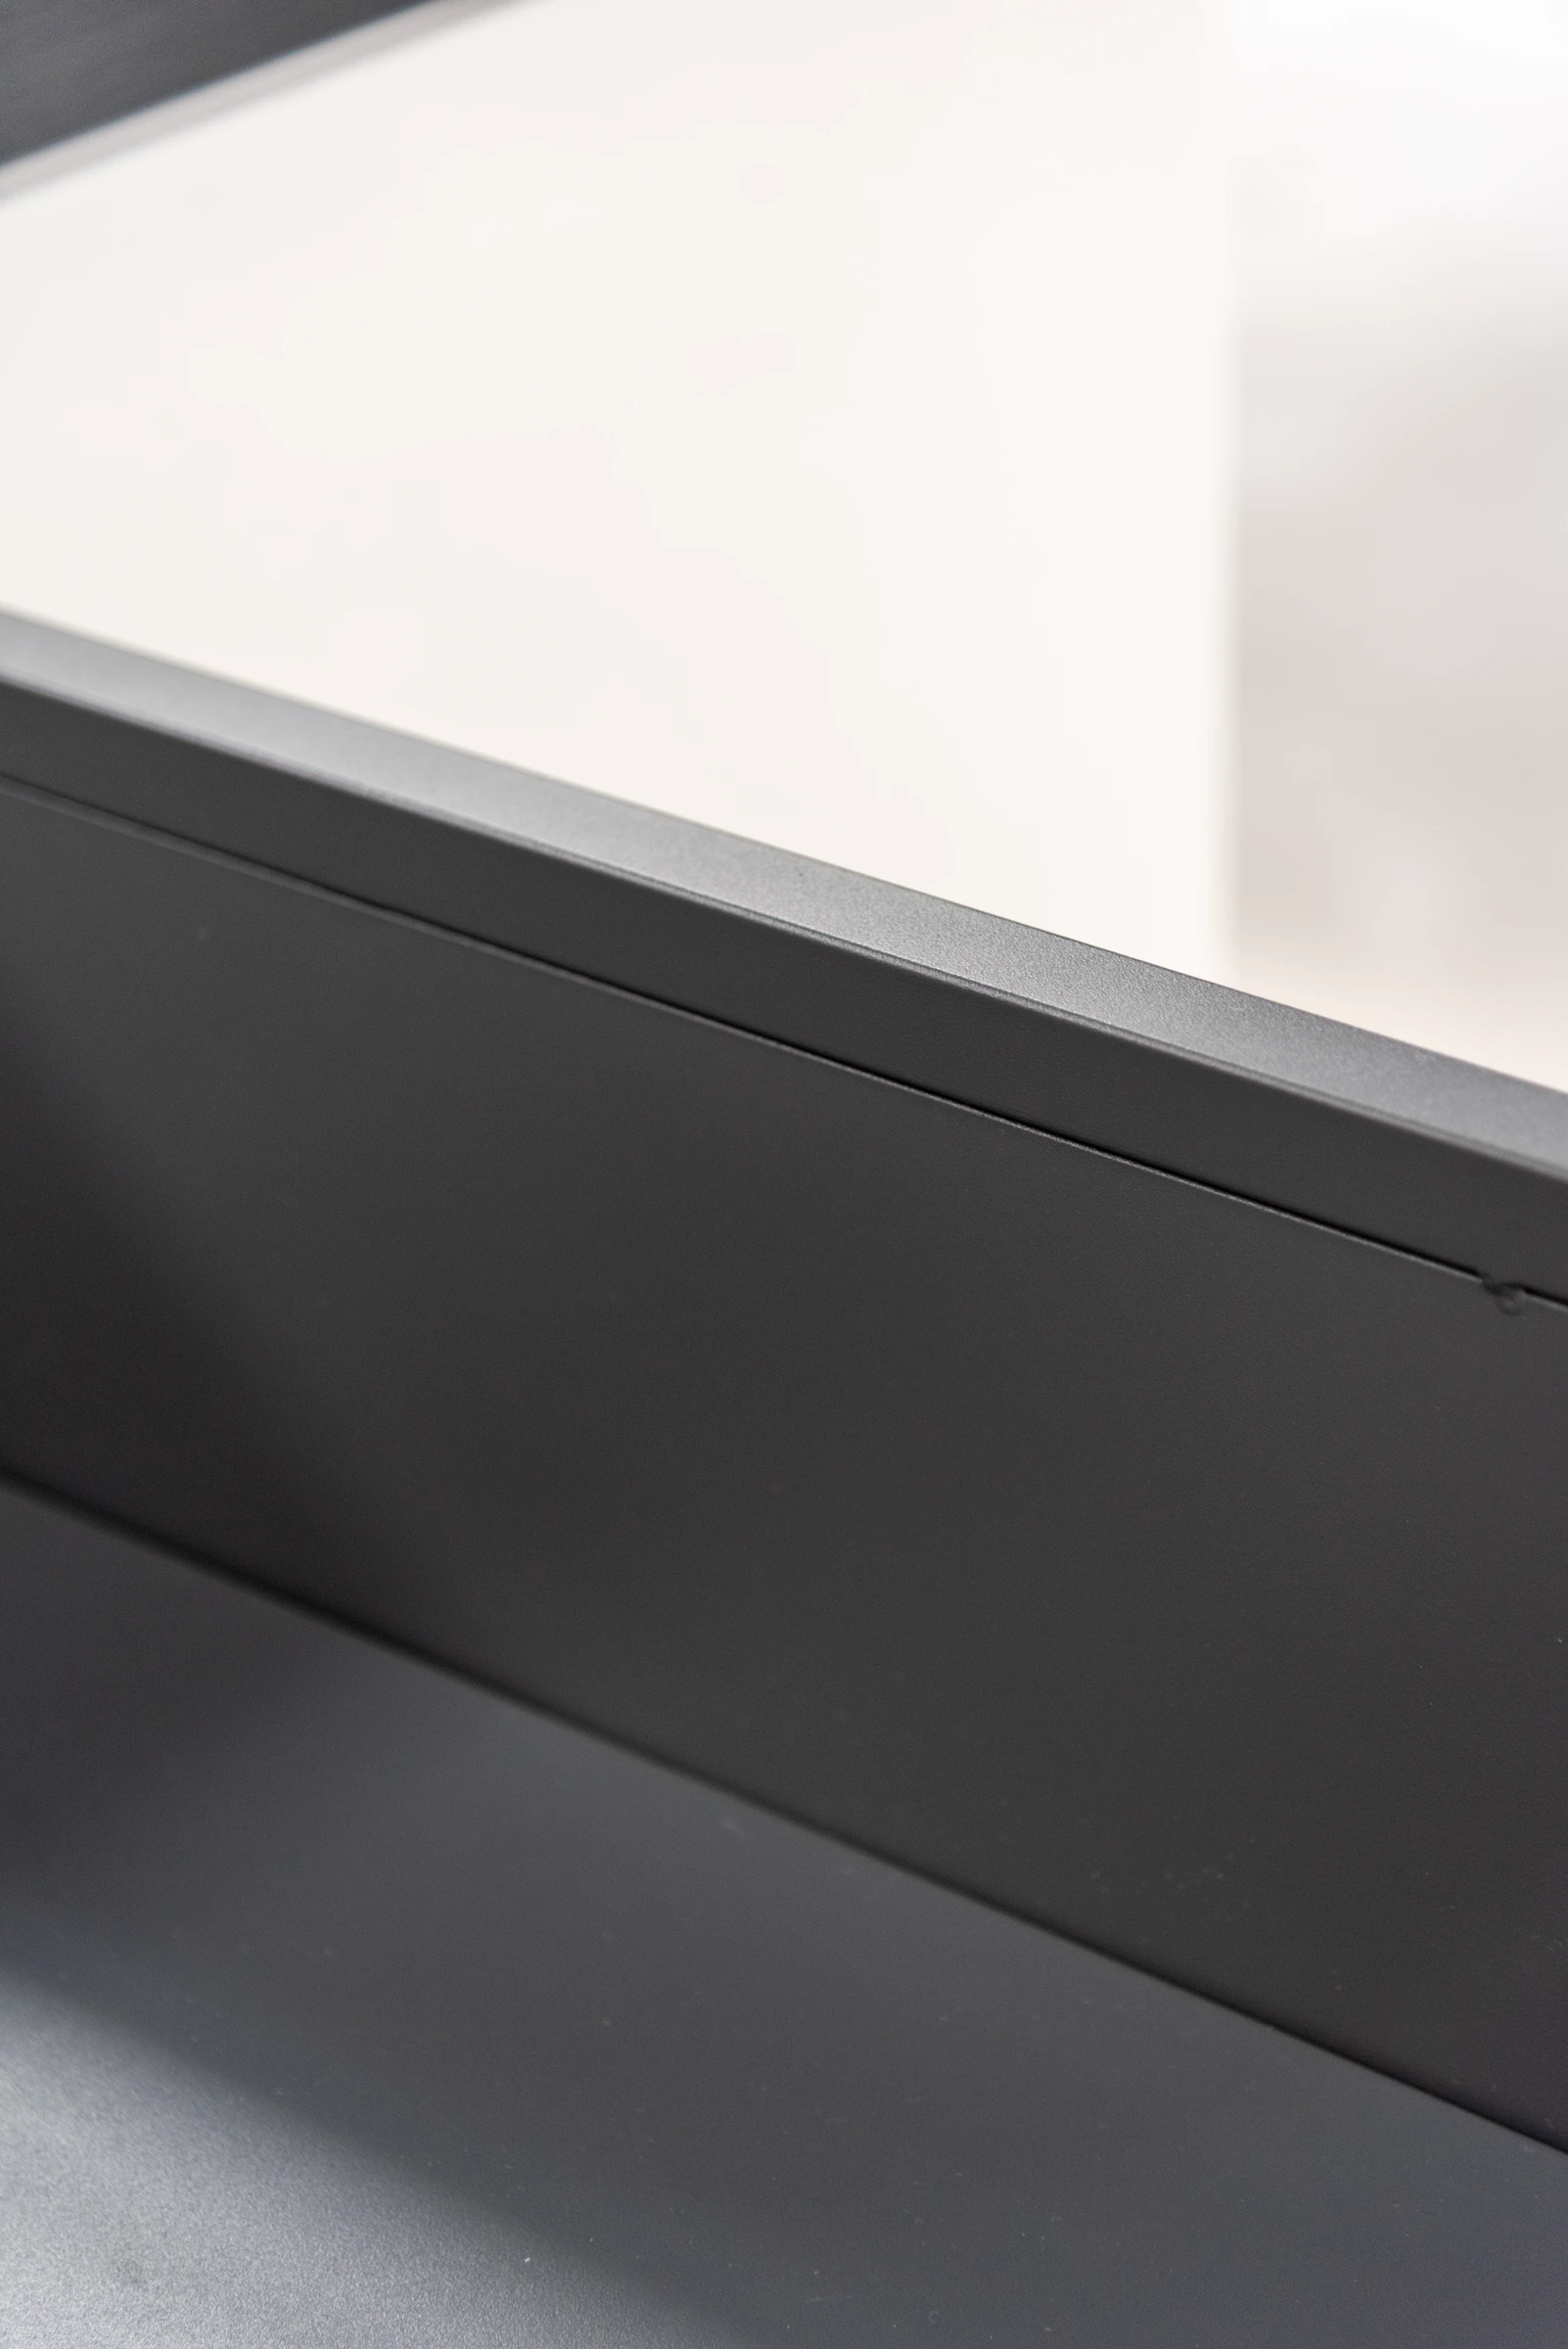 AXIS countertop edge at the preparation surface.
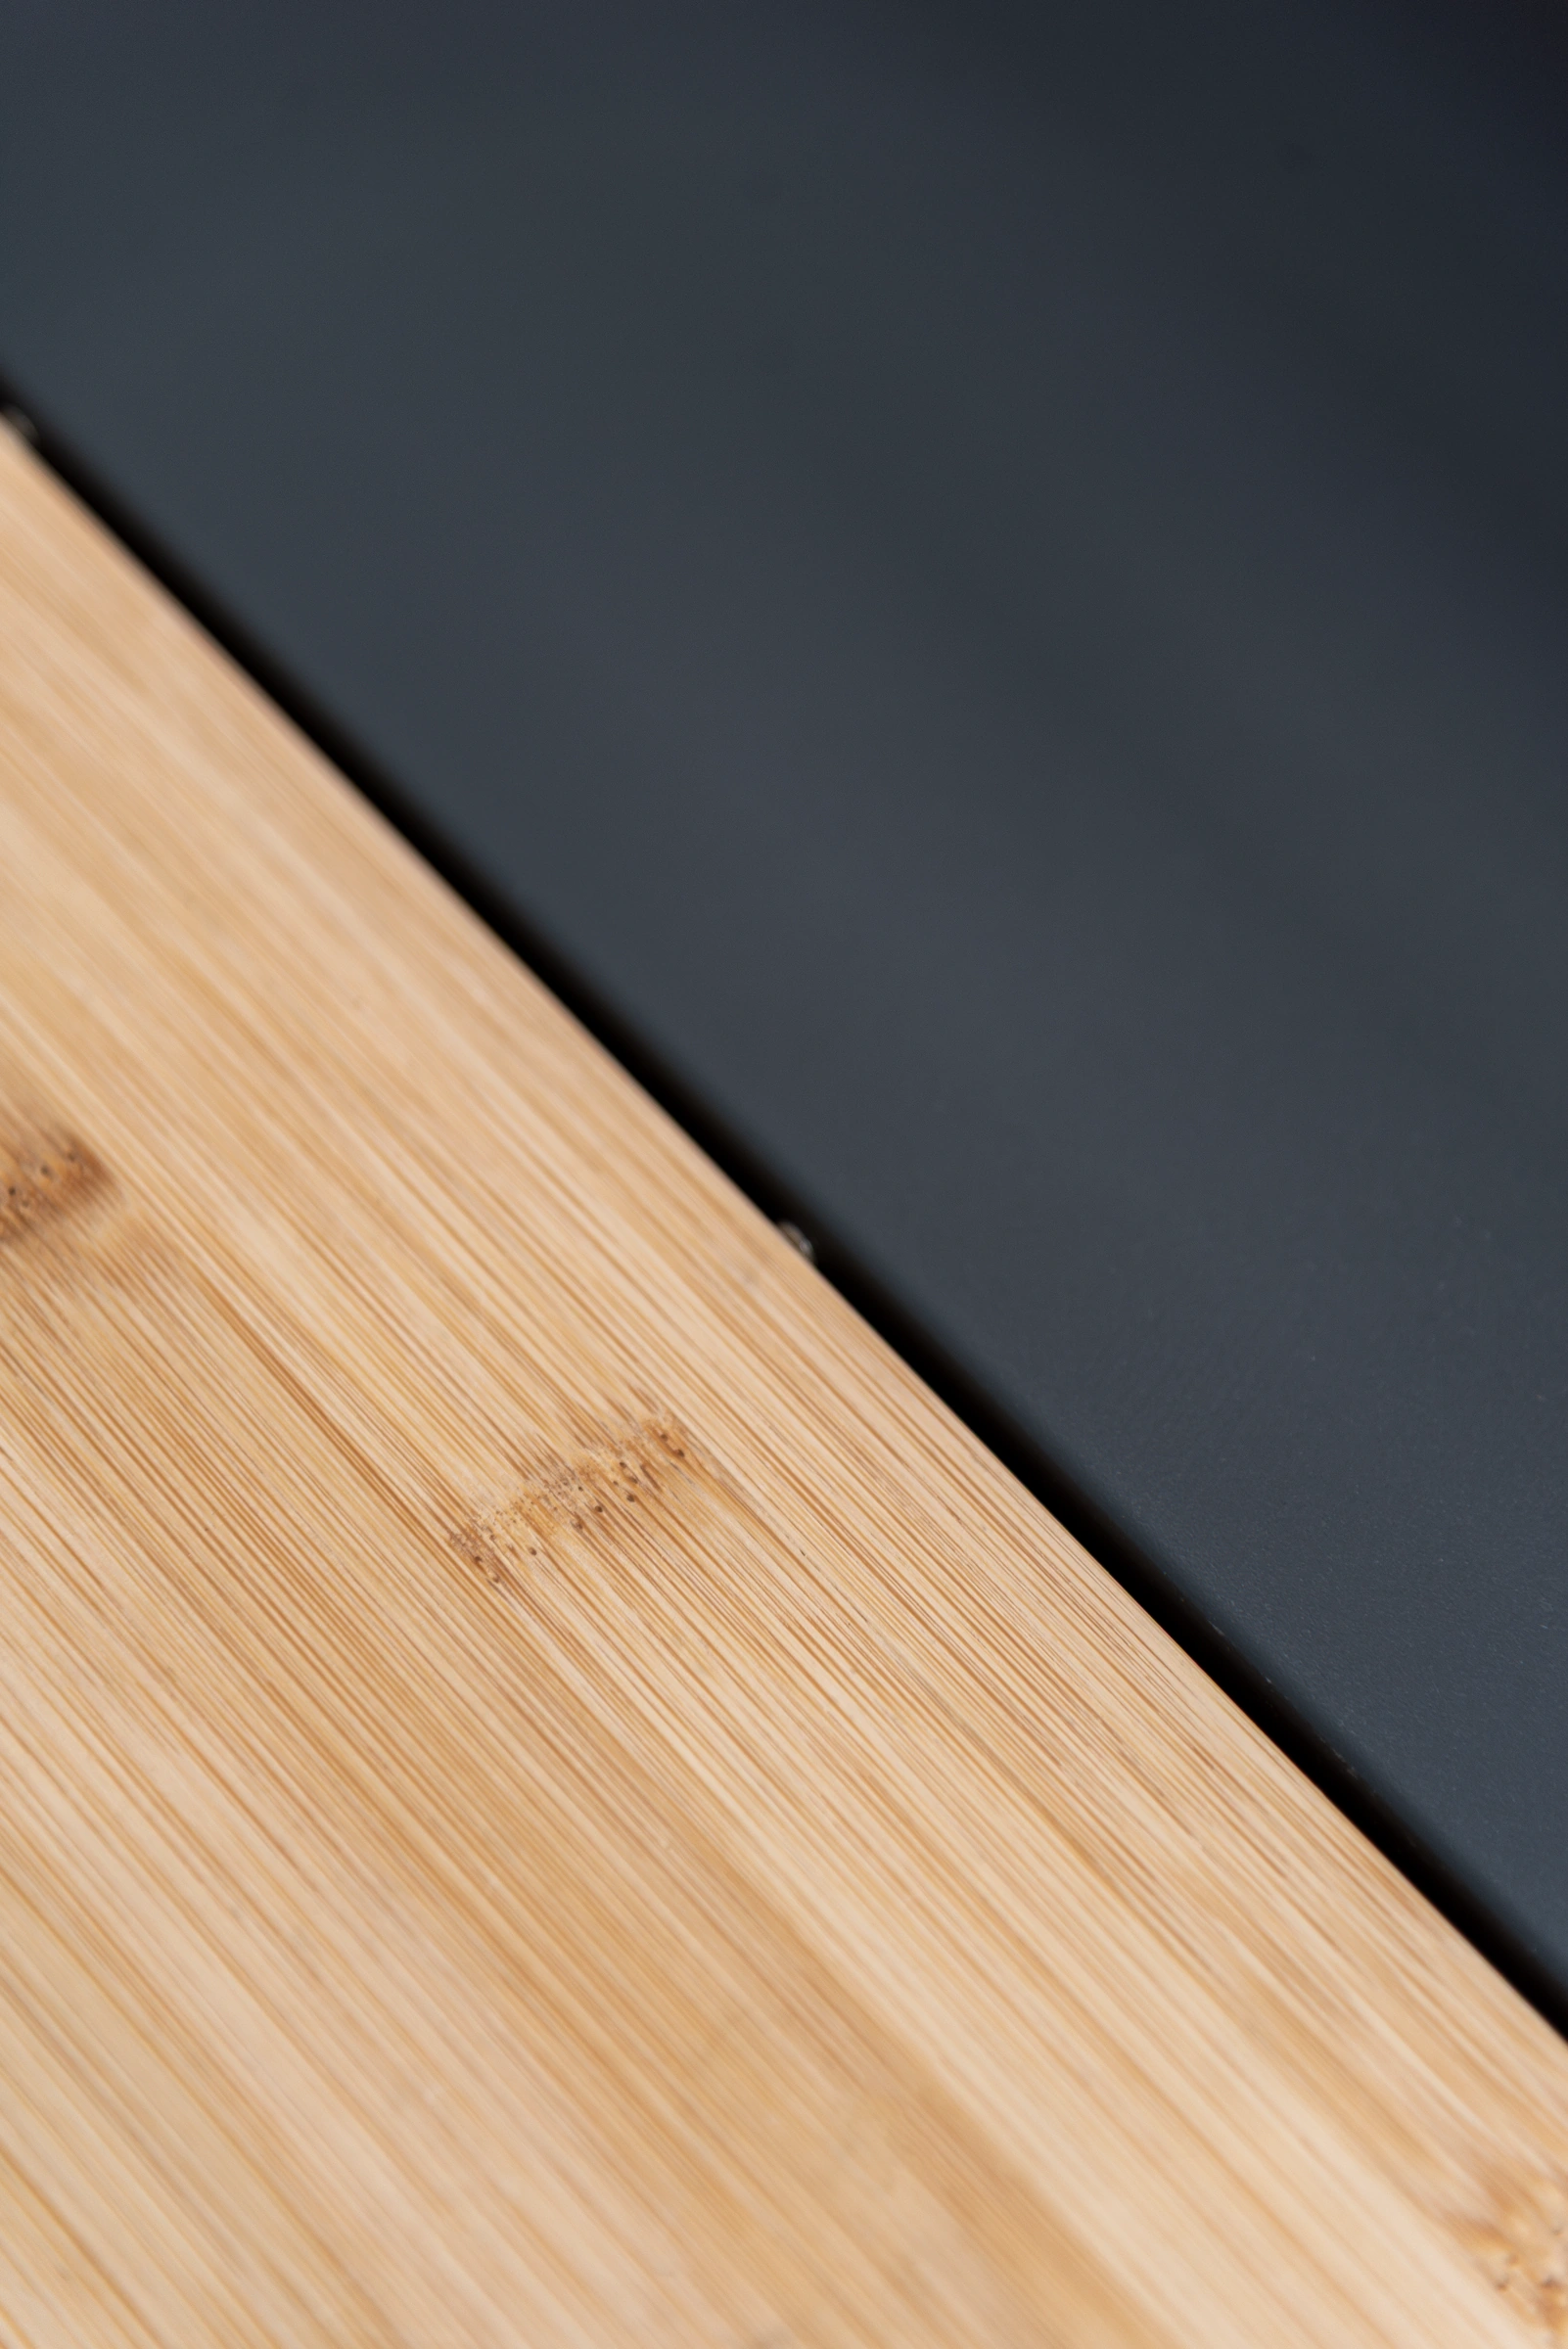 NOVA preparation surface with the wood-grain detail.
Open shelves and enclosed cabinets affect a small patio in different ways. An open shelf lets the user reach the contents without swinging a door into the area in front. A closed compartment gives the buyer the enclosed storage they may want, with a different opening and standing requirement. NOVA-C also shows how an upper rack, worktop and open lower shelving can give each item a place. The NOVA catalog shows B and C next to each other in one arrangement, pairing washing with a work surface and shelves. Ask which items will live on the rack and which must leave the counter clear at serving time.
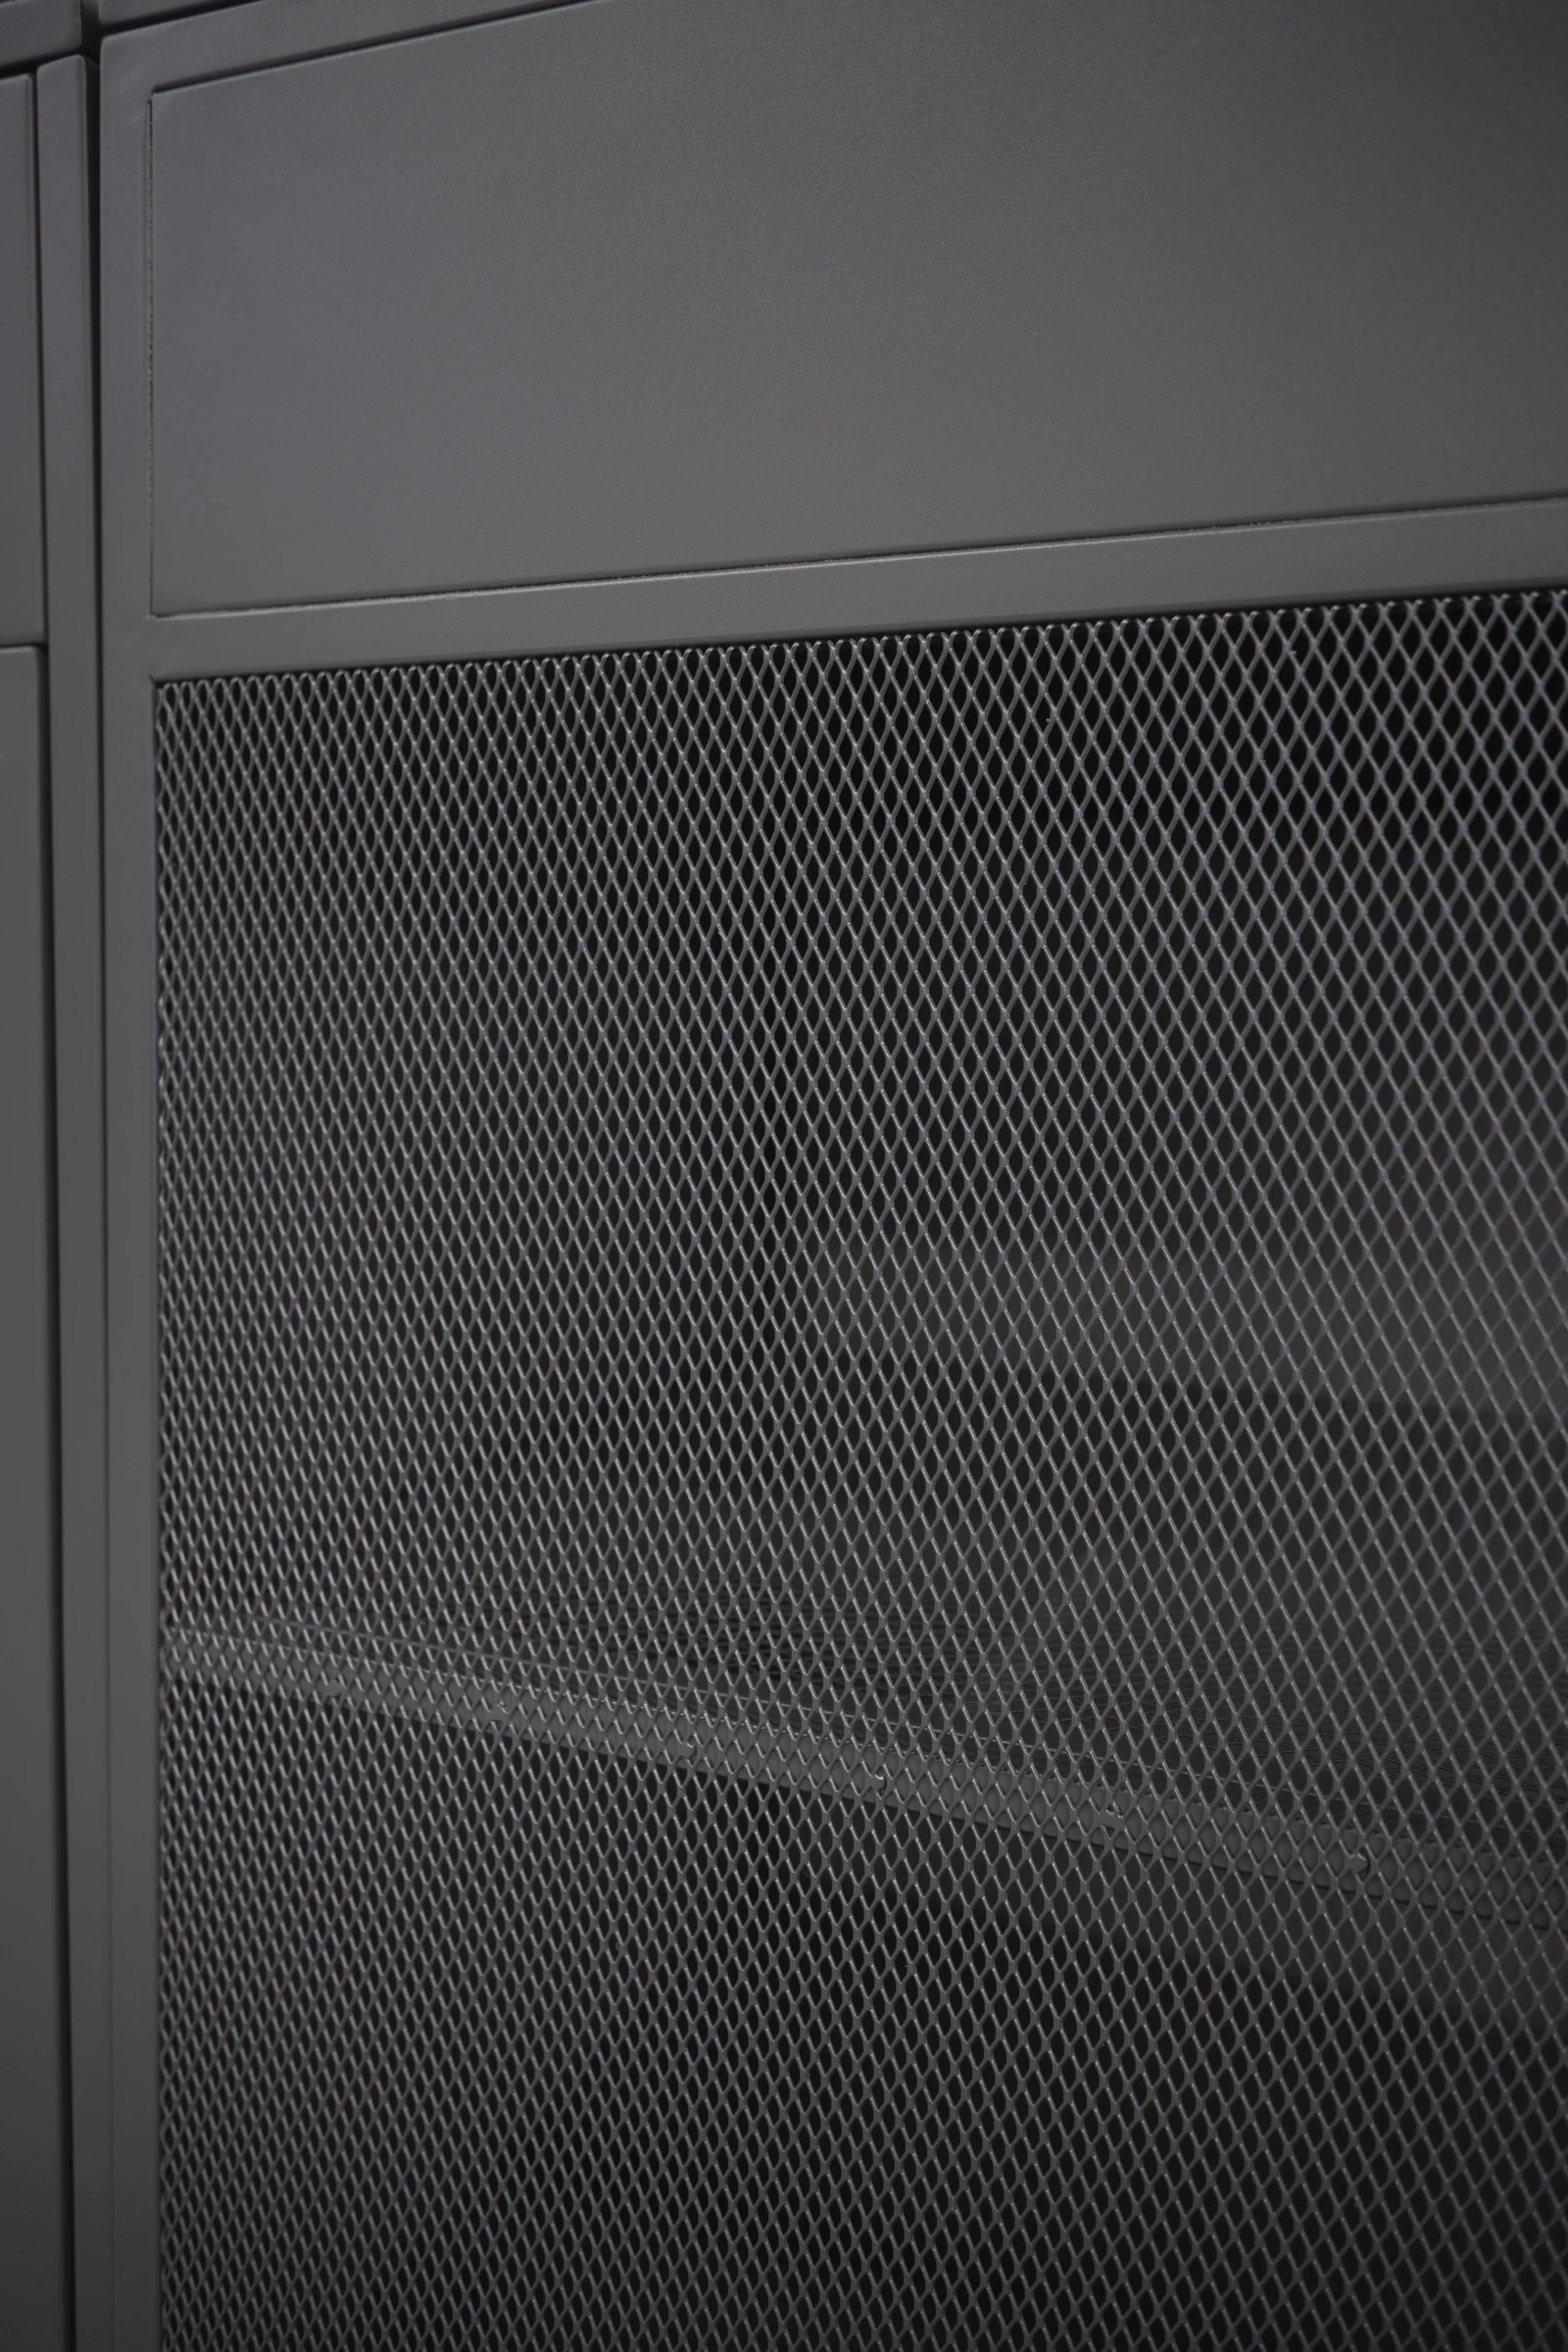 AXIS open mesh shelf for visible storage.
 NOVA open slatted shelf beneath the preparation surface.
Add a sink when it shortens the rinse, prep and serve route
A small outdoor kitchen with a sink earns its place when people regularly rinse ingredients or wash utensils outside and can move from the sink to a usable counter in one step. Give wet items a landing point, then keep plates and trays near the side where the user heads toward the table. A nearby indoor sink can cover occasional washing if the route is short and the client prefers more open prep space outside. For an outdoor sink, identify the supply, drain, access under the bowl and the required local checks before the module is committed.
- Rinse. Use the sink only where the site can support the required connections.
- Prep. Keep the adjacent surface usable and store everyday items within reach.
- Serve. Allow a place to collect the tray before moving to the serving area.
- Through-route. Let others pass without stepping into the sink or prep position.
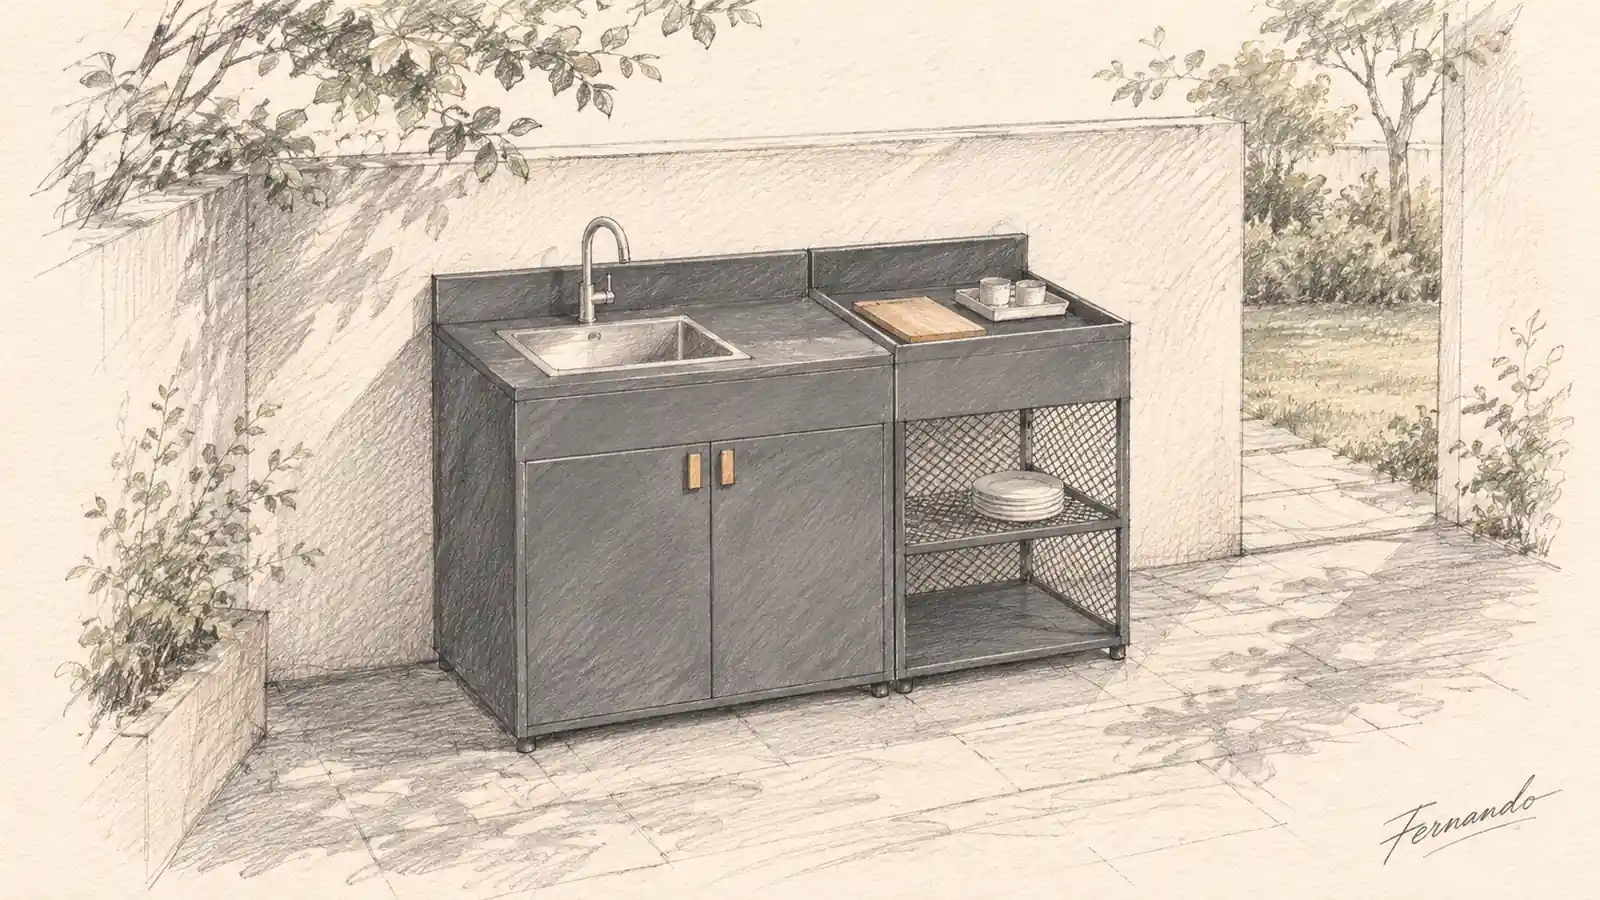
The AXIS galvanized steel outdoor kitchen with open mesh shelving shows one way to pair these tasks. In the catalog example, D is the sink and A is the open-shelf prep module immediately beside it. The published cabinet widths are 800 mm and 600 mm, giving a nominal sum of 1,400 mm at a nominal cabinet depth of 600 mm. A tray can move from the counter toward the exit while another person uses the passage. Check that relationship on the project drawing with a person at the sink and the cabinet beneath it open.
- AXIS-D sink cabinet. Provide room to stand and reach the services below.
- AXIS-A open-mesh prep module. Keep frequently used items accessible from the work position.
If the customer prefers closed storage, consider the room needed to open the proposed doors and stand close enough to reach inside. AXIS-B illustrates a door-fronted storage choice within the series. Treat its cabinet width and swing as separate inputs when comparing it with the open-shelf A module. The visible handle is also a reminder to check front projections against a passing route or an adjacent wall. Confirm the final selection and module order with the supplier.
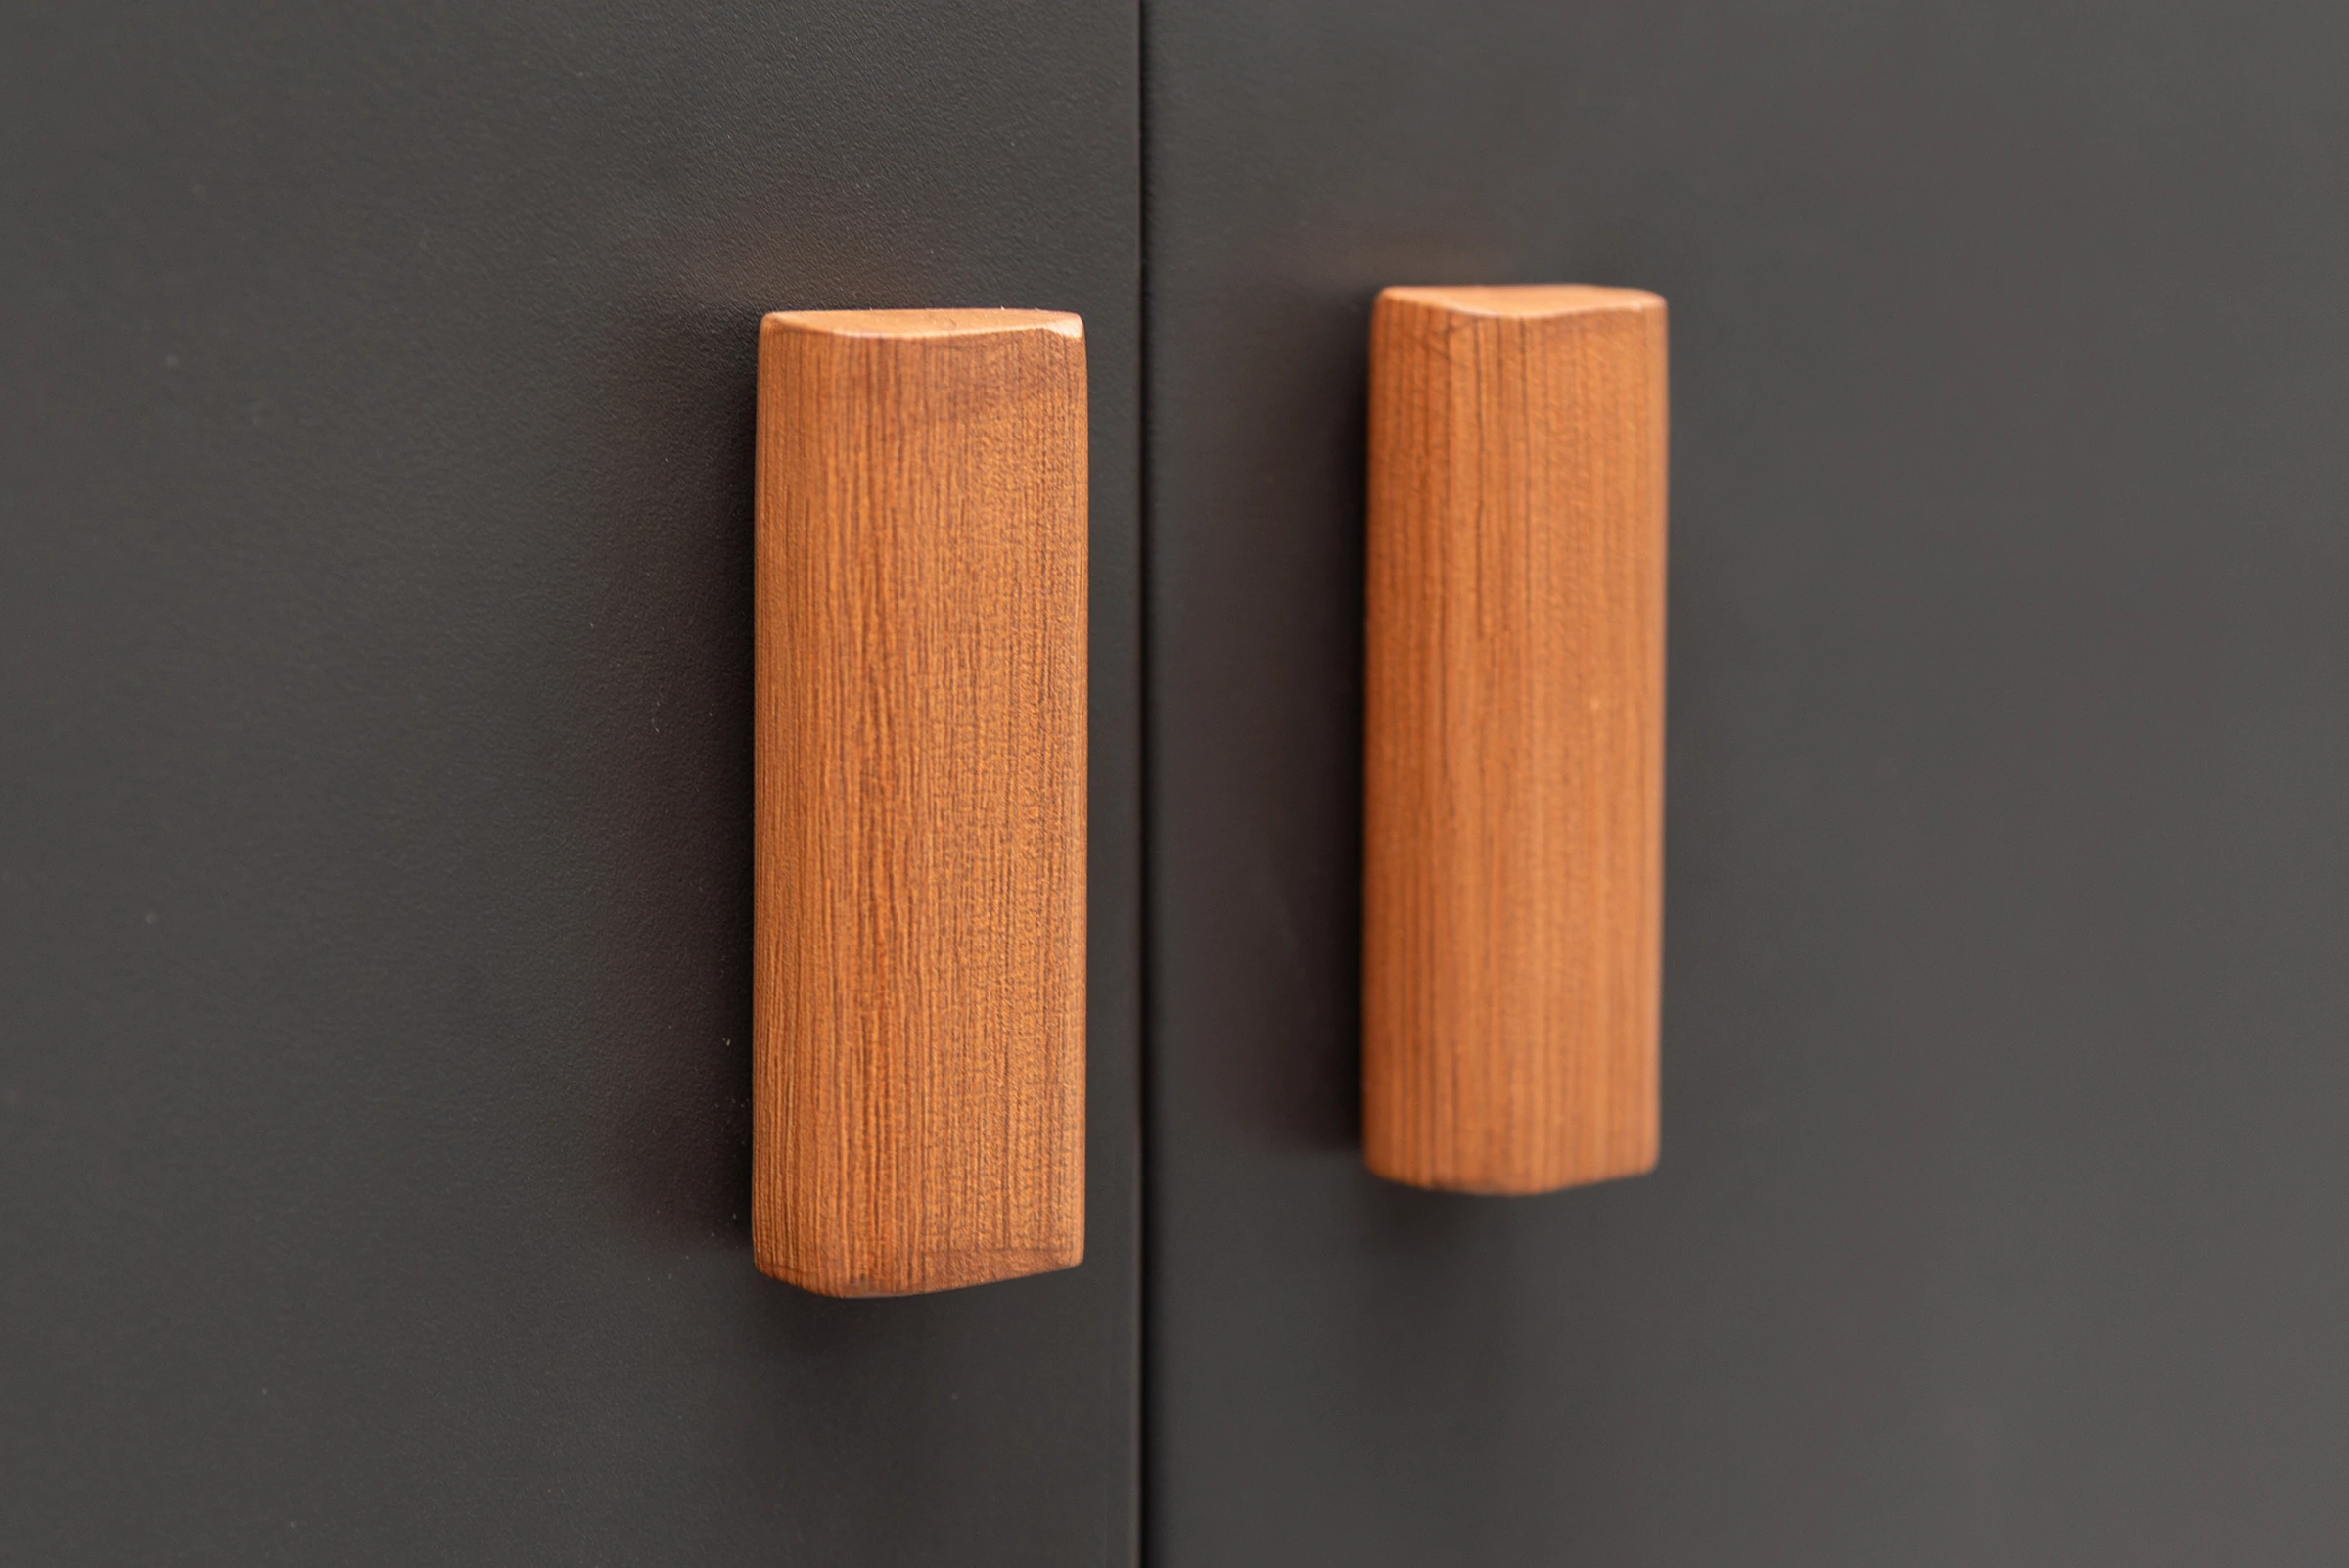 AXIS handle and closed cabinet front.
Compare how five series handle compact module choices
Use these small outdoor kitchen designs to compare adjacent functions across the five series. The compact NOVA example is the complete short straight arrangement shown in the catalog. The AXIS, URBAN, METRO and ELITE examples identify adjacent modules within their own series. Cabinet dimensions, work surface and access are separate checks. Final module combinations, included equipment and project suitability depend on the chosen series and order.
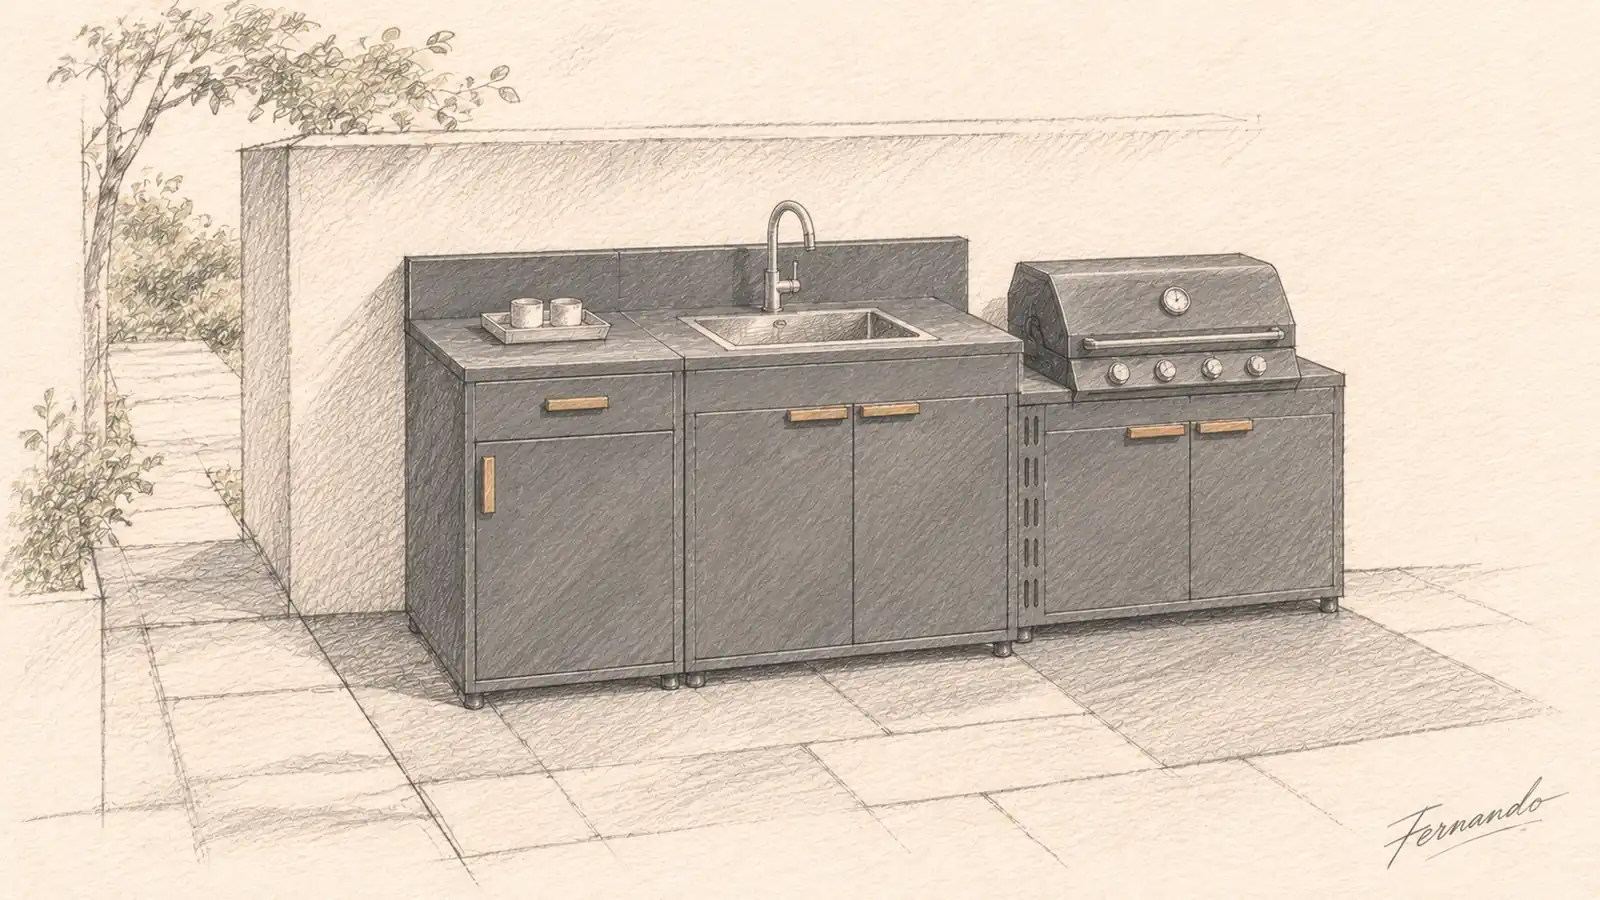
The NOVA compact galvanized steel outdoor kitchen illustrates a short cooking run. Module A is a prep and storage cabinet, B is the sink cabinet and E is the grill base. Their published widths of 600 mm, 800 mm and 755 mm add up to 2,155 mm. Each has a nominal depth of 600 mm. The A cabinet supplies a useful landing surface, so decide how the cook will use that surface before using it for storage or countertop equipment. Reserve the space to open and operate the selected appliance and confirm what the order includes.
- NOVA-A enclosed storage. Reserve the upper surface for prep or setting down a tray.
- NOVA-B sink cabinet. Check the wash position and access to connections.
- NOVA-E grill base. The pictured grill illustrates the layout. Confirm the selected model and scope.
With the URBAN aluminum outdoor kitchen with sintered stone worktops, the D sink and A open shelf bring washing and readily accessible storage side by side. The catalog shows I and H as backboards associated with those modules. Keep room for the things the client will set down between washing and serving. Check the boundary at the wall and the selected backboard details during the review.
- URBAN-D sink cabinet with I backboard. Allocate the washing position before choosing the section beside it.
- URBAN-A open shelf with H backboard. Use the short prep surface and lower shelf for the tasks that repeat.
In the METRO outdoor kitchen with a 304 stainless steel worktop and galvanized steel cabinets, the A sink and D prep and drawer unit offer a different reach pattern. When the drawer is open, the user may need to stand back from the cabinet face. Draw that position on the plan and see what happens if someone uses the sink at the same time.
- METRO-A sink cabinet. Keep an approach to the sink and its service area.
- METRO-D prep and storage module. Model the drawer at full extension to check the usable approach.
The B prep and storage module beside the C sink in the ELITE outdoor kitchen with sintered stone and composite cabinets is another way to keep a usable counter near the washing point. Mark where the counter will be occupied during a meal and where the installer or service team can get to the connection under the sink. Agree how the worktop and cabinets meet at the selected module joint.
- ELITE-B prep and storage cabinet. Keep a usable section of worktop for setting down and preparing items.
- ELITE-C sink cabinet. Review washing and access below the sink on the same plan.
When discussing compact designs with a factory-direct outdoor kitchen manufacturer for compact retail layouts, show the first-choice function and the feature the client would drop if it blocks the route. That gives the adviser a clear reason to compare open and closed storage, a sink next to prep or a grill in a separate position. If the broader patio also needs structures or independent storage, see the outdoor living product range by category before allocating more kitchen cabinet space to those tasks.
Test the kitchen in use before adding another module
Check the same route in four states
Use one measured outline for a compact outdoor kitchen setup and test it at four moments. With everything closed, draw the cabinet faces, projections and the tightest part of the route. With doors, drawers or lids open, show the edge of their travel. In use, add where a person stands and what they carry. For service, show the access panel or the area through which the relevant fitting or appliance has to move. The NKBA door and equipment interference guidance gives the design team a useful way to consider opening and travel paths together.
- Closed. Set out cabinets and fixed obstructions before deciding whether the run fits.
- Open. Draw every relevant door, drawer or lid in the position in which it operates.
- In use. Reserve standing and working room at the appliance or worktop.
- Service. Check removal direction and whether the required access overlaps the route.
At the opening check, compare the cabinet door and the house or garden door where they share floor area. Walk the route with a tray while another person stands where the cabinet opens. Check the fronts that are easy to miss in plan, including a handle near a corner or a drawer that pulls into a turning point. On NOVA, the handled cabinet front helps the client picture that action. For the drawing, use the reach and opening information for the proposed cabinet rather than a measurement from a photo.
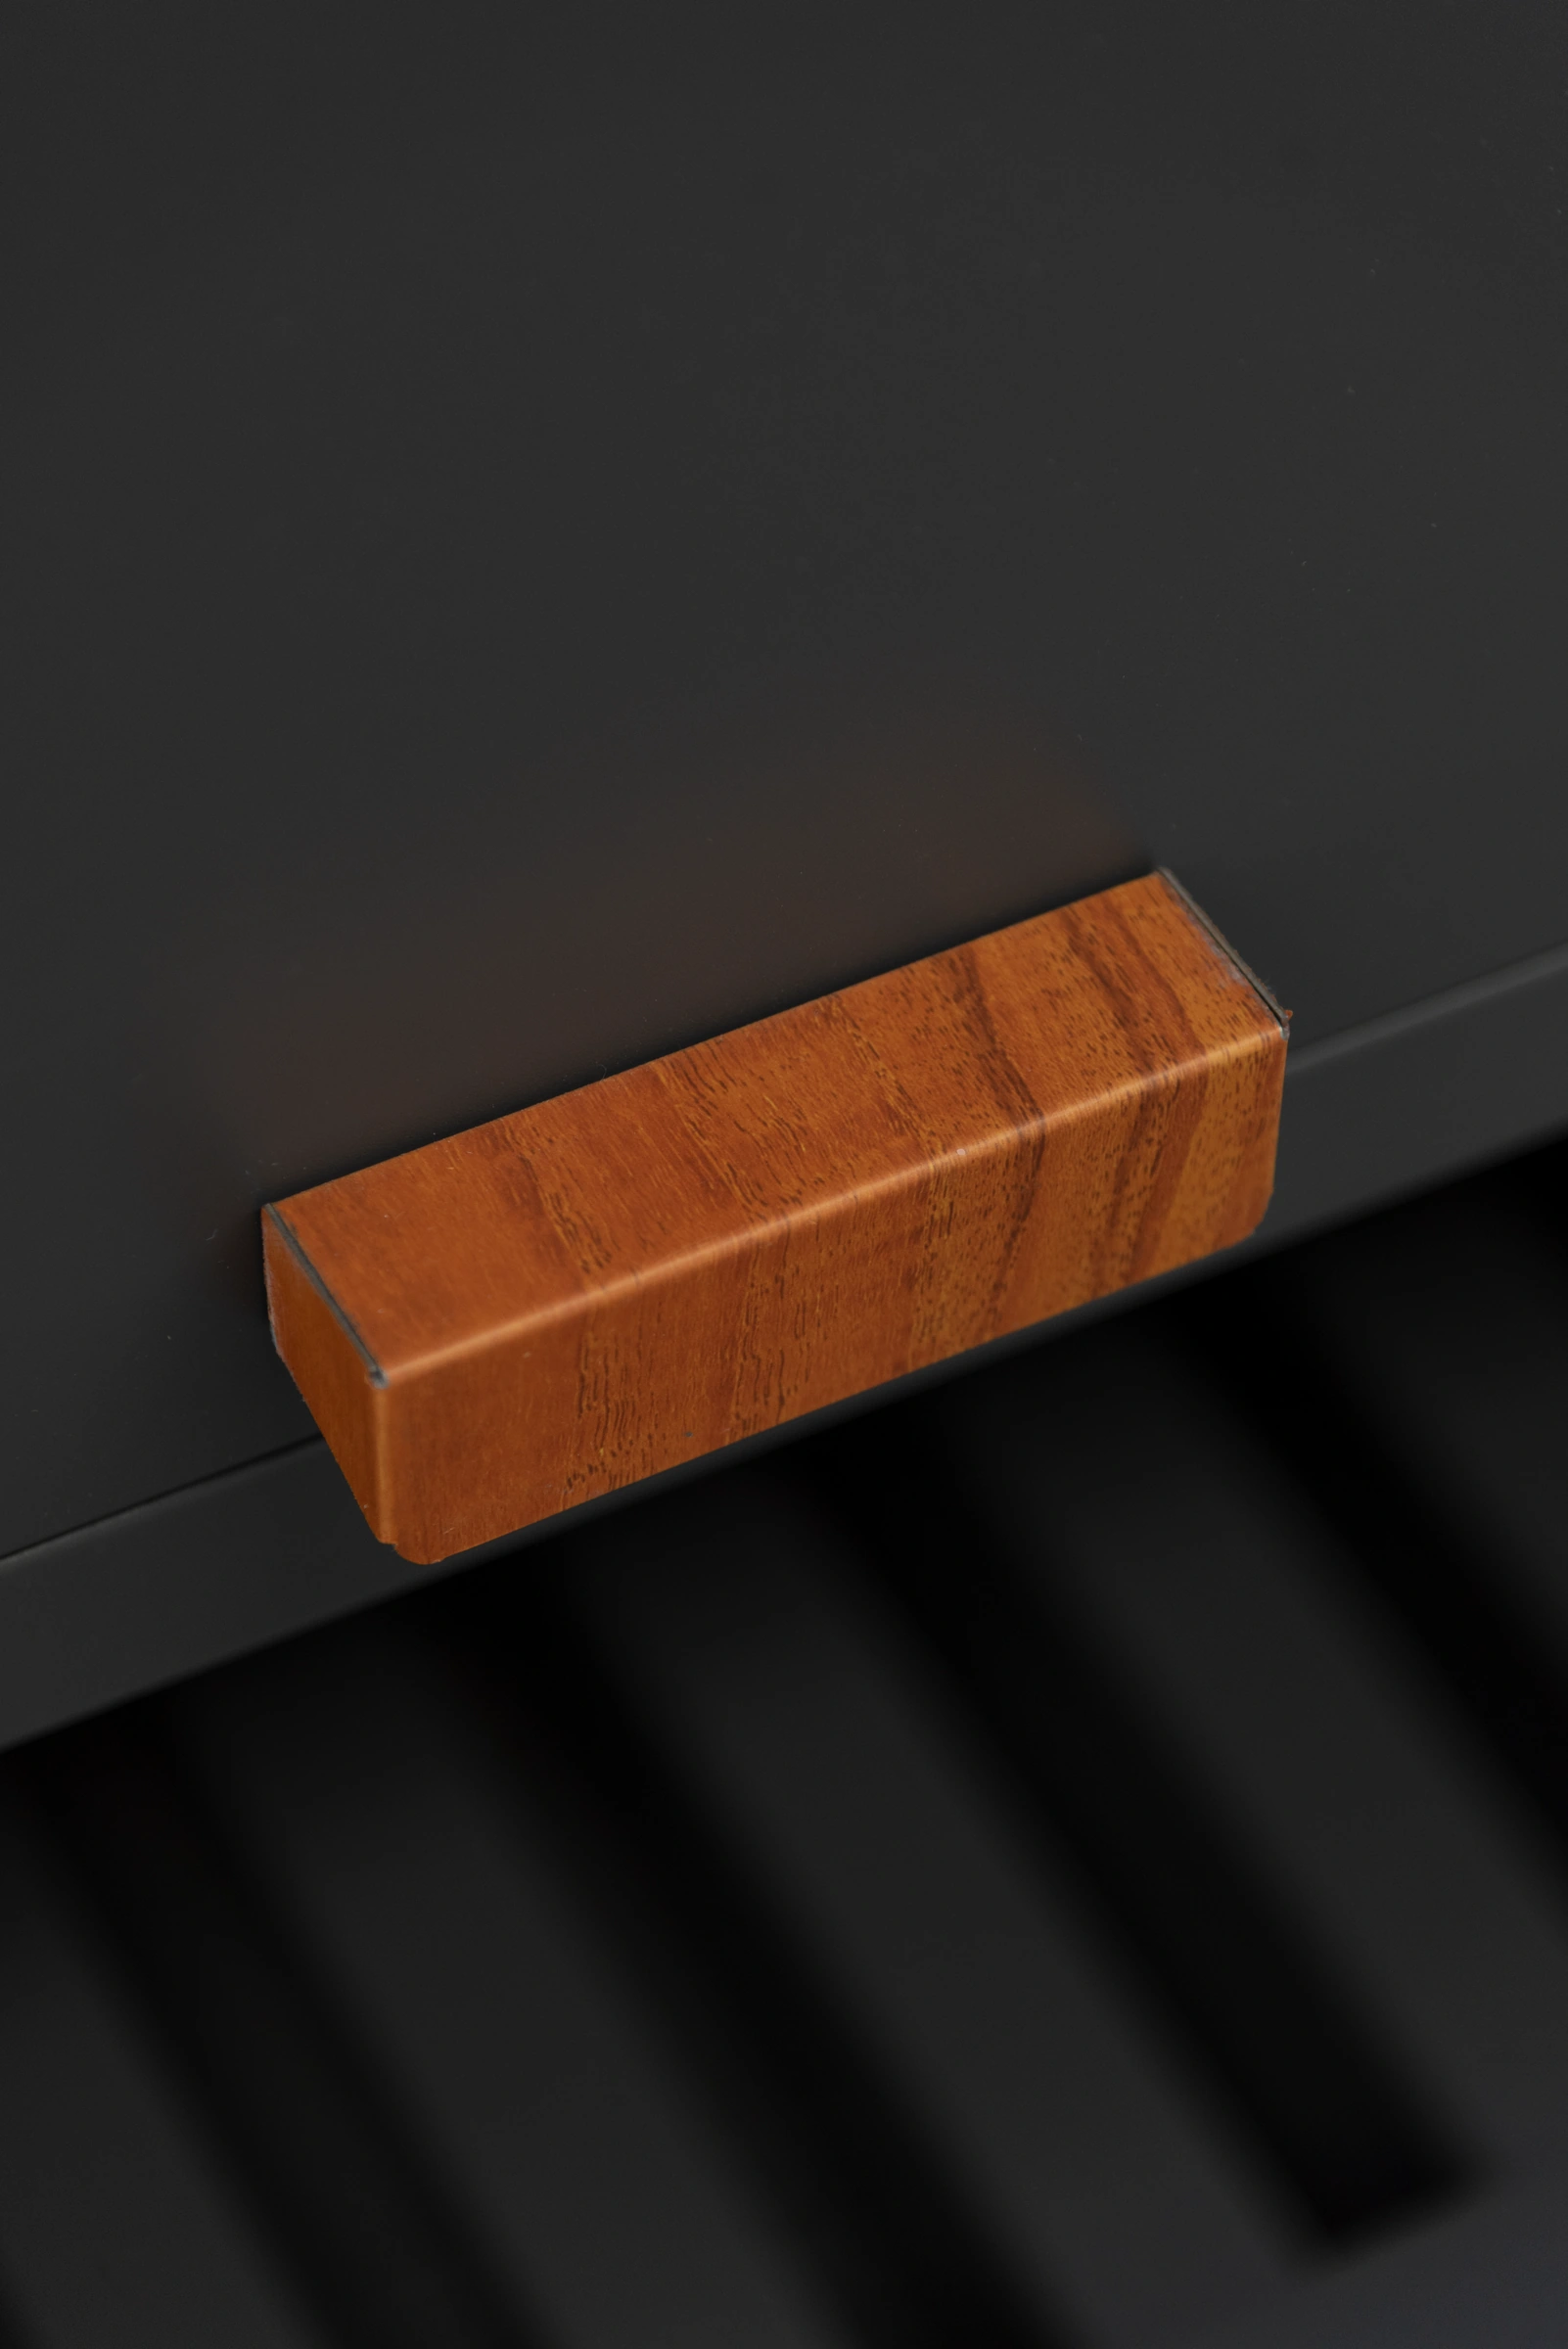 NOVA handle and closed cabinet front.
Service can require a different movement from normal operation. For example, the Zephyr refrigerator drawer installation manual calls for room to pull its unit forward if needed for service and says trim and other finishes must allow access and removal. Use the documentation for the actual model in the plan. Where a wall return, table or other obstruction blocks that movement, identify where it can go or select a different equipment position before the design is agreed.
Plan a compact cooking area with a grill
A small outdoor kitchen with a grill adds a hot working area, a lid opening and a need for a landing surface. On the NOVA A+B+E example, mark where the cook stands at E and how they reach a usable surface when the sink at B is in use. Then trace the garden route when the cook is at that position. Determine which side guests approach to collect a tray and where the cook sets utensils down. A site that takes the three closed cabinets can still need fewer functions or a revised location when these activities are drawn in.
Ask the local project team to check the appliance instructions and site requirements against walls, combustible materials, overhangs and the route people use. The U.S. Fire Administration grill placement advice and London Fire Brigade barbecue safety guidance both emphasize separation from things that can catch fire. Verify clearances, ventilation, fuel or power requirements, lid movement and access for the chosen appliance and location. The comparison drawing shows where to look for conflicts between the cooking area and passage.
- Route conflict. The dashed route cuts through the shaded standing area. Review the layout before specifying the appliance.
- Route separation. Review the solid route and the shaded area separately. Confirm the lid, service, ventilation and clearance needs for the actual appliance and site.
Decide what to keep if an island is requested
A small outdoor kitchen island is useful where the client needs a second work surface and people can still pass while it is occupied. Draw the island and its open fronts beside the working wall. Mark how a person gets to the garden in that state and where people stand on the side used for serving. Include chairs in their normal position if the island serves seating. If the gap is lost when a drawer opens, a short prep area along the wall or a different module selection may preserve more day-to-day use.
Review the changes in the order that matters to the household. Keep the route first, then the working surface and functions that support the regular meal. Combine functions when the same counter can handle prep and serving in sequence. Move a function if a different position resolves the conflict. Defer an appliance or additional island when its function is occasional and its operating or service area cannot be kept clear. Make those choices on the same floor plan so the customer can see the trade-offs.
| Decision | When to use it | Example |
|---|---|---|
| Keep | It earns daily use and fits through all four states. | Keep a clear prep surface beside the sink. |
| Combine | One module can support two common tasks. | Use the AXIS open shelf below the prep surface. |
| Move | The function fits elsewhere without blocking the fixed route. | Place tray landing away from the grill standing position. |
| Defer | It would use needed prep, travel or service space. | Hold the island until the measured plan supports two working sides. |
Turn a measured plan into a factory-reviewed layout
Send a DIY measurement sketch and appliance list
For DIY outdoor kitchen planning, start with the parts of the brief the buyer can reliably gather. Send a dimensioned sketch showing the wall, route, openings, fixed obstructions and service positions. Include photos with reference points and state where measurements are provisional. List the tasks the client needs to do outside and which fixtures are optional. If equipment is already chosen, include each model reference and the manufacturer’s relevant installation or service drawings. Keep the full model name visible so the supplier can distinguish an appliance from a similar model in a different size.
Give the reviewer separate numbers for the usable wall, the nominal cabinet group and the area needed in front. Flag anything that is waiting on a site measurement, installer check or local approval. Include who is responsible for verifying the appliance fit, service routes and site work. Ask the appropriate site team to confirm utilities and installation conditions. Use the resulting plan and confirmed module list when the client moves from an ideas discussion to an order.
Agree the design scope and module order with the manufacturer
At Outdoor Creation, we design modular outdoor kitchens and manufacture them in our own factory. Our work on compact systems such as NOVA gives designers and retailers a practical starting point for projects where each module needs a clear role. As a modular outdoor kitchen manufacturer for space-constrained project planning, we can review the measured footprint, the customer's priorities and the appliance models under consideration, then identify which selections or custom details need further confirmation.
Ask for the module codes, positions, nominal dimensions and any equipment interface details to be captured in the agreed configuration. Keep a record of the functions the client chose to include, the access conditions that the plan depends on and the details the installer still has to verify. Once the brief and specifications are agreed, our outdoor kitchen manufacturing facility can use them for the relevant product development, sampling and production steps. A seller can then explain what the customer is ordering and why the proposed layout suits the measured space.
Frequently Asked Questions
Can a small outdoor kitchen work without a sink?
Yes. If washing happens conveniently indoors, reserve the space for prep and storage. Add a sink when the outdoor routine warrants it and the water and drain routes are confirmed.
What should I measure before choosing cabinet modules?
Measure usable wall length and depth at the narrowest point. Record doors, steps, fixed obstructions, utility positions and the route that must stay clear while the kitchen is in use.
When does a small outdoor kitchen island fit?
It fits when its depth, open doors or drawers, working space and the route around it all fit the measured plan. Check furniture in its normal position as well.
What can buyers check before a DIY setup?
Buyers can measure the patio, mark the route and gather appliance templates. Confirm the cabinet configuration and have the appropriate site team assess utilities and installation requirements.
Why leave space to service an outdoor appliance?
Some units need to move forward for service, and removable panels or fittings may need separate access. Use the chosen model’s instructions to mark those areas before fixing the layout.
Materials, hardware and installation conditions vary by series and site. Confirm appliance suitability, order terms, customization options and final specifications for the project and order.