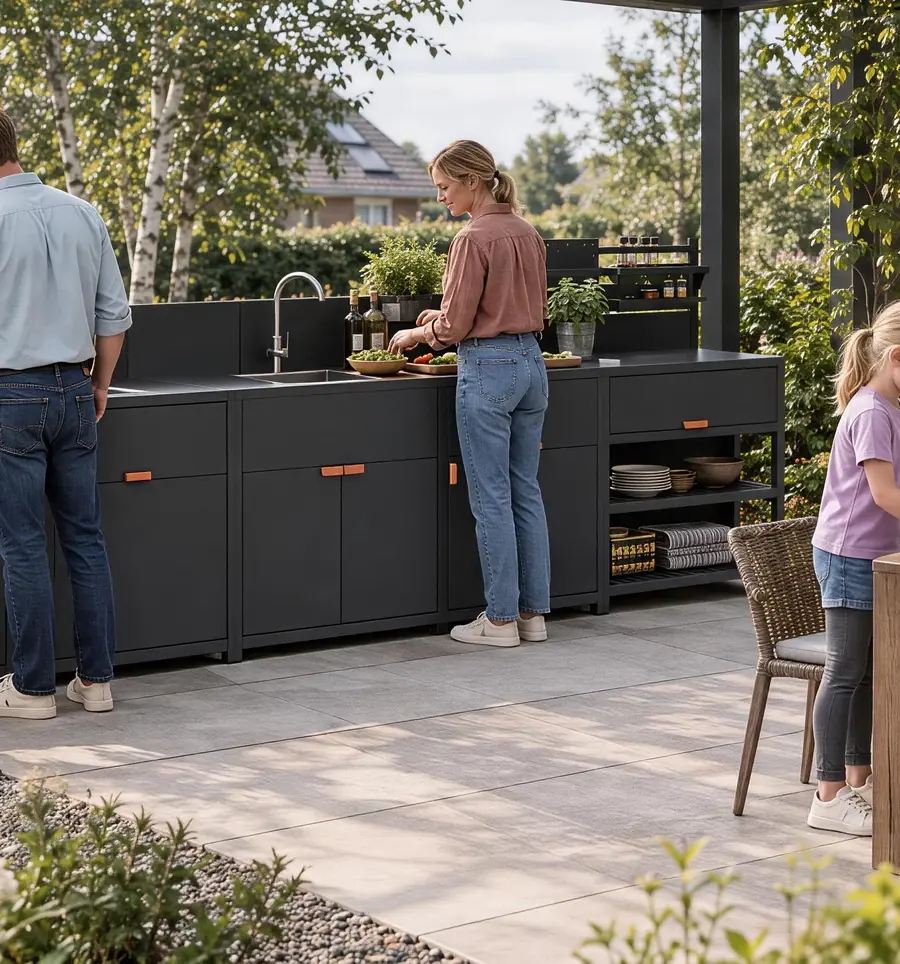
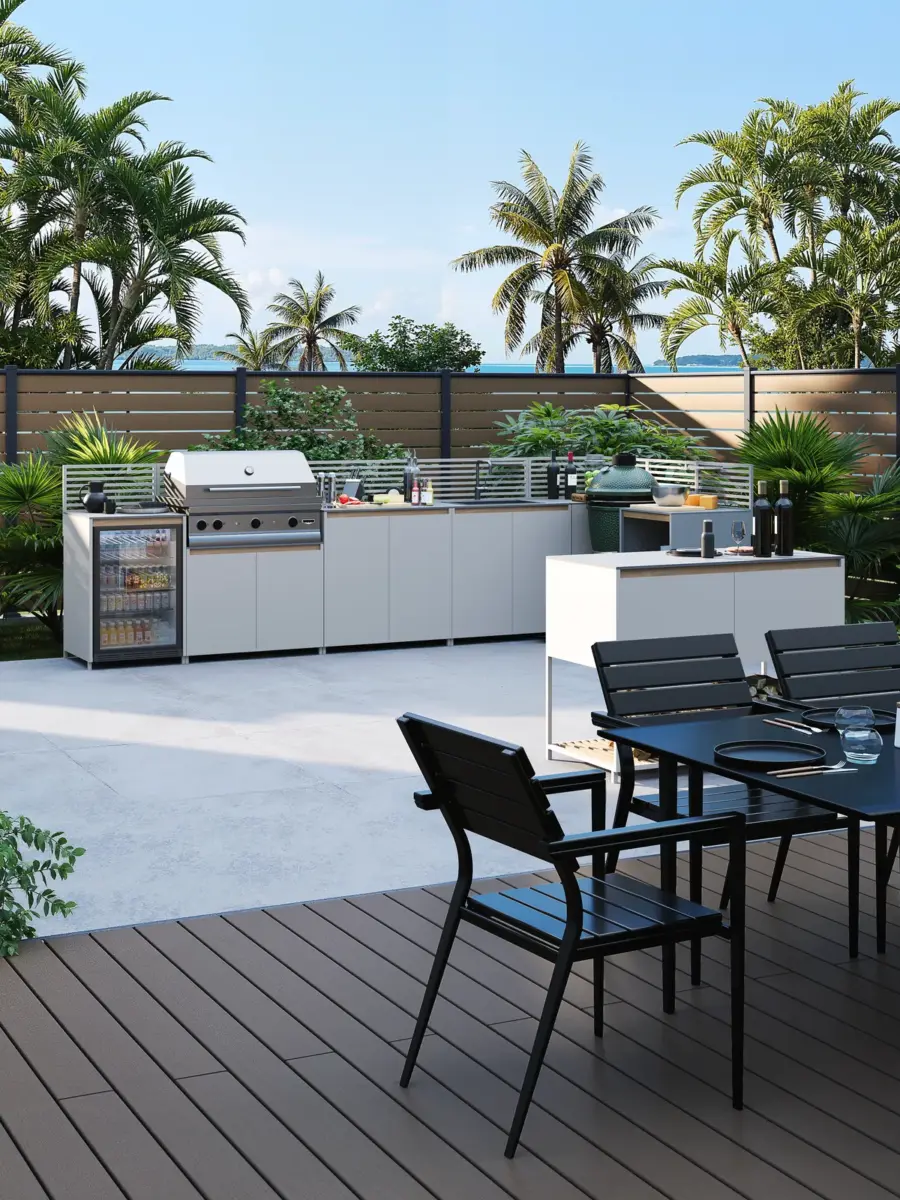
Choose pergola size around the outdoor space people will actually use, then check the dimensions, post positions and roof zones of the selected configuration. A dining table, its chairs and the route to a doorway need more than a roof's length and width label. This metal pergola size guide compares NEO ALU, INTRO DUO, PRIME MAX and PRESTIGE through those spatial relationships. It shows how to turn a nominal size into a clear layout brief for the manufacturers, designers, contractors and local installers.
 NEO ALU pergola in a seaside dining and lounge setting
Start With the Activity Area and Coverage Goal
Plan furniture in use, including chairs and movement
Begin with the activity the pergola should support. Draw the dining table, lounge furniture or other main elements at their actual sizes. Then show how people use them: chairs pulled back, someone passing a seated guest, or a person carrying a tray from the house. This creates a picture of the working area that the roof and frame need to accommodate.
A furniture footprint and an activity area describe different things. A table might fit between two posts while a chair meets one when pulled out. A sofa can sit beneath the roof while its main approach runs around a support. Keep these movements visible on the plan as the product choice develops. Door swings, garden paths and access to storage can also compete for the same space.
Compare more than one furniture position at this stage. A long table parallel to the house and the same table turned across the terrace can create different routes around its ends. A lounge group may allow a path along one side while placing the main seating further into the covered area. Trying these arrangements helps identify whether the main issue is roof depth, overall length or the position of a particular opening.
For public or commercial spaces, identify the applicable access requirements early. The U.S. Access Board's guidance on clear space and turning space distinguishes approach, usable clear space and maneuvering. It is a United States ADA reference, illustrating separate spatial tasks. The project team should determine the requirements that apply at the actual location.
Distinguish roof coverage from shade at the intended time
The roof outline is a useful starting boundary for arranging activities, but the area in shade changes with sunlight direction, time, season and roof position. Record when the space matters most. A terrace used for afternoon dining has a different shade brief from a morning seating area beside the house.
Cancer Council Western Australia's Shade Handbook explains why shade planning begins with the location and timing of use. Apply that principle to the site rather than treating roof area as a promise of shade throughout the day. Check the intended seating positions against local conditions as the design develops.
Compare Size Options Across Four Pergola Series
Read NEO ALU and INTRO DUO size groups by configuration
Our four examples offer different combinations of size labels, posts and roof organization. Read each nominal size with its associated layout. The term nominal identifies the named size option. It does not by itself establish whether the number measures a roof edge, a post reference or the clear distance available for furniture.
NEO ALU provides a compact group of sizes with a nominal 3 m depth. Its four-post and six-post arrangements offer useful comparisons for a patio that extends along a building or garden boundary. INTRO DUO starts with a different group of dimensions and includes a central beam dividing the roof. Its four-post example demonstrates that a divided roof can sit above an area with only corner posts.
Compare PRIME MAX and PRESTIGE extended layouts
PRIME MAX includes longer freestanding arrangements with intermediate posts on the perimeter. PRESTIGE provides another important comparison: its nominal 6 × 4 m size appears in both four-post and six-post configurations. The label alone therefore leaves a significant layout decision unresolved.
| Series | Four-post nominal sizes | Other nominal sizes and posts |
|---|---|---|
| NEO ALU | 3 × 3 m; 4 × 3 m | 5.3 × 3 m; 6 × 3 m: six posts |
| INTRO DUO | 3.6 × 3.6 m; 4.2 × 3.6 m | 5.3 × 3.6 m; 6 × 3.6 m; 6 × 4 m; 7.2 × 3.6 m; 8 × 4 m: six posts |
| PRIME MAX | 4 × 3 m; 4 × 4 m | 5.3 × 3.6 m; 6 × 3.6 m; 7.2 × 3.6 m; 6 × 4 m; 8 × 4 m: six posts |
| PRESTIGE | 4 × 4 m; 6 × 4 m | 6 × 4 m; 8 × 4 m: six posts. 6.5 × 3.6 m: eight posts |
These are the listed freestanding groups for the four series. They give buyers concrete options to discuss rather than a universal set of standard pergola dimensions. Match a selected row with the relevant configuration diagram before using it in a proposal.
Keep both dimensions visible while comparing the options. An increase along the length can extend a row of activities, while a change in depth affects how furniture and movement sit across the area. The intended arrangement determines which direction matters. Label the orientation on the site plan, particularly when a size is discussed verbally or copied into a distributor's proposal. That avoids the team reading the same pair of numbers in different directions.
The PRIME MAX pergola with extended six-post layouts is one starting point for a longer dining and lounge arrangement. For the wider range, use our louvered pergola systems with model-specific size options to identify series for further comparison.
 PRIME MAX pergola over poolside dining and lounge areas
Check Post Positions for the Chosen Footprint
Compare PRESTIGE four-post and six-post 6 × 4 m layouts
The PRESTIGE pergola with four-post and six-post size options makes the distinction between size and post layout clear. Both nominal 6 × 4 m arrangements have corner posts. The six-post version adds an intermediate post on each of two opposite perimeter sides. Those supports sit on the boundary of the frame, rather than at the center of the floor.
Place both options on the same activity plan. Compare where a table end, a lounge approach or a doorway meets the perimeter. With six posts, an edge is interrupted at another location. With four posts, the perimeter openings have a different arrangement. The useful question is which verified configuration suits the intended movements and site conditions.
This comparison describes two offered layouts. It does not authorize changing one into the other by removing supports. The selected configuration brings its own structural and installation requirements. Keep the post layout attached to the size and model throughout discussion, drawing approval and ordering.
The hand-drawn concept below keeps the six perimeter supports visible while placing garden seating and an approach around the frame. Read it alongside the configuration diagrams when reviewing the preferred entry side.
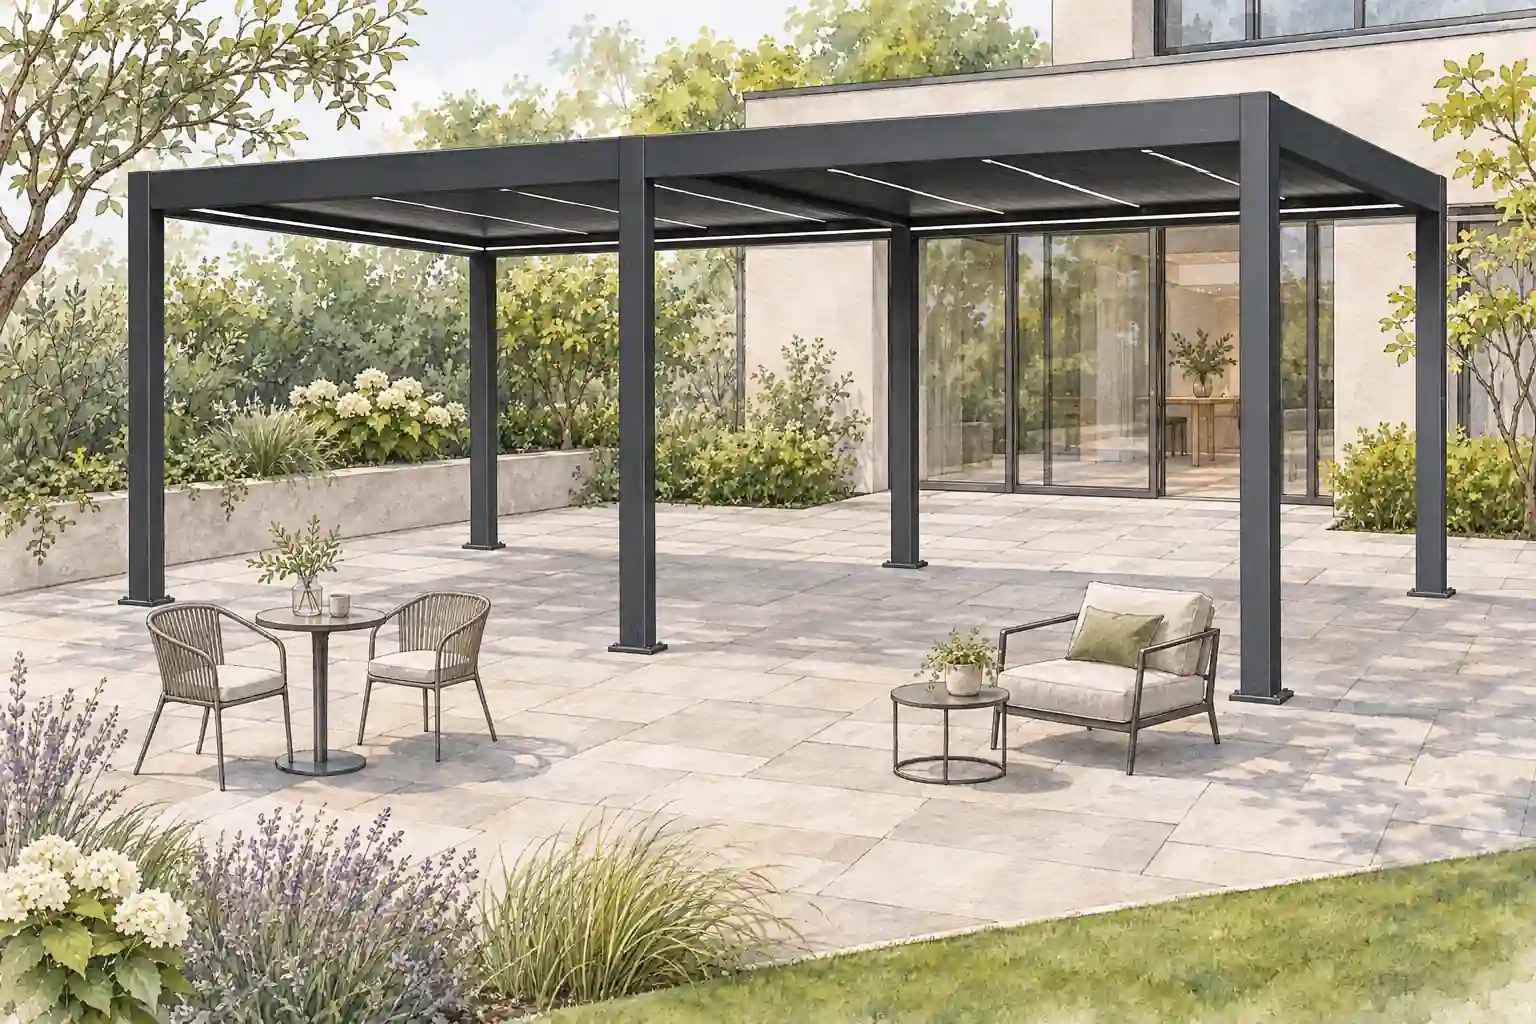 PRESTIGE six-post pergola in a hand-drawn garden concept
Place PRIME MAX and NEO ALU perimeter posts on the activity plan
The PRIME MAX 6 × 4 m example also uses six perimeter posts. Its layout should be reviewed against the chosen furniture and entrances as its own configuration. Likewise, moving from a NEO ALU 4 × 3 m four-post example to a longer six-post example changes the relationship between the roof boundary and access along the sides.
| Selected configuration | Post arrangement | Main spatial check |
|---|---|---|
| NEO ALU 4 × 3 m | Four corner posts | Locate each corner against doors, paths and furniture movement. |
| INTRO DUO 4.2 × 3.6 m | Four corner posts | Review ground-level access separately from the split roof above. |
| PRIME MAX 6 × 4 m | Four corners plus two perimeter posts | Place the intermediate posts on the route and furniture plan. |
| PRESTIGE 6 × 4 m, four-post | Four corner posts | Confirm the chosen opening arrangement on the actual drawing. |
| PRESTIGE 6 × 4 m, six-post | Four corners plus two perimeter posts | Check how the additional perimeter posts divide access along the sides. |
Use the drawing to identify clear openings where people pass through the frame. Post thickness, the chosen dimensional references and any fitted side elements affect the opening that remains. A nominal label supplies too little information to calculate that clearance reliably.
Also consider whether a particular side should remain the principal entrance. A corner post beside a doorway and an intermediate post along a garden route create different planning questions. Identify the preferred approach before selecting side elements, then review their opening and operating space with the layout. This allows privacy and enclosure preferences to develop around the way people enter and leave, rather than obscuring an access problem until later.
When working with a pergola manufacturer for coverage and post layout planning, show the preferred access points directly on the plan. This gives the manufacturer a specific spatial requirement to review alongside the selected system.
 PRESTIGE pergola with glazed panels and screens in a garden lounge setting
- Corner posts. Locate each corner support in the selected configuration before arranging furniture and access.
- Intermediate side posts. The six-post examples add supports on opposite perimeter sides. The four-post example leaves those side openings between the corners.
- Roof beam layout. Compare the visible roof field and cross-beam position alongside the posts. Roof divisions do not establish separate controls.
Read Roof Divisions With the Ground Plan
Use INTRO DUO to distinguish a split roof from extra posts
The INTRO DUO manual pergola with a split roof has a central roof beam dividing the roof into two louvered sections. Its nominal 4.2 × 3.6 m example has four corner posts. This separates two ideas that are easy to confuse: a division overhead and a support position at ground level.
A dining table can be arranged in relation to the overall frame while the roof has its own beam line above it. Alternatively, a concept plan might place dining and lounge functions in different parts of that area. The furniture arrangement remains a design decision. The roof's physical division does not establish a required division in how people use the floor.
Review the beam's visual position from the main seating and arrival points. It can be relevant to the composition of the space even where it adds no floor-level obstruction. This makes a roof plan or simplified overhead view useful alongside the ground plan and application photograph.
 INTRO DUO split-roof pergola over a patio lounge area
- First roof section. One louvered section lies on one side of the central roof beam.
- Central roof beam. The roof divides above the ground plan. This beam does not imply a ground-level centre post.
- Second roof section. The other louvered section is part of the same selected four-post configuration.
- Four corner posts. The same four post positions appear in both views. No extra posts are added in the lower plan.
- Activity area. The dashed dining and lounge blocks are conceptual uses. Their arrangement can cross a projected roof division.
- Circulation. The route illustrates a movement requirement to check with actual furniture, openings and site measurements.
Compare the visible roof organization of the selected configurations
Keep roof organization attached to the exact example shown. The four-post NEO ALU representative view has a different beam arrangement from the four-post INTRO DUO split-roof view. The six-post PRIME MAX and PRESTIGE examples show intermediate roof organization corresponding to their illustrated layouts.
| Representative view | Visible roof organization | Relationship to the activity plan |
|---|---|---|
| NEO ALU 4 × 3 m, four-post | Roof within the perimeter frame, without the extra central beam shown on INTRO DUO | Review the whole activity area with the four corners located. |
| INTRO DUO 4.2 × 3.6 m, four-post | Central beam and two louvered sections | Distinguish overhead sections from furniture zones and floor-level access. |
| PRIME MAX 6 × 4 m, six-post | Intermediate roof beam line in the representative layout | Compare the overhead division and the perimeter supports on separate views. |
| PRESTIGE 6 × 4 m, four-post or six-post | Different illustrated roof and post arrangements | Carry the selected arrangement into the site plan and product brief. |
The visible roof sections provide layout information. They do not establish separate drives, independent control zones or drainage units. For the separate controls decision, consult our manual versus motorized louvered pergola comparison. Where roof operation matters to the proposed use, obtain the control description for the selected configuration. The distinction keeps the spatial plan clear while allowing the operating requirements to be discussed accurately.
Use the roof view and ground view together during design review. The roof view identifies the frame, beam lines and louvered sections. The ground view identifies furniture, support positions and routes. Keeping those views distinct makes a change easier to assess: a revised seating arrangement may leave the roof unchanged, while selecting a different frame layout requires the floor plan to be checked again.
The following hand-drawn concept brings the split roof, dining furniture and lounge setting into one view. The central beam remains overhead while the ground-level arrangement is planned around the four corner supports.
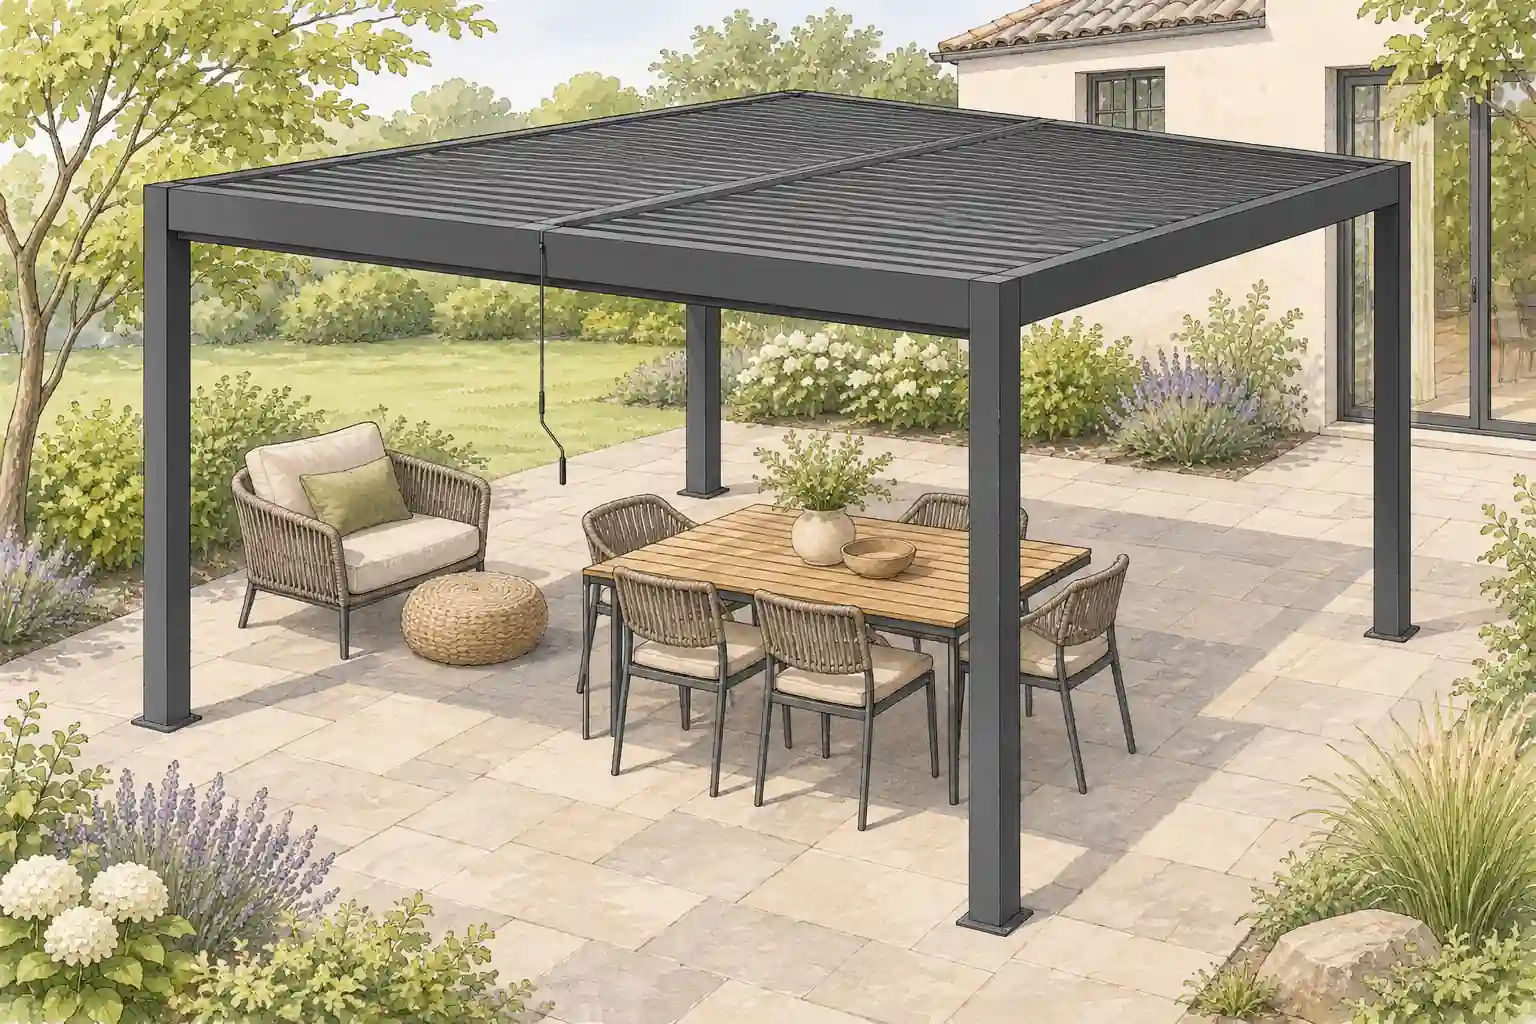 INTRO DUO split-roof pergola in a hand-drawn patio concept
Separate Installation Type From Listed Dimensions
Compare NEO ALU freestanding and wall-mounted size records
Installation type changes what has to be coordinated with the site. A freestanding frame places supports around its perimeter. A wall-mounted arrangement introduces an interface with the building as well as its front supports. Door and window positions, the wall condition and the intended attachment require review with that particular configuration.
The NEO ALU pergola in freestanding and wall-mounted layouts offers a concrete example of dimensional labels and listed measurements. Its nominal 4 × 3 m freestanding record lists 4000 × 3080 × 2520 mm as L × D × H, with four posts. The wall-mounted record lists 4000 × 2940 × 2520 mm, with two posts.
These are separate dimension records under the same nominal label. Keep the installation type with the measurements when comparing the depth against a terrace or doorway. They also show why replacing a nominal 3 m depth with an assumed exact measurement can lead to an inaccurate site plan.
- Freestanding roof outline. Read the roof edge together with the positions of its supports.
- Four corner posts. The selected freestanding layout places a post at each corner.
- Freestanding size record. The L × D × H field is separate from a clear-opening or headroom measurement.
- Wall-side roof edge. The wall-mounted source shows the rear roof edge against the wall plane.
- Two front posts. The selected wall-mounted layout has two posts at its front edge. Wall fixings are not detailed here.
- Wall-mounted size record. The listed depth differs from the freestanding record. Confirm the dimension reference points for the order.
Distinguish nominal size, clear openings and usable height
The listed height is another dimensional reference to carry carefully. NEO ALU's 2520 mm H field does not state the clearance beneath a beam. The useful height beneath a beam, and the space occupied by any selected fitting or moving part, must be identified on the applicable drawing.
| Series | Installation options | Dimension record and next check |
|---|---|---|
| NEO ALU | Freestanding; wall-mounted configurations | Named sizes plus explicit L × D × H records for selected options. Match the installation type and obtain clear openings. |
| INTRO DUO | Freestanding | Nominal size groups. Request the selected configuration's dimensioned layout and usable height. |
| PRIME MAX | Freestanding; wall-mounted options | Nominal freestanding groups. Confirm final dimensions and wall-interface details for a wall-mounted proposal. |
| PRESTIGE | Freestanding; wall-mounted options | Nominal groups with different post arrangements. Identify the chosen layout before confirming dimensions and openings. |
For every series, record which points a dimension measures. A roof edge, post face, post centerline and clear opening answer different questions. This is also why a maximum-span field cannot replace a dimensioned layout or prove an unobstructed floor length. Use the product's drawing and project review to establish the actual arrangement.
Beside a building, show the relevant doors, windows and other projections in elevation as well as in plan. Their positions help the team discuss the roof edge and any wall interface. Record finished floor level as the reference for the heights that matter to the user. A height copied without its reference level can leave two parties discussing different distances, even when the written number matches.
Match the Layout to a Reviewable Site Plan
Test dining, lounge and circulation arrangements against the selected model
Return to the activity plan after choosing a candidate configuration. On a compact patio, the NEO ALU example directs attention to corners, depth and the building interface. In a mixed seating area, INTRO DUO demonstrates how an overhead division can be considered without adding a floor-level middle post. For a longer arrangement, PRIME MAX and PRESTIGE bring the perimeter intermediate posts into the furniture discussion.
An aluminum pergola supplier for distributor layout and sizing projects needs those priorities as well as the preferred size label. A marked plan can show which doorway must remain convenient, where the customer wants the main open edge and which furniture arrangement is most important.
Run through the space as it will be used. Pull the chairs away from the table on the drawing, trace the route from the building and locate the approach to each seating area. Include the position of any proposed side enclosure. Then check access for operation, cleaning and service. These activities can reveal a conflict that is invisible in a rendering with furniture neatly tucked away.
Confirm measured site features and the dimensioned configuration together
Put the selected model and layout on a measured site drawing. Include existing structures, terrace edges, doors, windows, paths and relevant changes in level. The City of Portland's guide to drawing a site plan provides an original example of recording existing and proposed features. Its local permitting rules are specific to that jurisdiction; use the drawing principle with the requirements applying to the project location.
Keep the model, nominal size, installation type, post positions and dimensional references together in the review record. Add the target use and time of day, the furniture plan and any selected side elements. Have the responsible parties review structural, fixing, access and other applicable requirements before the final layout becomes the ordering basis.
Outdoor Creation manufactures pergolas in its own factory. Our outdoor structure manufacturing facility in Xuancheng provides context for discussing the selected product and project requirements directly. Our outdoor living product range can support the wider space brief, while the pergola size and project-design questions provide related short answers. Carry the approved drawing and its revision into the order so that the chosen size continues to mean the same configuration for everyone involved.
Frequently Asked Questions
What pergola size fits a dining area?
Choose around the table, chairs in use and circulation, then check the selected configuration's posts and clear openings. Confirm the layout with measured furniture and site information.
Do equal pergola sizes have equal clear space?
Not necessarily. Equal nominal sizes can have different post layouts and dimensional references. Compare the selected configuration drawings to establish the usable openings and space.
How tall should a pergola be?
Choose height for the selected system, required usable clearance and site conditions. Distinguish overall height from clearance beneath the beams, and confirm applicable local requirements with the project team.
Can a roof divide into zones without extra posts?
Yes. INTRO DUO's four-post example has a central beam and two roof sections. This describes its illustrated arrangement, without establishing independent control or drainage zones.
Can I move a post to clear a doorway?
Post changes require review of the selected system and project design. Mark the doorway on the site plan and obtain an approved configuration before ordering.
Will a bigger pergola provide shade all day?
Roof size alone does not determine all-day shade. Location, sun direction, time, season and roof position affect the shaded area. Review the intended use with site-specific conditions.
Materials, hardware, accessories and installation requirements depend on the selected configuration, site and order. Customization options and final specifications are confirmed for each project before supply.