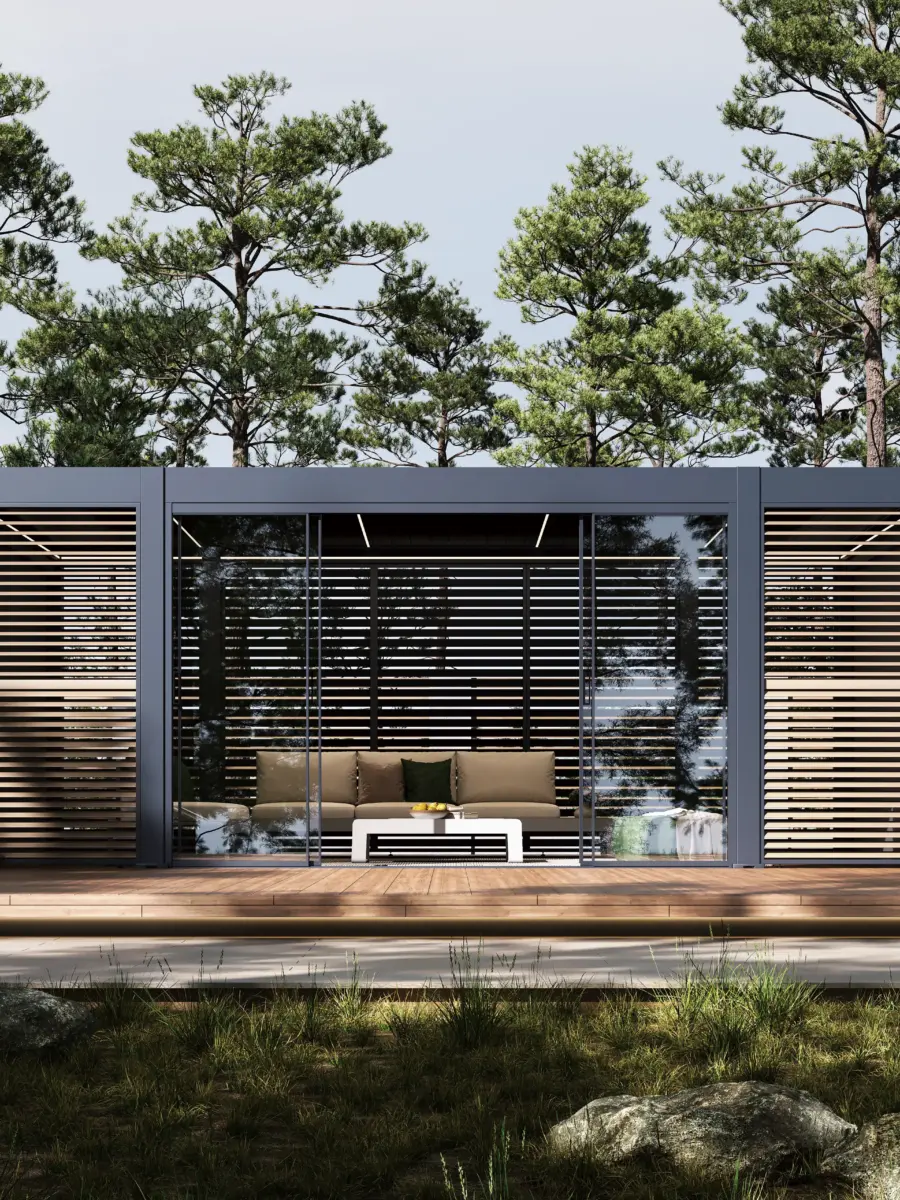
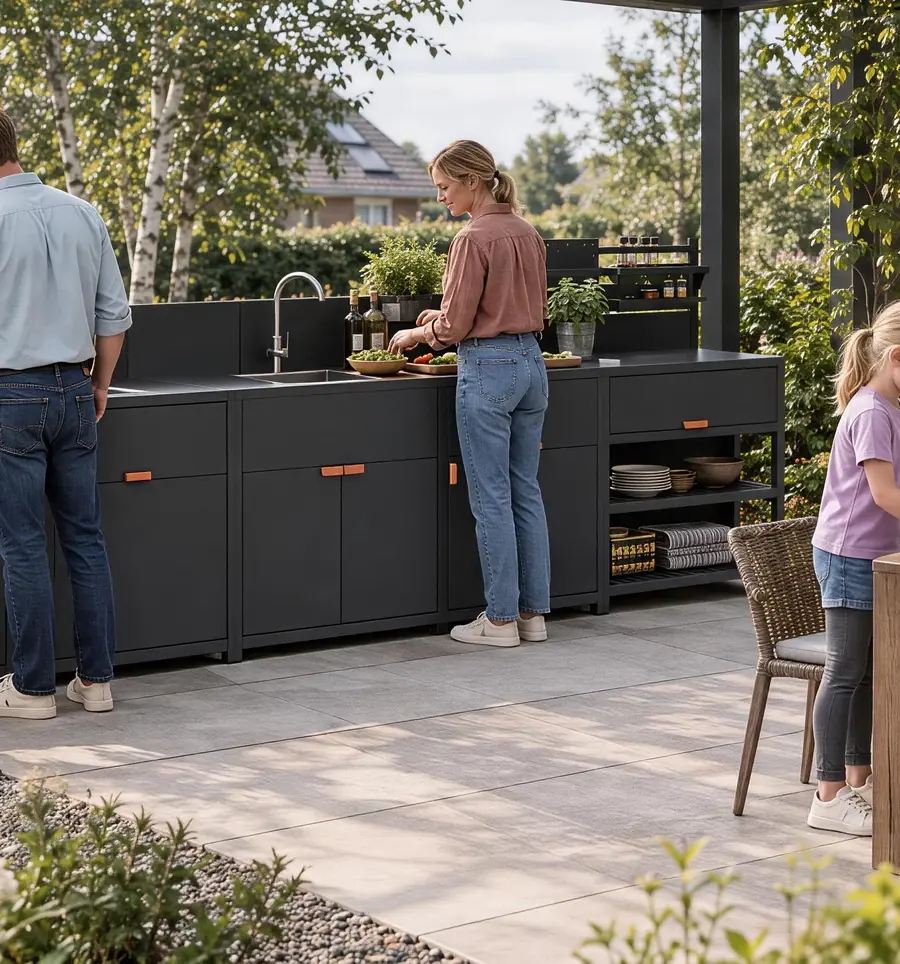
Place an outdoor kitchen island where it supports the cook and gives guests a clear route to the dining area. Reserve an approach for serving and clearing plates, then test the layout with chairs pulled out and cabinet doors open. A work island may add prep surface and storage, while a serving edge gives people a place to collect plates or drinks. Mark which edge does which job before selecting modules, positioning the table or moving any utilities.
Give the Island, Serving Point and Table Different Jobs
Four problems designers need to resolve before placing the island
- Serving and guest routes cross. The shortest way to carry a platter to the table can pass the same corner guests use to reach their seats or return a used plate.
- The floor plan looks clear with everything closed. A chair pulled back, a cabinet door open and a cook at the counter can all occupy the same strip of paving.
- The owner wants more than the space easily allows. A larger prep island, another seat and an uninterrupted route to the garden may compete for the same floor area. Agree which uses take priority on a typical day and which matter for occasional gatherings.
- A workable concept can lose detail at handoff. Record which party checks the furniture and site measurements, who confirms module sizes and door swings, and who verifies appliance instructions and site connections before installation.
Define the Work Island
Start with a meal the owner actually expects to serve. Ask who takes food out of the house, where clean plates are stacked, who cooks and where dishes are cleared. Record where people stand for each task and how often they move between surfaces. An island makes good use of the patio when it gives those tasks a dedicated surface and leaves room for people to move around it. This follows the activity-based approach in the NKBA kitchen planning guidance. Use the activity principle outdoors and review dimensions against the actual patio, furniture and appliances.
A work island can hold a clear prep surface and storage for frequently used utensils. Mark which side people will work from and which cabinet faces they need to reach. The dimensions on a product drawing describe the cabinet itself. Your space plan also needs room for someone reaching a shelf or opening a door with a tray on the counter. Compare the functions available in modular outdoor kitchen configurations. For example, AXIS galvanized steel modules with open shelving illustrate how reachable storage on a prep run can free up worktop space. Use the guide to planning modules by function and appliance when assigning jobs to individual cabinets.
Place the Serving Point at a Reachable Edge
The serving point is where the cook can set down a tray or where a guest can collect a plate. It can be one end of a work island or a section of the perimeter worktop. Stand at the intended pickup side and ask what a person would have to do to get there. If they would wait directly in front of a cabinet used for prep, shift the landing point toward an end that is easier to approach. Leave a distinct place for used plates near the return destination. The FDA guidance on serving food safely outdoors calls for keeping raw food apart from cooked food. Give clean platters and utensils their own space at the handoff.
Treat the dining area as an occupied space on the plan. Furniture includes the table, the chairs people sit in and the space people need to get up or approach their seats. Agree with the client on the usual seat count and the way guests will gather before sitting down. Draw the path from the actual entrance and the side of the table that guests will approach. This makes it possible to see whether an island that seems close to the table also offers a usable connection.
- Kitchen opening and separate cleanup worktop.
- Work island for staging and prep.
- Solid blue line. Carry clean plates from the handoff to the table.
- Dining table with a separate approach for guests.
- Long dashes. Guests approach from the patio entry.
- Short dots. Used plates return to the cleanup worktop.
Trace the Routes Between the Kitchen and Dining Area
Walk the Prep and Serving Route
On a measured site plan, mark the door from the house, the outdoor preparation station, the cooking location, the clean serving point and the dining table. Trace the route an actual tray takes. Someone may bring ingredients from indoors, pause at the island for prep, move to a grill and return to the island to plate food. Mark each point where a turn, a door or a change of level interrupts that movement. The University of Delaware outdoor space planning guide uses functional adjacency to decide which activities belong near one another. Apply that method to the real paths between the indoor kitchen, outdoor prep and dining.
Walk each segment while holding a tray that represents the size the family uses. Look for the first place you would set it down if both hands were needed to open a door. A clear area next to that transition may matter more than more counter at the other end. A straight work zone using compact NOVA galvanized steel kitchen modules can concentrate those short movements on one side. When the job also has tightly constrained wall length or service access, use the small outdoor kitchen planning guide to confirm what needs to fit before testing the dining route.
Walk the Guest and Plate Return Routes
Begin where guests arrive. Have one person approach the farthest seat while someone else remains seated. Trace the return path from the table to the cleanup point separately. A person carrying used plates might have to walk against two arriving guests or step into the space in front of the grill. Mark that crossing on the plan and see whether the table can be approached from another end. When the work aisle is busy, a return point at the cleanup end can help keep used items away from the clean serving edge.
Measure at the tightest point in each route with the actual obstruction in use. A chair back, a person standing in front of a cabinet and the end of a drawn-out drawer can each control the available space. If a path has to pass beside a fuel-burning appliance, review where the appliance can be placed before treating that path as available. The U.S. Fire Administration outdoor fire safety guidance addresses grill location near siding, railings, eaves and other obstructions. Use the selected appliance instructions and applicable site requirements for the project.
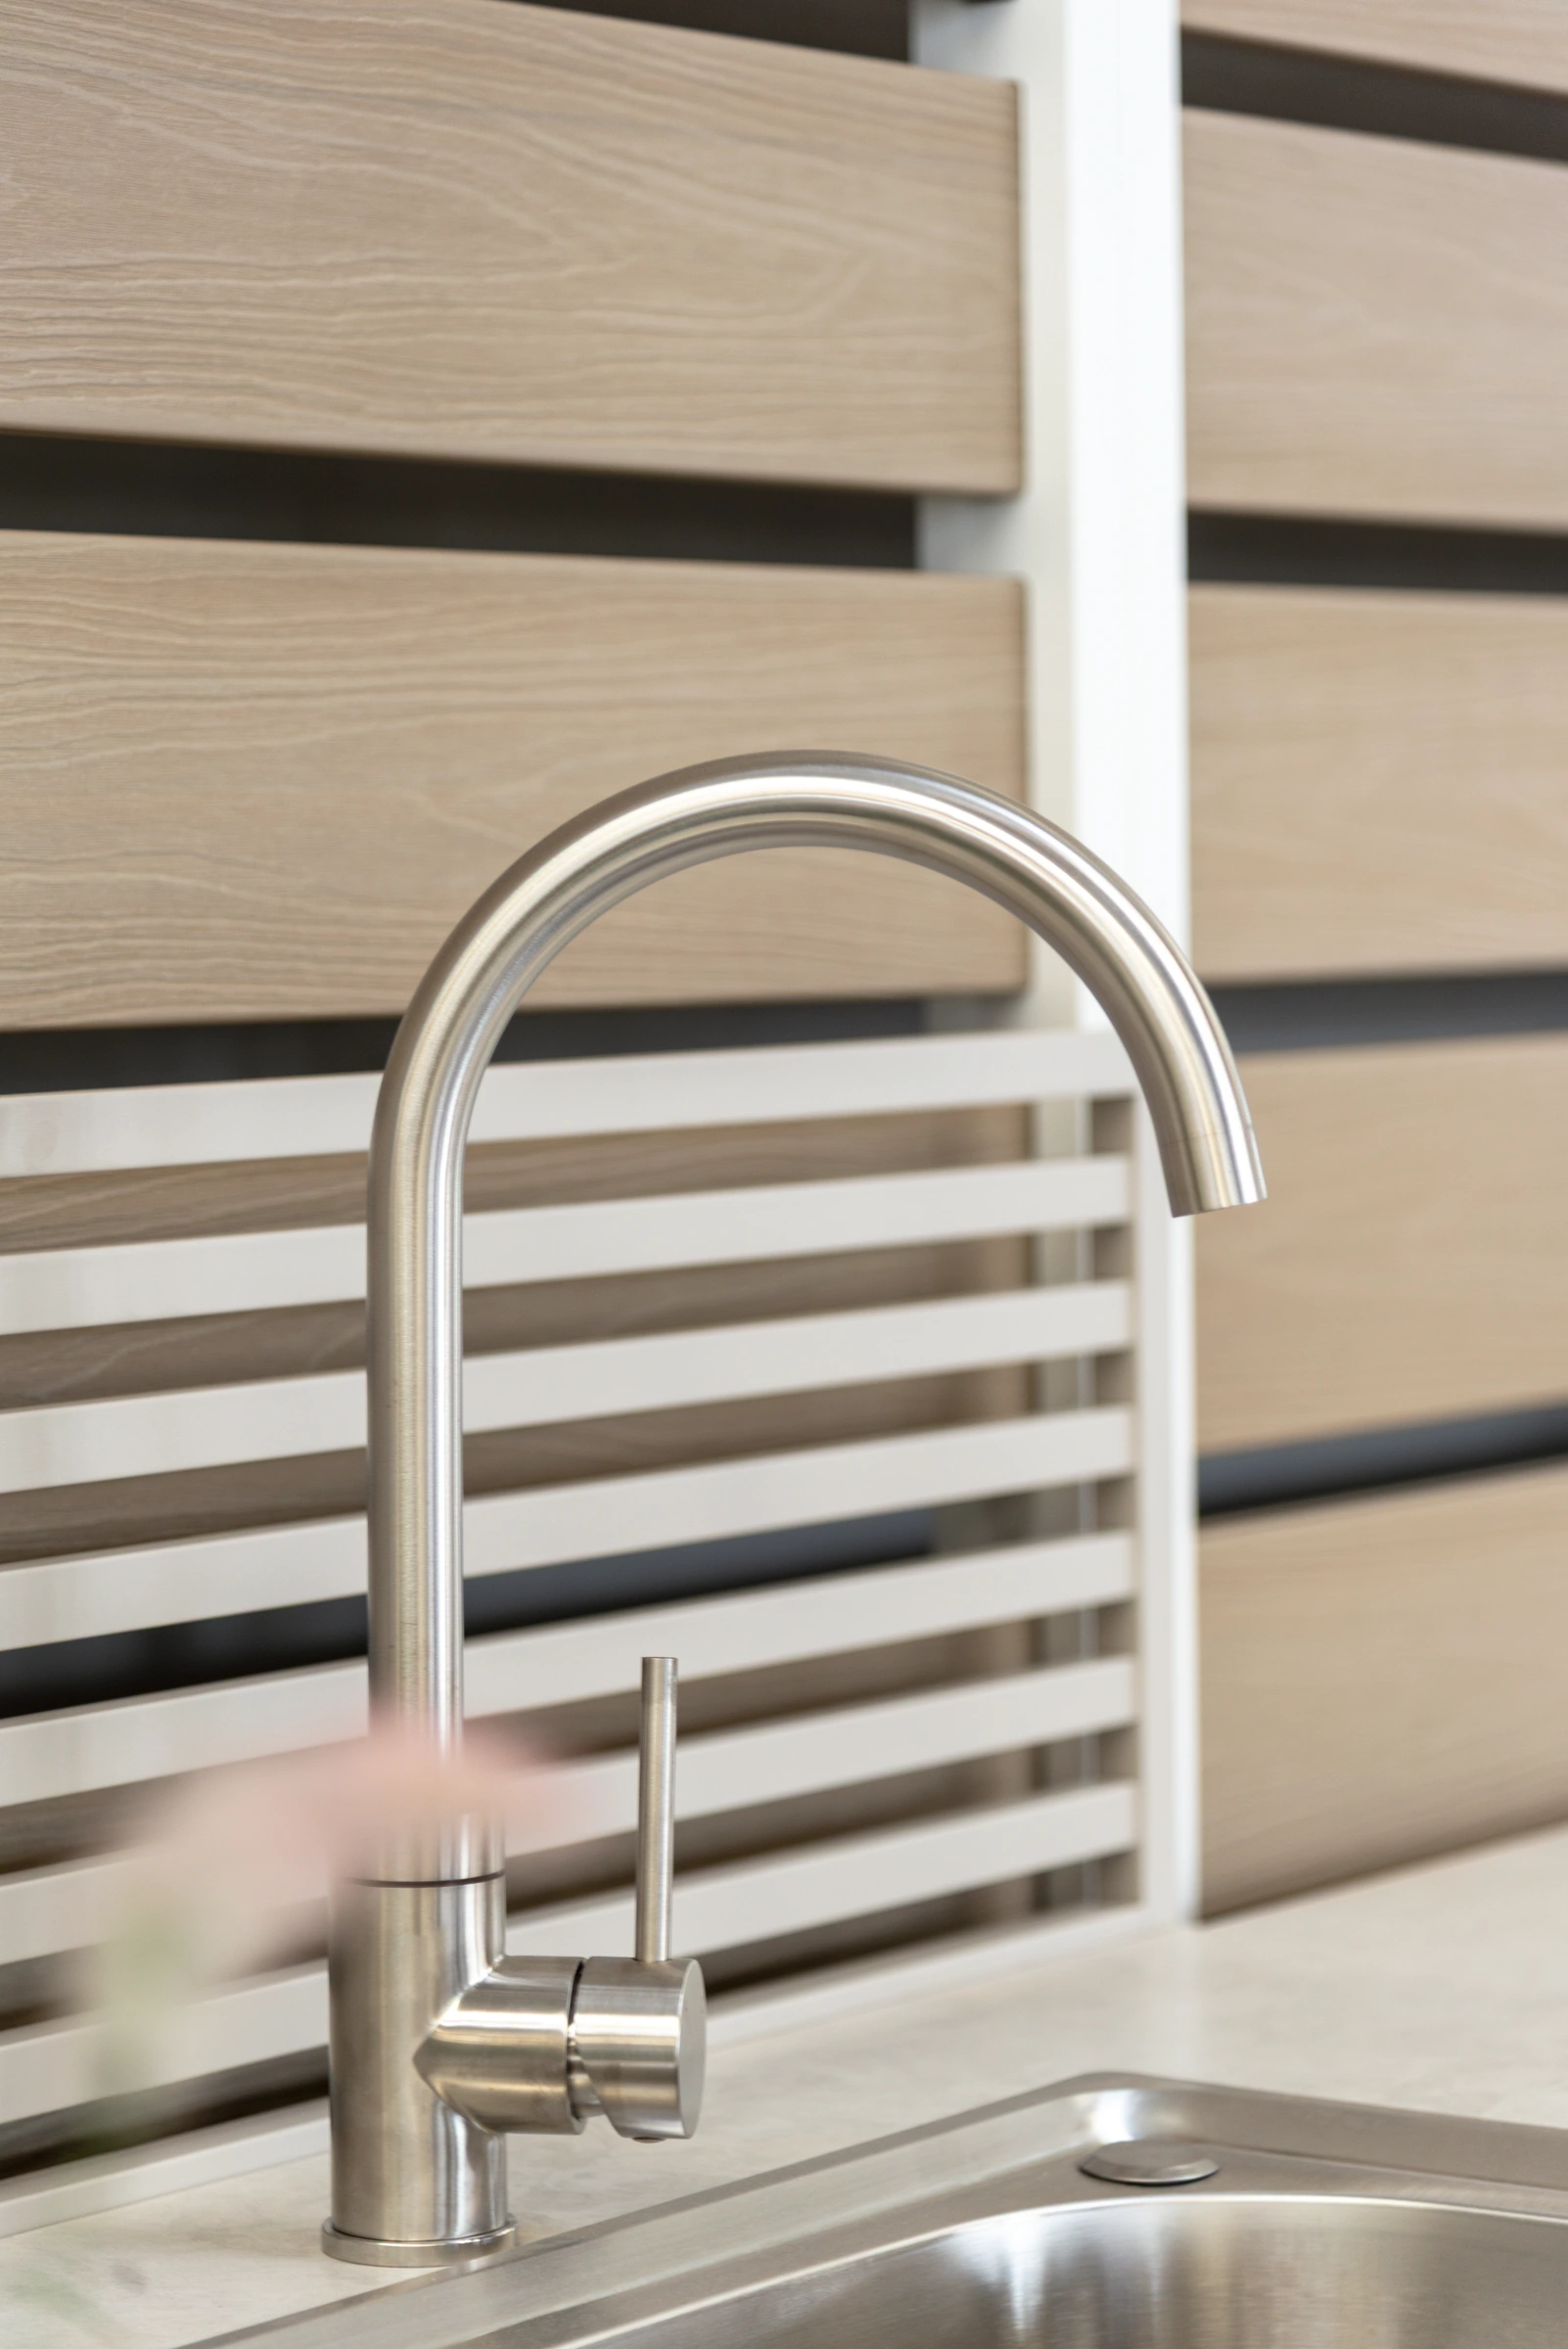 URBAN faucet at the sink module
- Open-door sweep. Transfer the chosen cabinet’s swing or drawer projection from its drawing.
- Occupied-chair envelope. Check the actual chair and allow for the person using it.
- Remaining usable width at this pinch point. Measure the narrowest gap along the intended route.
Compare Table Positions With the Kitchen in Use
Hold the Island and Furniture Constant
To compare two table positions, begin with the same outdoor kitchen layout. Keep the island, working run, doors, patio boundaries and furniture unchanged. In the example, the URBAN aluminum outdoor kitchen with a separate prep island includes the URBAN-G worktop and storage module. URBAN lists G at 1200 × 597 × 910 mm. Put its actual cabinet outline on the drawing, then add the door opening and where the cook needs to stand. The serving point sits at the end nearest the table approach and the sink remains on the kitchen run.
In Layout A, place the table parallel to the island and line up the ends nearest the entrance. Stage a tray at the island end. Notice whether the same corner is used to collect the tray and reach the seats. In Layout B, slide the same table along its length so that its ends are offset. Keep the chair count and the direction of approach constant. An offset can open up one approach while narrowing another, so walk to each occupied seat and run the return path in both layouts. Share the comparison with a modular outdoor kitchen manufacturer for work and dining layouts so the team can check the module fronts and intended work edge against the drawing.
- Kitchen opening and cleanup location are fixed.
- The URBAN-G work island stays in the same place.
- Keep the serving point on the same island end. Follow the solid line to the table.
- The same chair count and chair positions relative to the table apply to both layouts.
- The patio entry stays on the right. The long dashes trace the guest approach.
- The dotted ring shows a crossing in A. B uses separate table ends. Check the dotted return route on the kitchen side in either layout.
Check Open Doors and Occupied Chairs
Put the busiest expected condition on each of the two plans. For a family meal, that may mean a person clearing one plate at the same time a guest gets up and a cabinet door is held open. Walk or tape out the footprints with the product and furniture drawings in hand. Mark where one person must pause, turn sideways, move a chair or step into an active work zone. Show the owner what changes when an occasional extra chair is added, then agree on the seating arrangement the plan needs to support.
| Use state | Movement to test | What opens or is occupied | Layout A: aligned table | Layout B: offset table | Action before sign-off |
|---|---|---|---|---|---|
| Prep | Cook moves from storage to the prep surface. | Island cabinet open; cook at the counter. | Check where the open door meets the approach. | Check whether the table shift changes that approach. | Use the actual door and working position. |
| Serving | Cook carries a tray from the landing point to the table. | Plates staged; a chair pulled back. | Check the shared island and table corner. | Check the turn at the new table end. | Move the landing point if the turn stays congested. |
| Dining | Guest walks from the patio entry to the far seat. | Near seats occupied. | Check whether the route enters the work aisle. | Check whether guests can approach on the dining side. | Preserve an approach that works with seats occupied. |
| Clearing | Someone carries used dishes from the table to the cleanup point. | Chair in use; someone at the clean serving area. | Check where return and clean serving cross. | Check the new route from the far end of the table. | Mark the return landing and confirm cabinet access. |
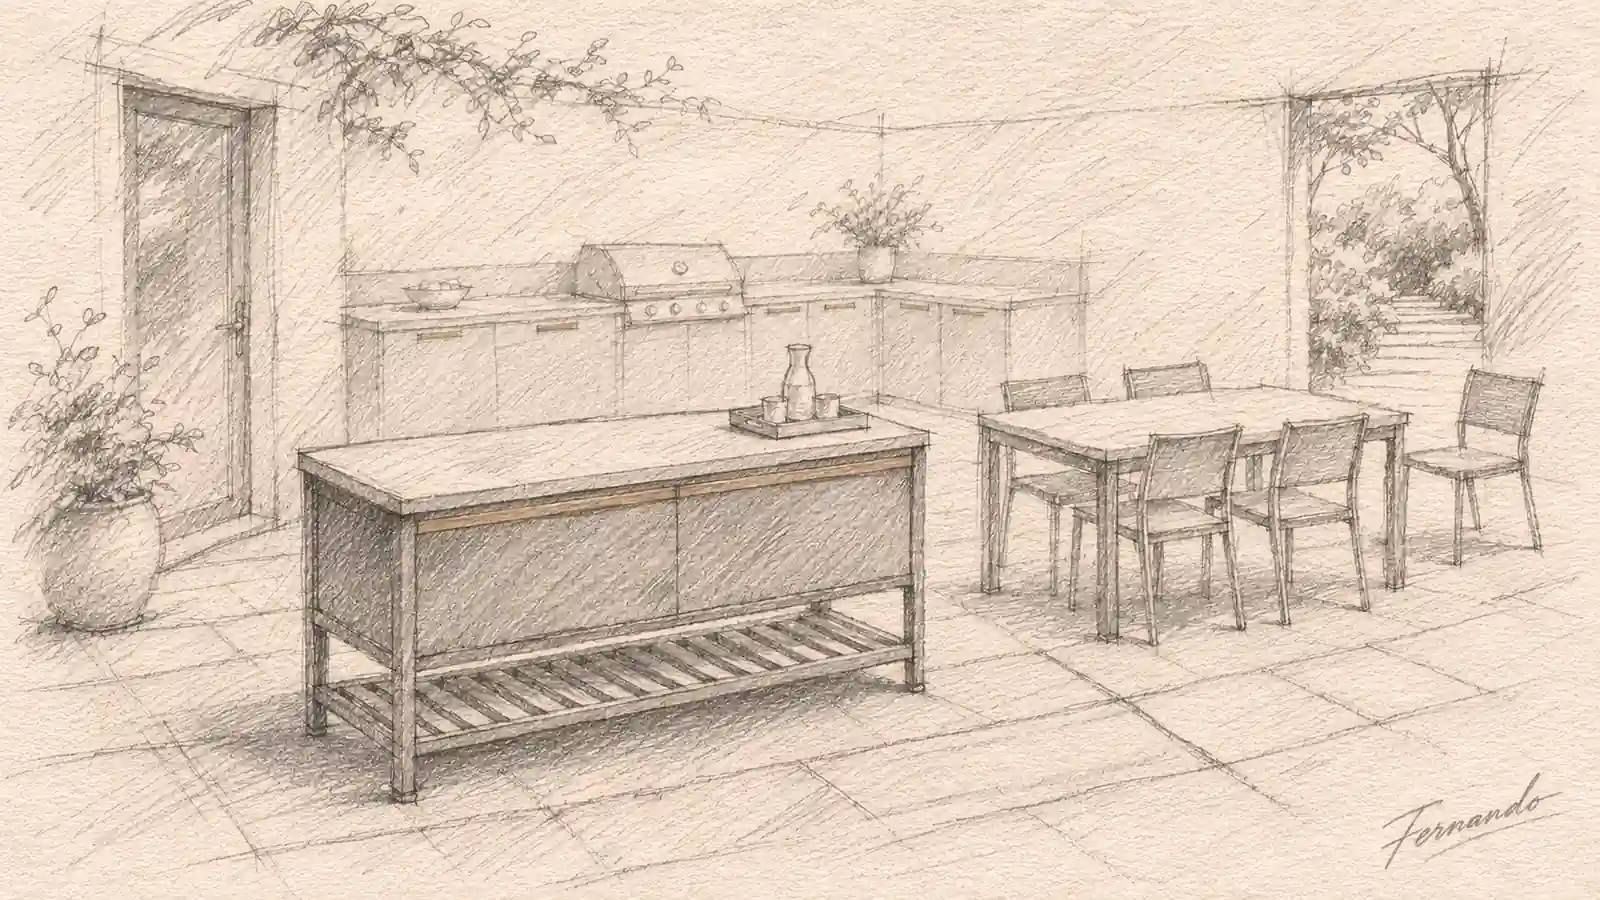
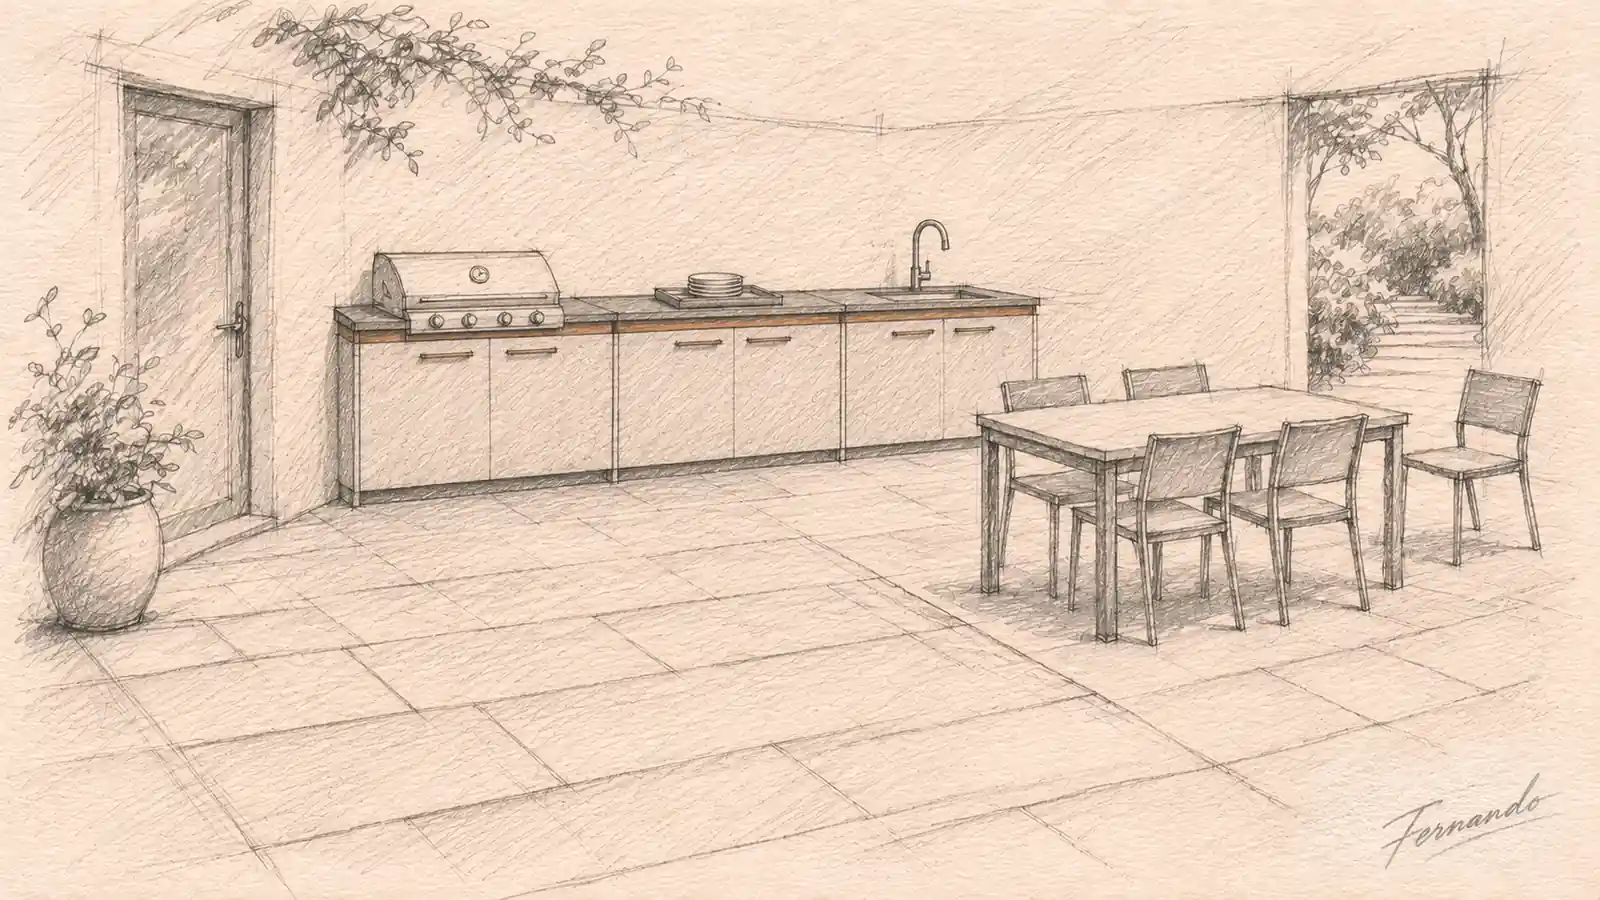
Write down the observation as a specific action, such as “move table toward garden edge and retest the house door.” That instruction transfers to a drawing and gives the next reviewer a condition they can check. The courtyard sketch shows the offset table, the landing point and the approach to a pulled-back chair.
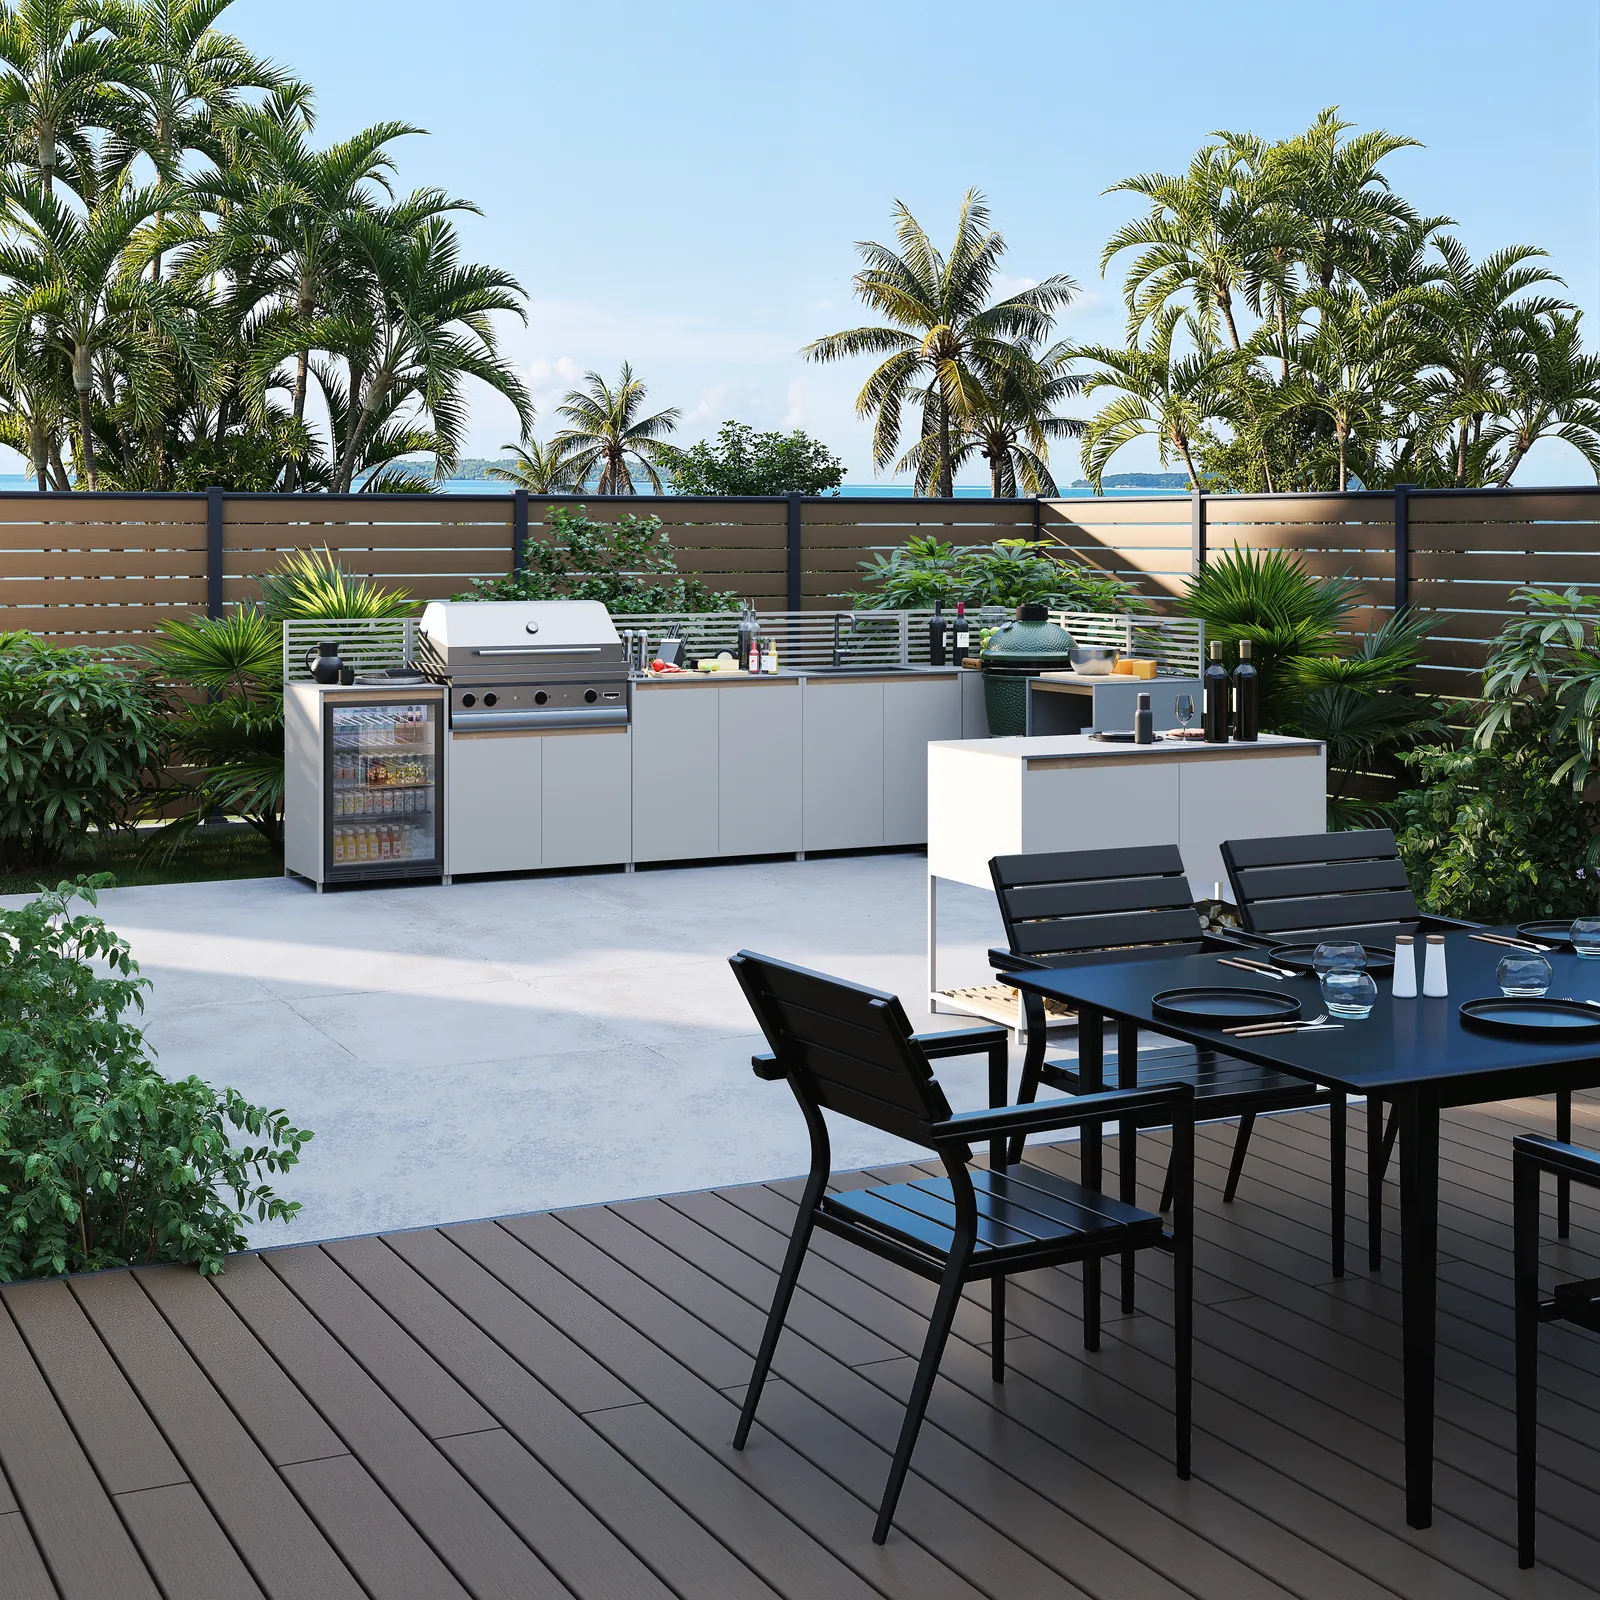 Official URBAN patio scene
The URBAN corner layout with G brings the serving point onto a separate worktop. The straight configuration puts the same task on the perimeter run so the center of the courtyard remains open.
- URBAN-K refrigerator housing
- URBAN-F grill base
- URBAN-B enclosed storage cabinet
- URBAN-D sink cabinet
- URBAN-A open shelf
- URBAN-E kamado base
- URBAN-A open shelf
- URBAN-G detached worktop and storage
- URBAN-K refrigerator housing
- URBAN-F grill base
- URBAN-B enclosed storage cabinet
- URBAN-D sink cabinet
- URBAN-A open shelf
- URBAN-E kamado base
Know When a Perimeter Worktop Serves the Dining Area Better
Use the URBAN Island Where Access Works
A detached worktop can add usable prep space when the kitchen run is occupied by a sink and cooking modules. URBAN-G uses a sintered stone worktop and aluminium cabinetry in the URBAN series. Its documented role is a separate worktop and storage unit. On the project plan, place a tray at the chosen serving end and mark two positions, one for the cook and one for the person collecting food. Check whether both positions can be used when the nearby cabinet is open and the table is occupied.
Keep the island if it performs a useful recurring task and the occupied floor plan gives guests and the cook workable approaches. If people are still funneled past the same corner, first try moving the dining table or shifting the handoff to another available worktop edge. Move one element at a time so the reason for an improvement is clear. Retest the return route each time. If the island still interrupts access, compare the work that would have to move back to the perimeter with the floor area that would become available for dining and circulation.
Stage Plates From an ELITE Perimeter Run
The catalog shows a straight A, B and C configuration of the ELITE outdoor kitchen with a sintered stone worktop. A is the BBQ module, B is a prep and storage module, and C is the sink module. Each is listed at 1000 × 600 × 910 mm. In a terrace layout using that sequence, B can provide a clean tray landing between the cooking and cleanup positions. Draw the person setting down the tray, then check which side of the table offers the most direct arrival. A separate dining table can give guests a connection to the cook while allowing the center of the terrace to stay open.
Study the background and finishes from the dining side. The surfaces visible while people sit down may differ from the surfaces they see on a product page. Confirm the exposed ends, the backdrop and any low sun or glare that makes the worktop difficult to see. A METRO outdoor kitchen with a 304 stainless steel worktop offers another worktop example. The cabinet front and working position still need to be shown on its own drawing. Use the straight-line and L-shaped layout comparison if that perimeter is still being selected.
- Try a shift or rotation that keeps the same seats and gives guests a direct route.
- Test another clean handoff location while keeping the work and plate-return routes usable.
- Compare a perimeter worktop and independent table when the island still blocks the route.
 Official ELITE poolside kitchen and dining scene
The straight ELITE A+B+C run stages trays on B. The L-shaped alternative adds a B worktop beyond the corner, where a serving point can work if guests can reach it without crossing the cooking area.
- ELITE-A bbq position
- ELITE-B prep and storage cabinet
- ELITE-C sink cabinet
- ELITE-B prep and storage cabinet
- ELITE-A bbq position
- ELITE-B prep and storage cabinet
- ELITE-C sink cabinet
- ELITE-D kamado corner module
- ELITE-B prep and storage cabinet
Put the Decision on the Project Drawings
Mark the Occupied Layout and Measured Pinch Points
Send one plan that identifies the selected cabinet faces, access doors, dining furniture, walls and changes in level. Indicate which chairs are occupied, which cabinet fronts open and where an appliance door or grill lid moves in use. Number each narrow point and save its measured distance between the actual obstructions, such as an occupied chair back and an open cabinet. Add one note on the route each narrow point affects and where a person would stand while opening or using the cabinet.
Record who will verify each part and when. The designer can confirm furniture positions, entries and the route between the patio and house. The cabinet supplier can confirm the selected cabinet drawings and opening direction. Identify the installer or relevant trade who will check site dimensions and connections before work begins. The scope may include other outdoor living products for patio projects. Show them on the same drawing when they take up ground area, create another opening or affect where people approach the table.
Review the route at the usual dining hour. A change in paving that is obvious during the day may be harder to see after sunset, especially while carrying dishes. Look from the house doorway and from the far side of the dining table. If lighting or accessories are added, mark their positions so a planter, fixture or cable does not become a new obstruction.
Verify Module and Appliance Conditions
Send the selected module codes, dimensions, furniture specifications, supplier drawings and appliance model numbers. Ask the outdoor kitchen module and cabinetry manufacturing facility to confirm cabinet fronts, finish options and dimensions for the proposed selection. Use the module dimensions and appliance openings guide for the information that belongs on the drawing and the grill, kamado and refrigerator integration guide if equipment is part of the configuration. Confirm worktop support and the actual seating arrangement before specifying a seating extension or changing an opening.
Arrange a final review with a custom outdoor kitchen manufacturer for designers and project teams around the selected plan. Label the serving edge and indicate if someone approaches from the end, from the guest side or along the work aisle. Review the duties that depend on the factory drawings and the duties that depend on site conditions. The resulting plan should tell the owner where meals are prepared, where they are handed off and how a guest can reach a chair while the kitchen is in use.
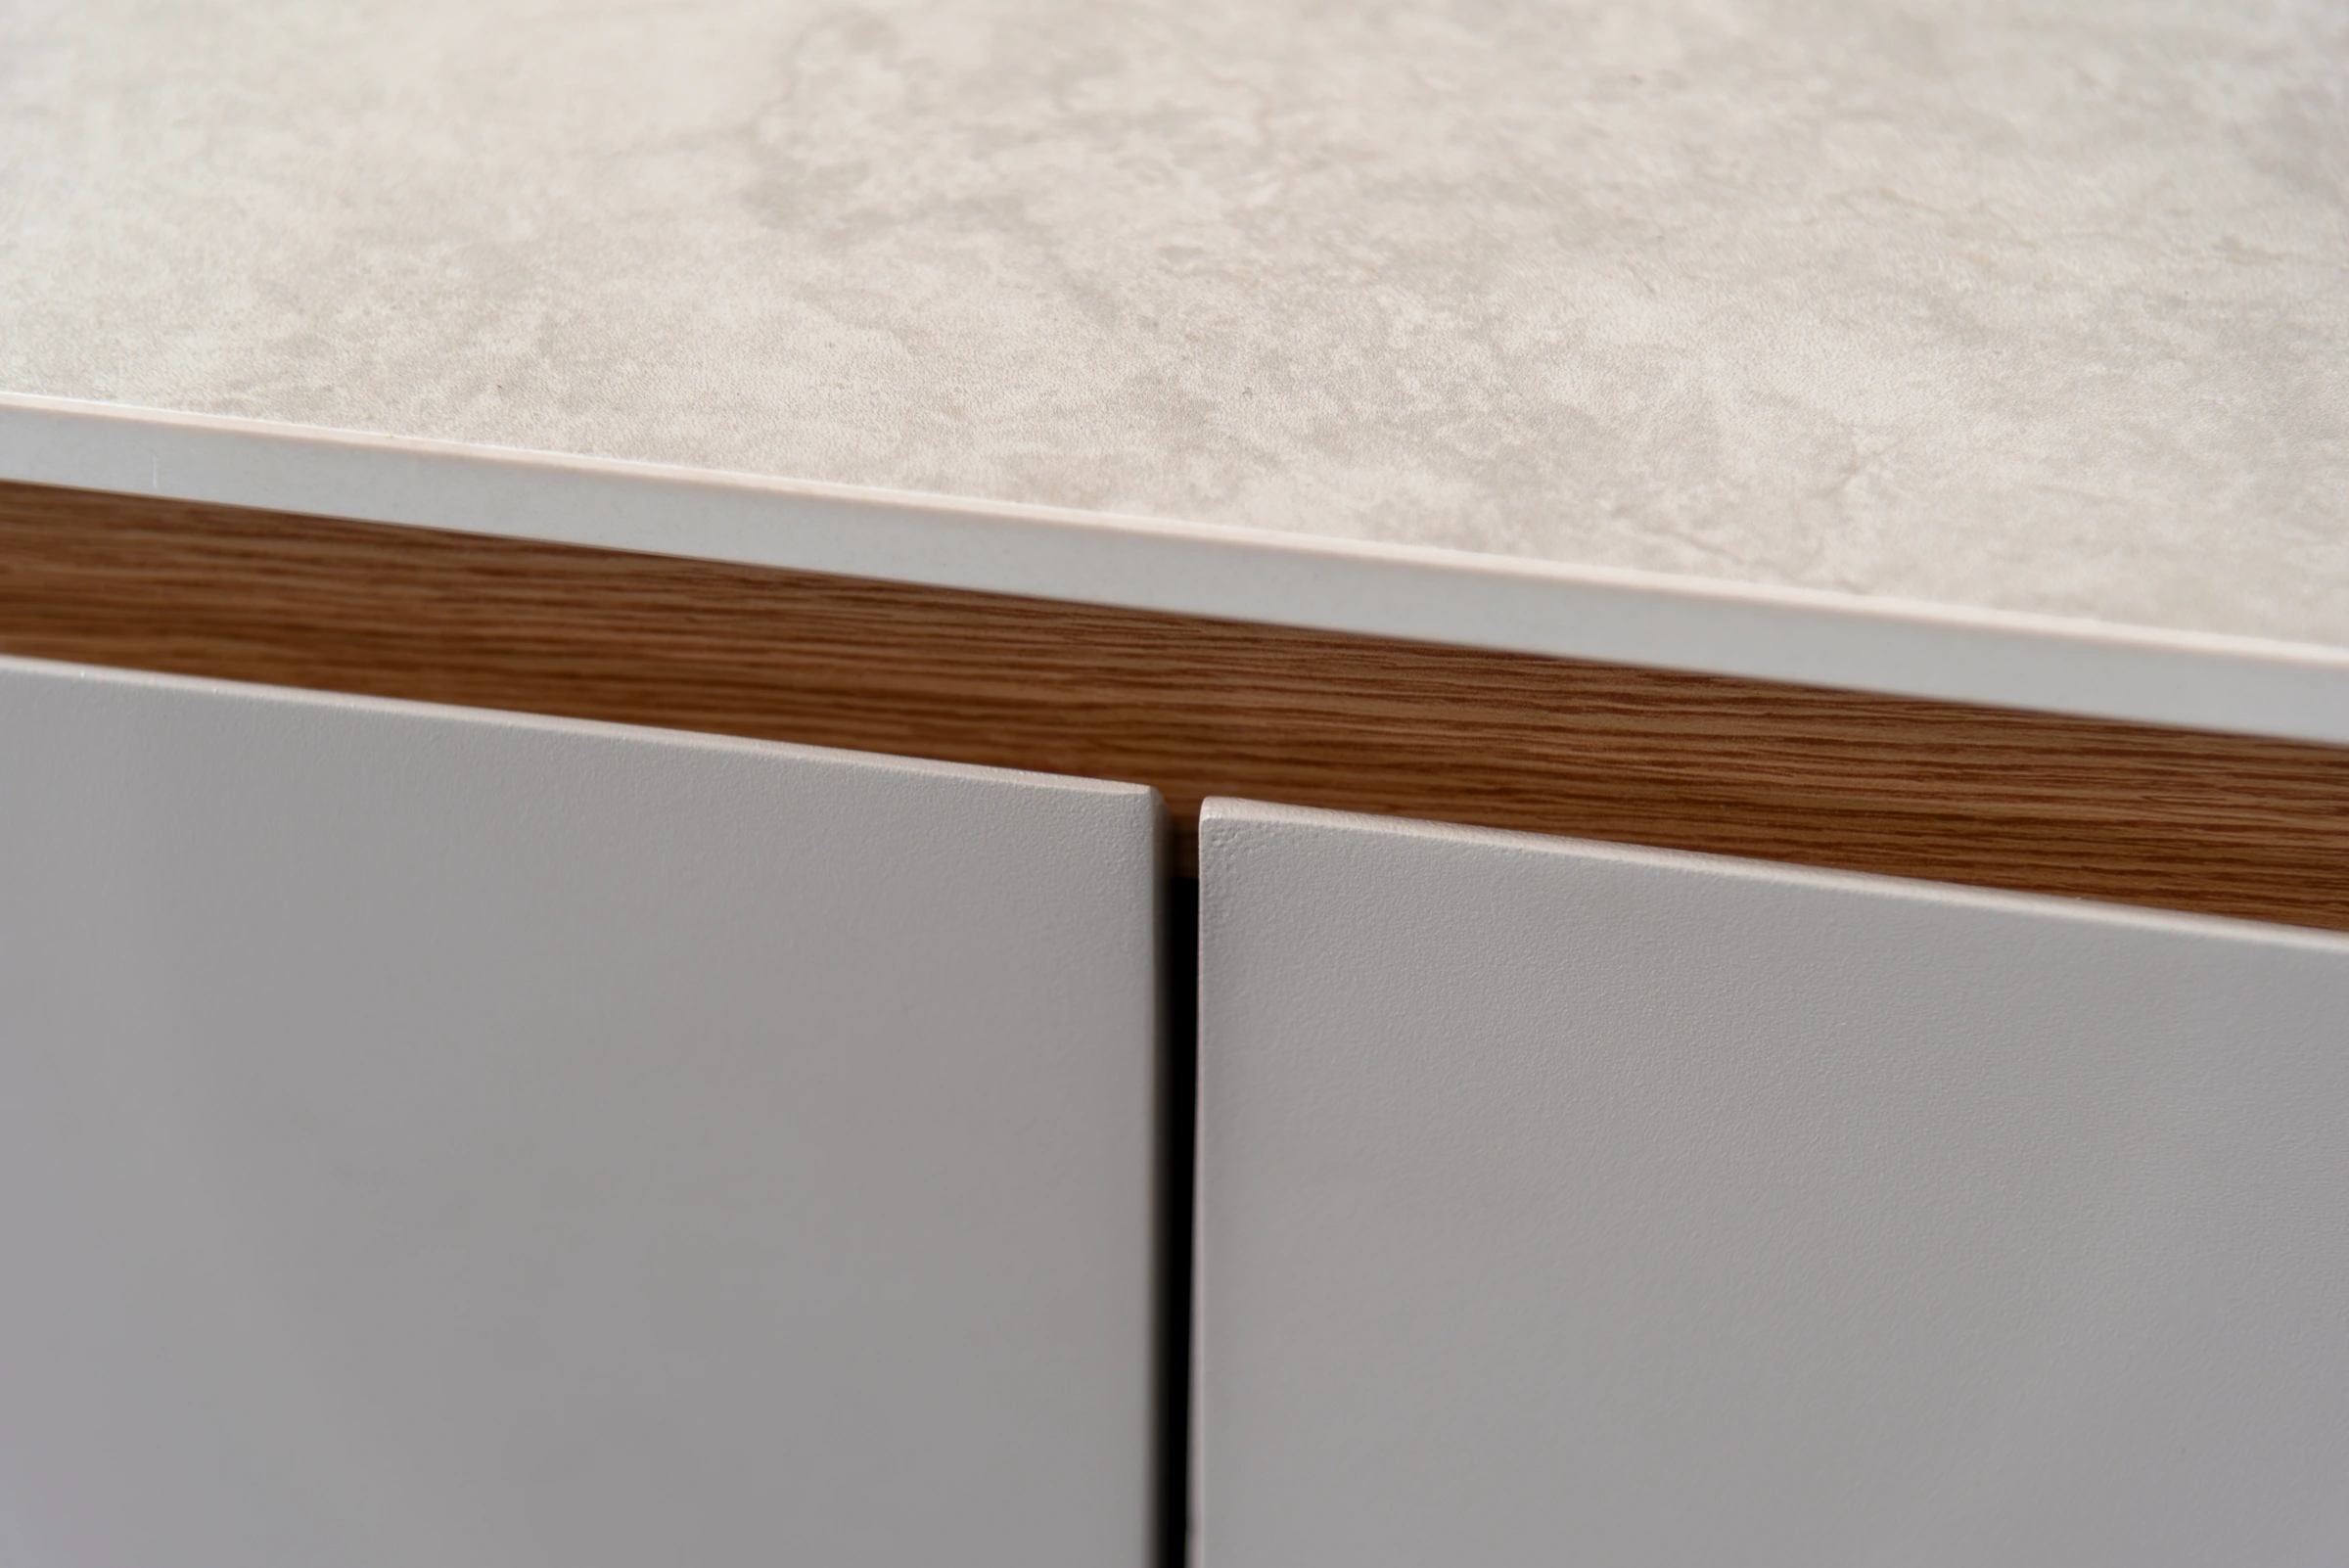
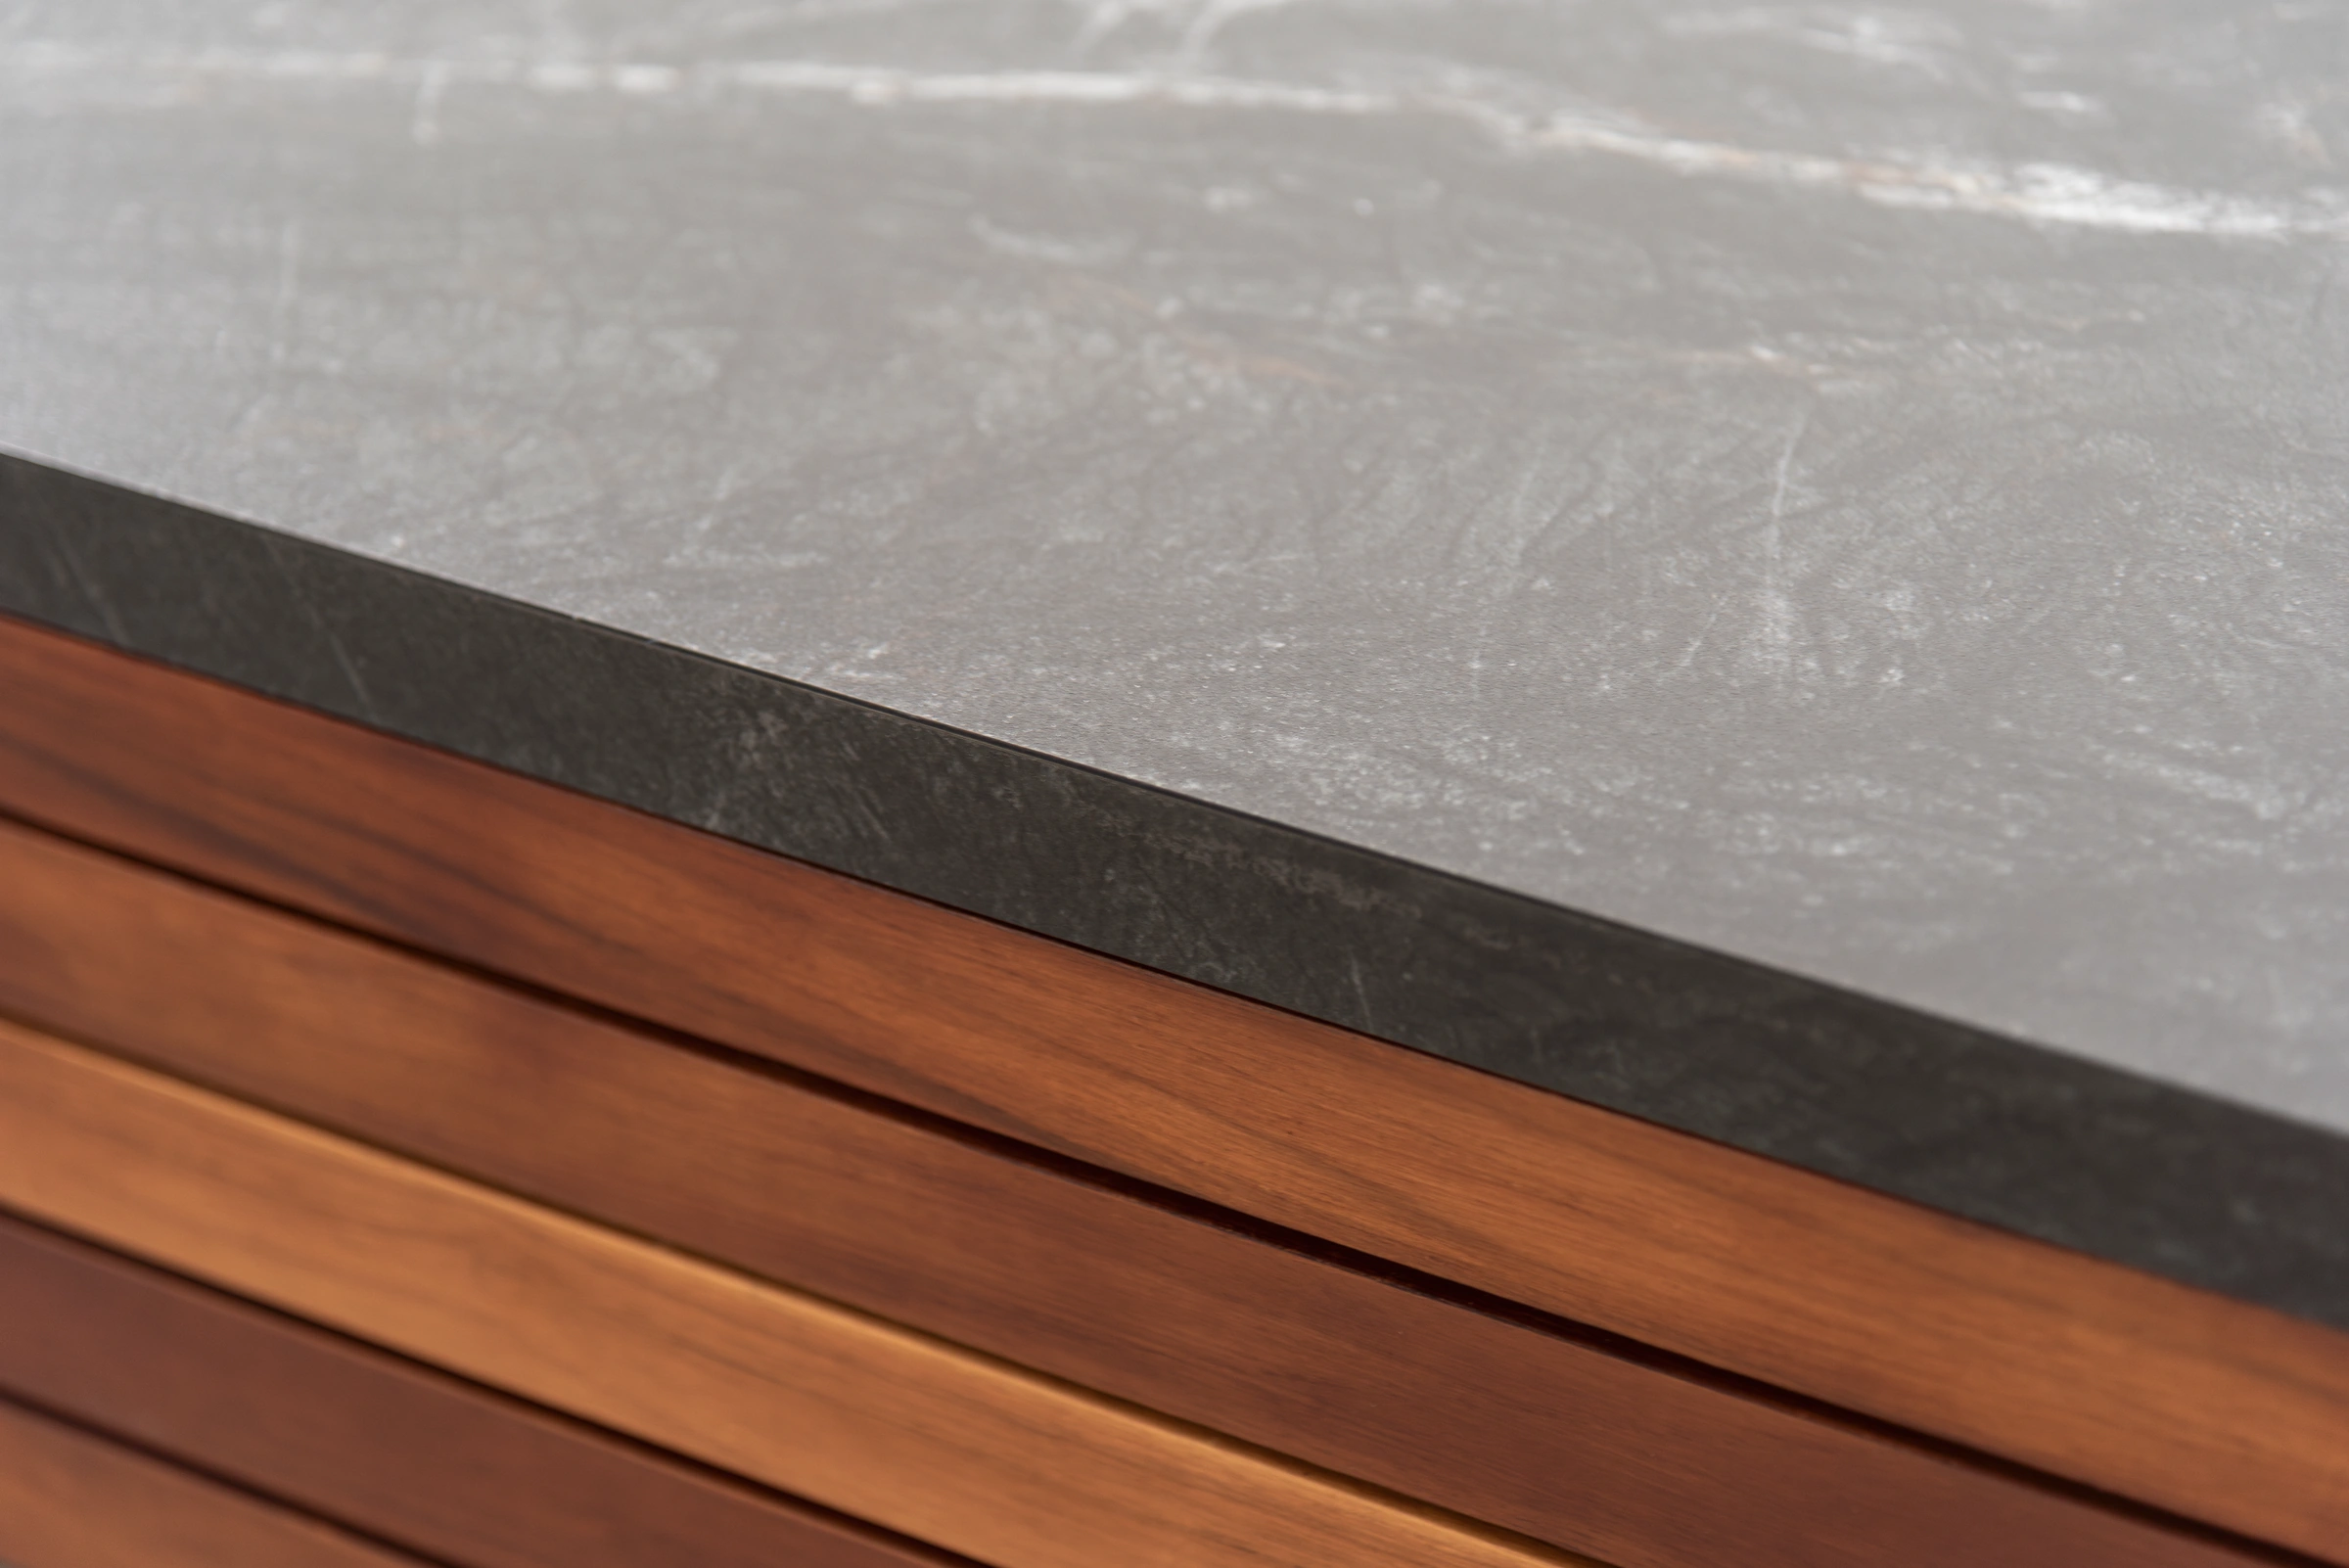
 ELITE black sintered stone veining
Frequently Asked Questions
Can guests sit at an outdoor kitchen island?
Only if the selected design supports seating. Confirm the worktop support, knee space and occupied chair clearance. A separate dining table can keep guests clear of the cooking area.
Where should the dining table sit?
Place it near the serving edge, with an approach from the patio entry. Test the route with chairs occupied and storage or appliance doors open.
Can an island work without a grill or sink?
Yes. A standalone island can provide prep surface and storage. Keep it near the functions it serves, and verify the drawings before specifying utilities or appliance openings.
How much room should I leave around an island?
Measure the usable path with doors open, chairs occupied and people passing. Follow the selected appliance instructions and verify applicable site and access requirements.
When should I offset the dining table?
Try an offset when the island end and dining approach share a tight corner. Keep the same chairs and test access to every seat in both layouts.
Where should used plates go after dining?
Set a return point near the sink or cleanup area. Check whether someone carrying used dishes can reach it while the clean serving point is in use.
When does a perimeter worktop replace an island?
Consider a perimeter worktop when the island blocks a route the project needs. Confirm the worktop can provide a tray landing and the table remains easy to reach.
What should designers send before a layout review?
Send a measured patio plan, furniture dimensions, module codes and the appliance models. Mark the entry, serving point, occupied chair positions and door swings.
Send us your courtyard plan and the points where guest routes, serving trays and cabinet doors compete for space. We create and build outdoor modular kitchens in our own factory and can review custom module options for your dining layout.
Materials, hardware, installation requirements, custom options, final specifications and order terms are confirmed for each project and order.